



Contents: Removal the central arm (DYNA 100) ↓ Disassembling the central arm (DYNA…↓ Checking the central lever ↓ Assembling the central arm (DYNA 100) ↓ Installing the center arm (DYNA 100) ↓
Removal the central arm (DYNA 100)
1. Unscrew the central lever mounting nut.
2. Disconnect the central steering rod, having first unscrewed the nut and removed the cotter pin.
3. Disconnect the longitudinal steering rod, having first unscrewed the nut and removed the cotter pin.
4. Unscrew the four bolts and four nuts and remove the center arm.
Disassembling the central arm (DYNA 100)
1. Remove the center arm rod.
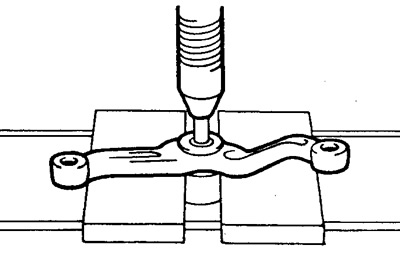
2. Remove the center lever shaft.
a) Unscrew the two bolts and remove the lever housing cover.
b) Remove the spring, shaft seat and the shaft itself.
Checking the central lever
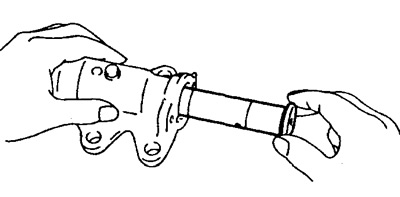
1. Check the center arm shaft and measure the inner diameter of the housing.
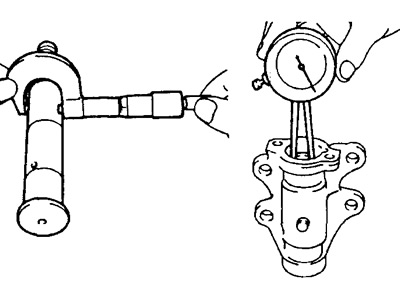
- Maximum gap - 0.1 mm
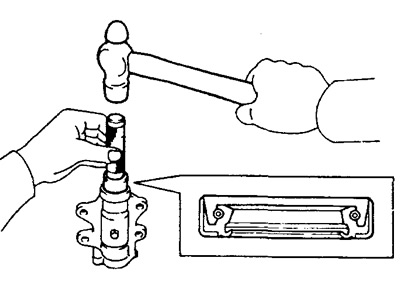
2. Replace the seal if necessary.
a) Remove the oil seal with a screwdriver.
b) Install a new seal and apply lithium based grease.
3. Check the center arm rod for damage and wear.
Assembling the central arm (DYNA 100)
1. Insert the shaft into the center arm housing.
a) Apply grease to the shaft and the inner surface of the housing.
b) Install the shaft seat so that the corrugated surface contacts the shaft after it is installed.
c) Insert the shaft into the housing.
2. Install the seat and spring onto the shaft and tighten the cover with two bolts.
- Tightening torque - 11 Nm
3. Checking the central lever shaft.
a) Clamp the center lever in a vice.
b) Temporarily tighten the nut onto the shaft.
c) Use a torque wrench to measure the preload.
- Preload - 2.0 Nm
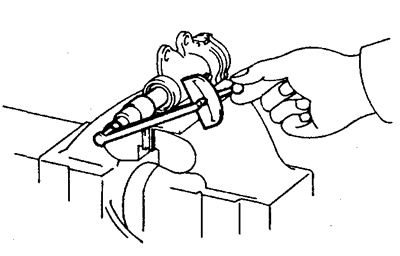
4. Lubricate the center arm with lithium-based grease as shown in the figure.
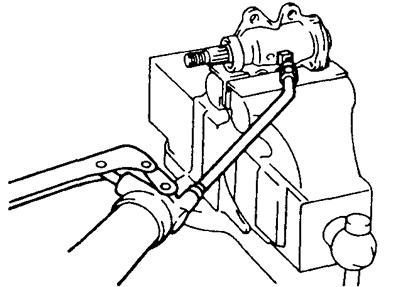
5. Install the center arm rod and temporarily tighten the nut.
Installing the center arm (DYNA 100)
1. Install the center lever.
a) Connect the longitudinal steering rod and the central steering rod to the central arm rod.
b) Install the center arm and tighten the mounting bolts and nuts.
- Tightening torque - 142 Nm
2. Tighten the tie rod mounting bolt and install a new cotter pin.
- Tightening torque - 91 Nm
3. Tighten the center tie rod mounting bolt and install a new cotter pin.
- Tightening torque - 91 Nm
4. Tighten the center arm mounting bolt.
- Tightening torque - 103 Nm