
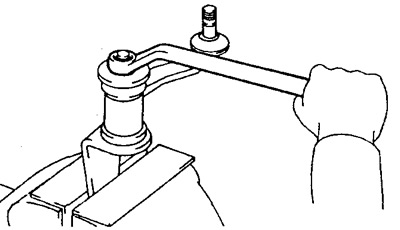
Removing the pendulum arm (DYNA 100)
1. Disconnect the pendulum arm by first removing the cotter pin and unscrewing the nut.
2. Turn away bolts with nuts and remove the pendulum lever.
Dismantling the pendulum arm (DYNA 100)
1. Loosen the nut.
2. Remove the plate as shown.
3. Remove the pendulum arm.
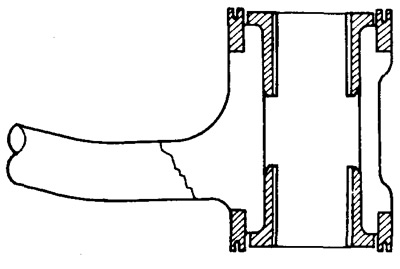
A) Separate the bushing and boot of the pendulum arm from the caliper.
b) Remove the anthers from both sides of the pendulum arm.
4. Remove the bushing with a screwdriver.
Checking the pendulum arm (DYNA 100)
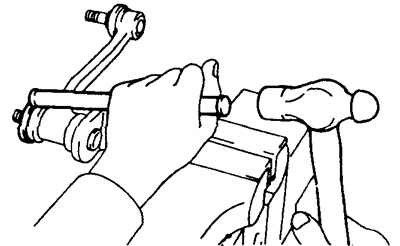
1. Check the ball joint.
A) Clamp the joint in a vise.
b) As shown in the figure, click the ball joint pin back and forth five times until the nut is installed.
V) Using a torque wrench, continuously rotate the ball stud on the nut one revolution in 4-6 seconds, then measure the torque at the fifth revolution.
- Torque - 3.9 Nm
2. Check the swing arm caliper for wear and damage.
Assembling the pendulum arm (DYNA 100)
1. Insert two bushings on both sides into the arm.
2. Install two dust boots on both sides of the lever.
3. Apply lubricant as shown.
4. Install the pendulum arm on the caliper.
5. Install the plate and tighten the nut.
- Tightening torque - 78 Nm
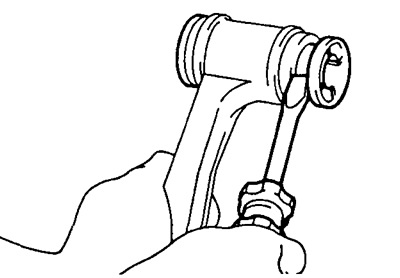
6. Check the pendulum arm.
A) Clamp the lever in a vise.
b) Using the steelyard, rotate the lever, one revolution in 4 to 6 seconds, then measure the amount of torque at the fifth revolution.
- Torque - 1.4 kg
Installing the pendulum arm (DYNA 100)
1. Install the pendulum arm and tighten the bolts and nuts.
- Tightening torque - 52 Nm
2. Connect the central steering rod, tighten with a nut and insert a new cotter pin.
- Tightening torque - 59 Nm