



Attention! Remove and install each lever separately. If it is necessary to remove two or more levers, remove the springs and support the bridge with a jack.
Front suspension arms
Removal
1. Raise the front of the car.
2. Place supports under the bridge.
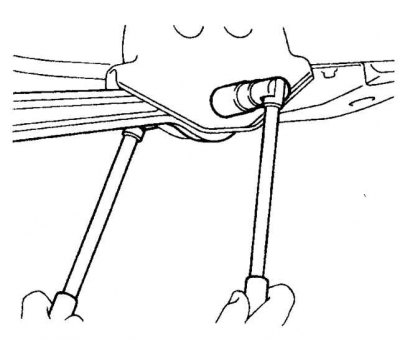
3. Loosen the nut on the bolt on the frame bracket.
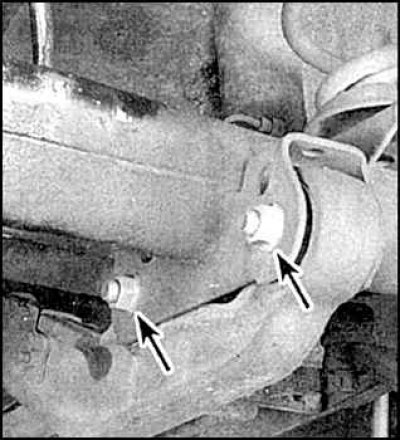
4. Unscrew the nuts (indicated by arrows) on the bridge bracket.
5. Remove the lever. If necessary, pry it up with a crowbar.
6. Check the condition of the lever bushings, the presence of cracks, hardening and deformations. Replacement of the lever bushings is performed in a car service, as special equipment is required.
Installation
1. Installation is carried out in reverse order.
2. Tighten all fasteners to the specified torque.
3. Tighten the lever mounting bolts to the vehicle's rated load.
Rear suspension arms
Removal
1. Raise the rear of the vehicle.
2. Place supports under the bridge.
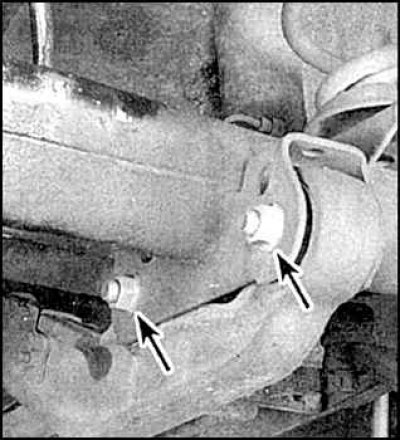 | 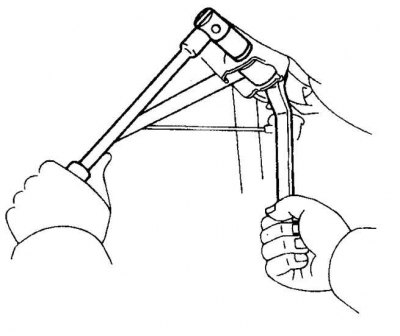 |
3. Loosen the nuts of the bolts (indicated by arrows) upper arm mounts on frame bracket (fig. on the right) and the bridge (photo on the left). Remove the upper control arm.
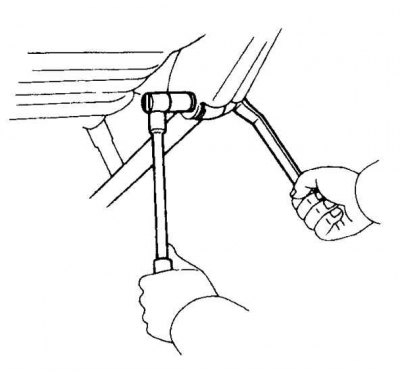 | 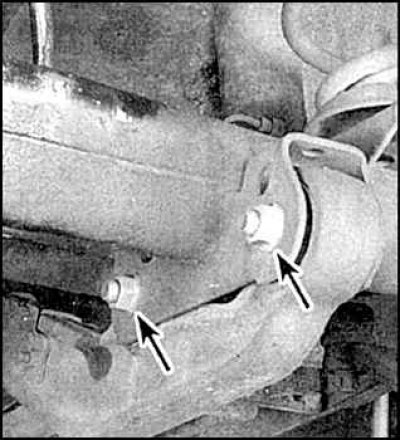 |
4. Loosen the nuts of the lower arm mounting bolts on the frame bracket (fig. on the left) and the bridge (indicated by arrows in the photo on the right). Remove the lower arm.
5. Check the condition of the lever bushings, the presence of cracks, hardening and deformations. Replacement of the lever bushings is performed in a car service, as special equipment is required.
Installation
1. Installation is carried out in reverse order.
2. Tighten all fasteners to the specified torque.
3. Tighten the lever mounting bolts to the vehicle's rated load.