
Remove the lower left engine guard.
Disconnecting the lower left arm No. 1 of the front suspension
Turn out a bolt and turn away 2 nuts.
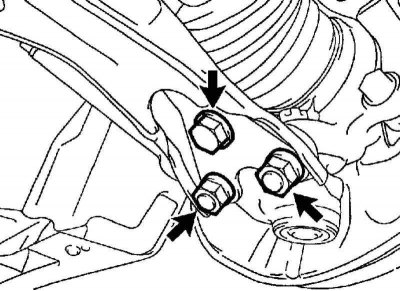
Pic. 4.32. Fastening of the lower left arm No. 1 of the front suspension
Lower the #1 front suspension lower left arm and disconnect it from the front lower ball joint assembly (pic. 4.32).
Removing the lower left arm No. 1 of the front suspension
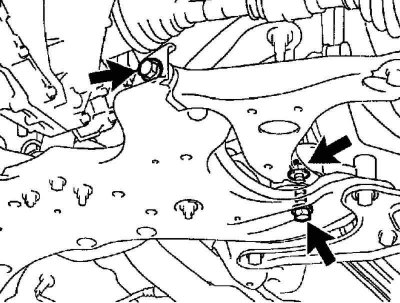
Pic. 4.33. Fastening of the lower left arm No. 1 of the front suspension to the subframe
Remove the 2 bolts, unscrew the nut and remove the lower left arm No. 1 of the front suspension from the front suspension subframe (pic. 4.33).
Installation of the lower left arm No. 1 of the front suspension
Install the #1 front suspension lower left arm with the 2 bolts and nut.
Attach the #1 front suspension lower left arm to the front lower ball joint assembly and secure with a bolt and 2 nuts.
Tightening torque: 89 Nm.
Install the front wheel and lower the car.
Tightening torque: 103 Nm.
Rock the car several times by pressing on the body so that the suspension parts take up a permanent position.
Tighten the fastening parts of the lower left arm No. 1 of the front suspension.
Tighten 2 bolts and nut.
Tightening torque: 137 Nm.
Note. While tightening the rear bolt, hold the nut so that it does not rotate.
Install the lower left engine guard.
Check and adjust the angles of the front wheels.