



Contents: Rust removal ↓ Application of anti-corrosion primer…↓ Puttying ↓ Sanding the coating ↓ Preparing the surface for painting ↓
Wash the car before applying the coating.
Apply the coating at a temperature not lower than +12°C, but not in direct sunlight or strong wind.
Rust removal
Cover the area to be repaired with tape to protect it from accidental damage to adjacent surfaces.
Remove traces of rust with a triangular scraper, screwdriver or 120-grit sandpaper.
Sand a 10-20 mm wide surface around the damaged area using 320 grit sandpaper.
On body parts with a zinc coating, clean only to the primer, if possible without touching the zinc.
Application of anti-corrosion primer (Primer)
Wash with nitro solvent and dry the damaged surface.
To avoid incompatibility when applying coatings, the primer and the topcoat applied later must be from the same manufacturer. Otherwise, the varnish may bubble or wrinkle later.
The primer is sprayed onto the surface from a distance of 25 cm. To prevent the primer from getting onto adjacent surfaces, they should be covered with paper (in particular, newspapers).
After 10-15 minutes from the application of the first layer, the procedure can be repeated. If the surface needs to be filled, it must be pre-dried.
Puttying
There are two types of putty: two-component and thin. Two-component putty is mixed with a hardener shortly before application. It hardens very quickly and should be processed immediately. It is used to eliminate large irregularities on body panels. Thin putty is flexible and is used to eliminate small irregularities. It can be applied in several layers. Both types of putty are sold in tubes and cans. Putty can also be in an aerosol can.
Note: Although the cans in which the putty is packaged often state that it can be applied directly to the surface, it is still recommended to first apply a primer to the surface being repaired to protect it from corrosion.
Apply two-component putty to the surface to be repaired and allow it to harden. Follow the putty manufacturer's instructions when working.
After drying, sand the surfaces by hand or pre-treat them. Use 180 grit sandpaper. Wet sanding is possible. In this case, the sanded surface must be washed off with water from time to time.
Finally, wipe and dry the surface.
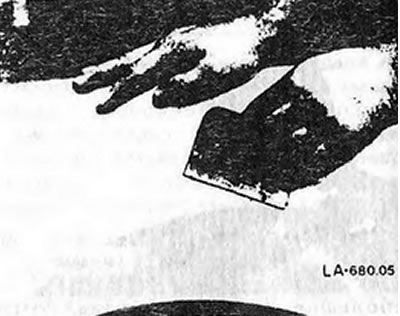
Cover the surface with a thin filler using a wide, flexible spatula and let it dry for at least several hours. On steep surfaces, it is recommended to apply a thin filler in the form of an aerosol.
Depending on the thickness of the putty, dry it for 2-3 hours.
Sanding the coating
Sandpaper can have different grain sizes. The lower the number indicating the grain size, the rougher the paper. For sanding with two-component filler, sandpaper with a grain size of 180-240 is recommended. Filler filler and old varnish should be sanded with a grain size of 360 paper in a wet state. For the final wet sanding, paper with a grain size of 600 is recommended.
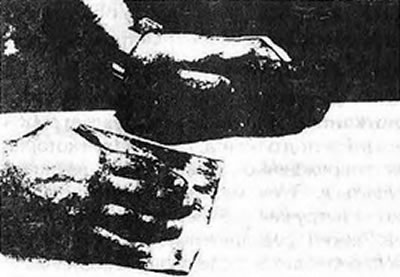
The filled areas are sanded with 360 grit paper while wet. In this case, it is necessary to constantly wet the surface with a sponge soaked in clean water.
For fine sanding, it is recommended to use special wet sanding paper with a grain size of 600. In this case, the adjacent varnish surfaces are also sanded. Sanding should only be done in the longitudinal direction of the car. In this case, the traces left by sanding are less noticeable.
Preparing the surface for painting
Before painting, the repaired surface, as well as adjacent varnished surfaces one or two palms wide, must be cleaned of grease and silicone residue. Silicone remover is best suited for this purpose.
After sanding, thoroughly clean the repaired surface. Cover adjacent surfaces with paper and adhesive tape. When painting fenders, also cover the tires and shock absorbers.
The surface of the body should be pasted over so that the borders of the painted surface are the facing strips and edges of the body, since paint drips appear at the borders of the applied paper.
Wet the floor with water to remove dust.