



2. Place the car on stands.
3. Drain the oil from the automatic transmission.
4. Remove the exhaust pipe.
5. (4WD) Remove the transfer case (see chapter "Transfer case").
6. Remove the vehicle from the stands.
7. Disconnect the coolant cooler hoses.
8. Disconnect the front drive shafts.
9. Disconnect the gearbox control cable.
10. Remove the fastener and disconnect the starter wiring harness.
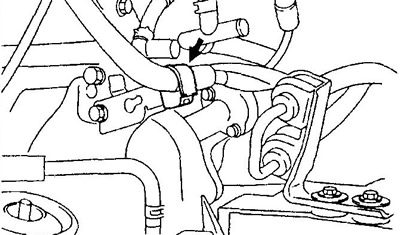
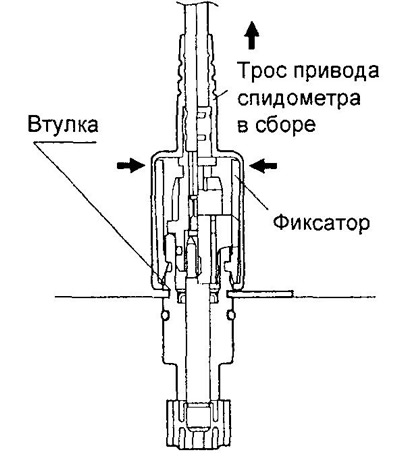
11. Disconnect the speedometer drive cable.
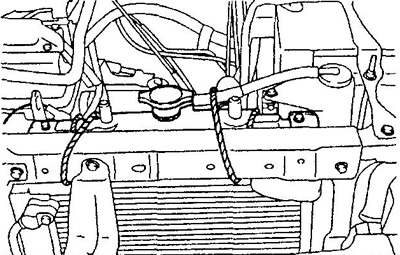
12. Remove the upper radiator mounting bracket and secure the radiator.
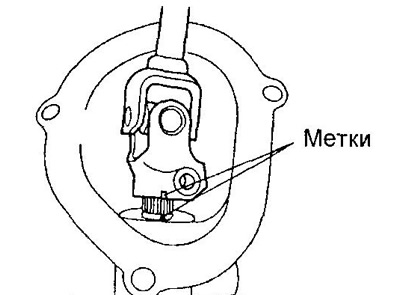
13. Mark the intermediate steering column shaft and remove it.
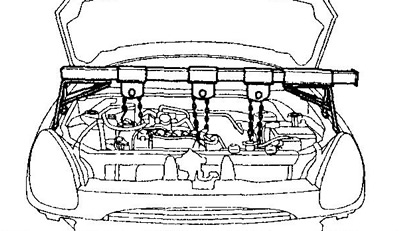
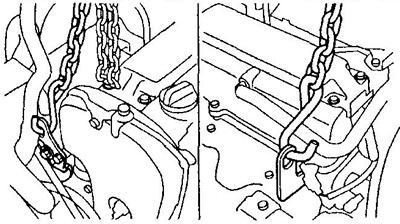
14. Hang the engine on the hoist.
 |  |
15. Remove the subframe:
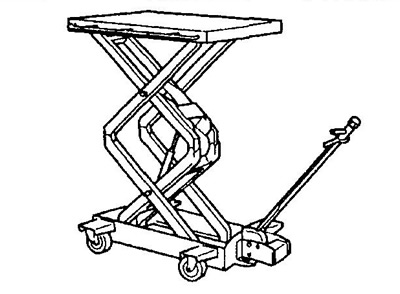
a) Place the jack under the subframe.
 | 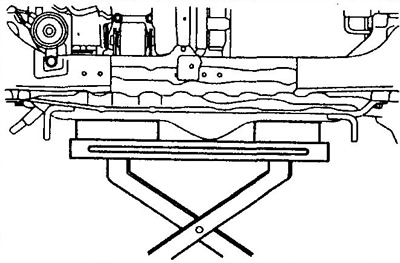 |
b) Gradually lower the frame to the distance indicated in the figures.
Distance:
- Models up to 05.2000 - 110 mm
- Models from 05.2000 - 50 mm
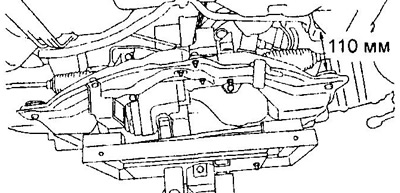
Models before 05.2000.
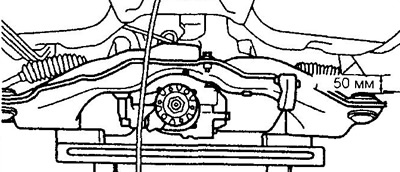
Models from 05.2000.
16. Loosen the bolts securing the rear support of the power unit.
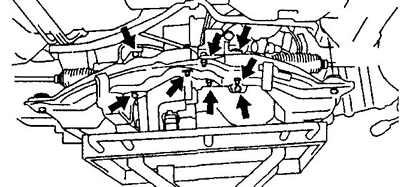
Note: Do not damage the body with the crankshaft pulley.
17. Unscrew the bolts securing the torque converter to the plate.
18. Lower the subframe together with the automatic transmission.
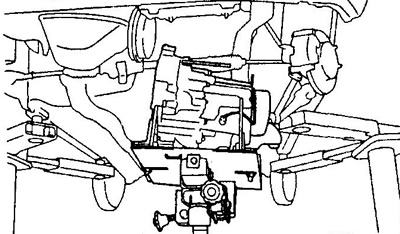
19. Apply marks to the torque converter and gearbox housing.
20. Remove the torque converter.
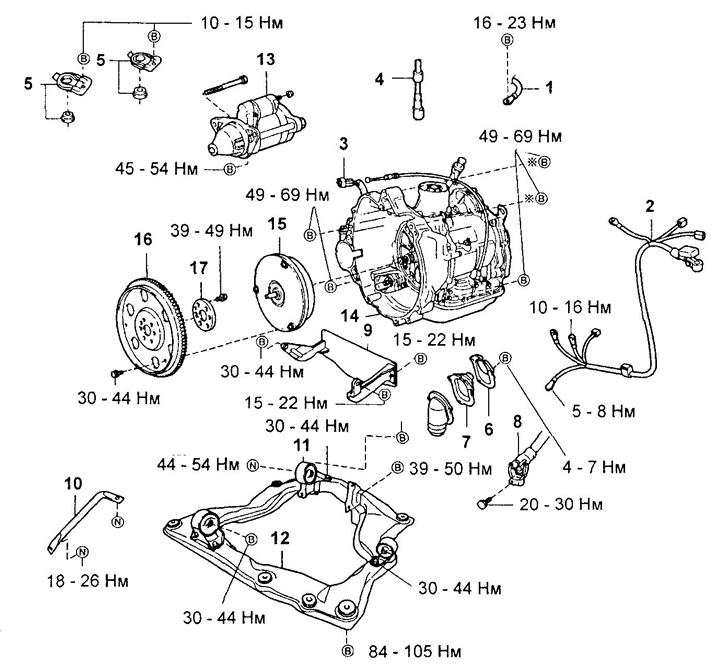
Removing the gearbox.
1 - ground wire,
2 - wiring harness,
3 - Engine start prohibition switch connector,
4 - speedometer drive cable,
5 - upper radiator mounting bracket,
6 - holder,
7 - main shaft hole cover,
8 - universal joint,
9 - gearbox mounting amplifier,
10 - rack No.1,
11 - rear support of the power unit,
12 - subframe,
13 - starter,
14 - gearbox housing,
15 - torque converter,
16 - torque converter drive plate,
17 - spacer.