
Mounting the evaporator on cars series 60, 62
Mounting the evaporator on 80 series vehicles
60, 62 series car evaporator parts
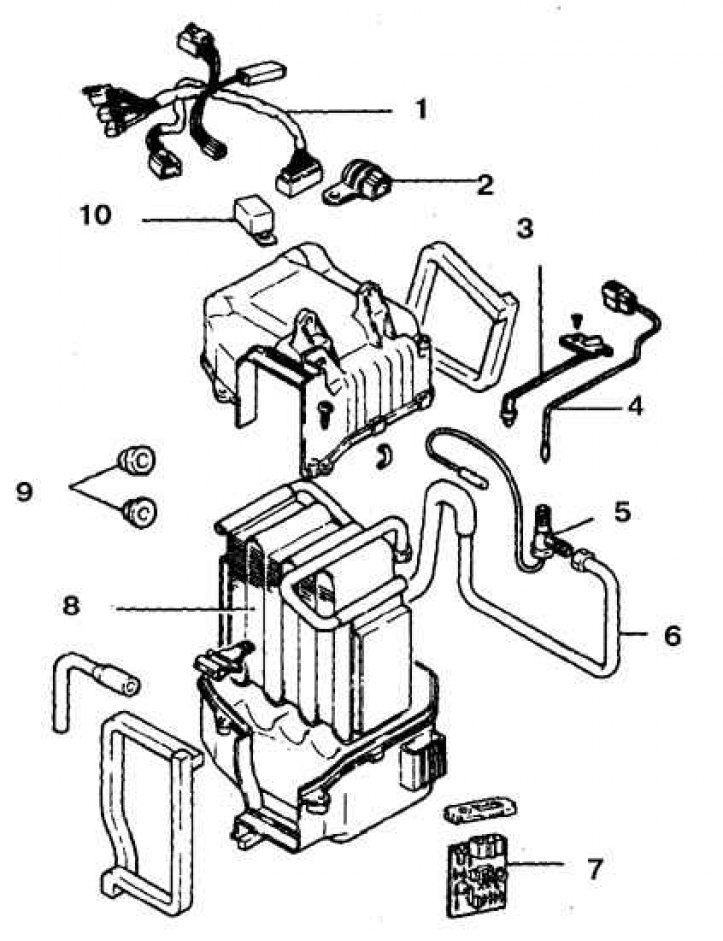
1. Wires; 2. Clutch relay; 3. Holder; 4. Thermistor; 5. Expansion valve; 6. Liquid refrigerant pipe; 7. Amplifier; 8. Evaporator; 9. Through seal; 10. Rear air conditioning relay
80 series car evaporator parts
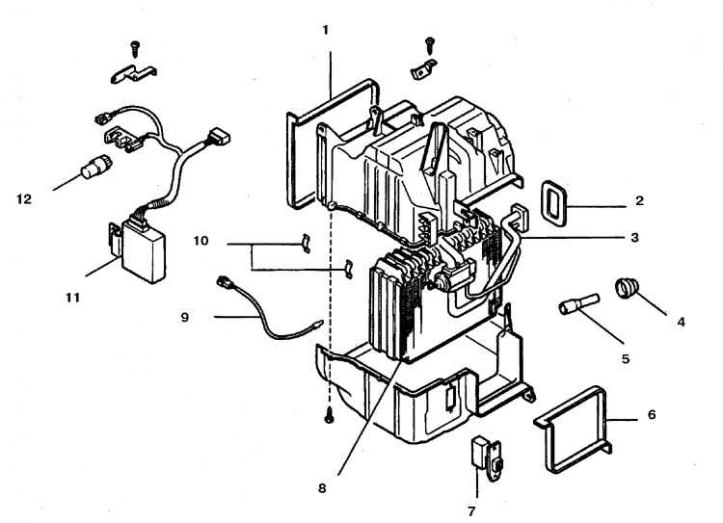
1, 2, 6. Seal; 3. Expansion valve; 4. Through seals; 5. Drain hose; 7. Resistor; 8. Evaporator; 9. Thermistor; 10. Bracket; 11. Amplifier; 12. Shut-off relay
Removal and installation
1. Depressurize the air conditioner and remove the refrigerant at a car service.
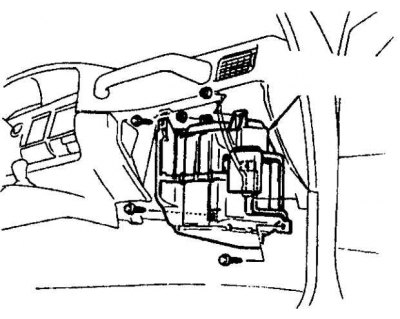
2. Remove the glove box.
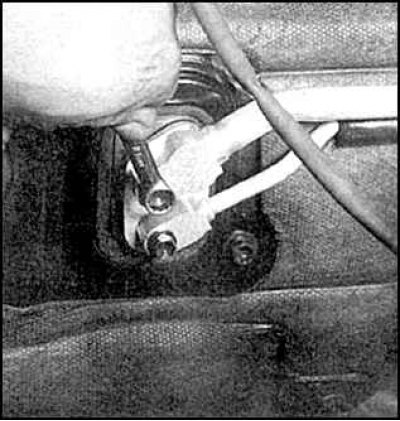
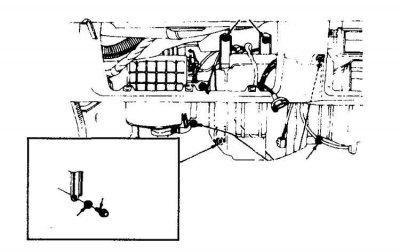
3. Disconnect the A/C pipes from the bulkhead of the engine compartment. Turn off the fitting, holding the counterpart with a wrench, so as not to roll the tube.
4. On vehicles with a 1FZ-FE engine, remove the processor unit.
5. Turn away nuts and bolts of fastening and remove the evaporator.
6. Install the evaporator on the table, unscrew the screws, remove the latches, remove the upper and lower halves of the evaporator body and remove the evaporator.
7. Remove the thermistor from the evaporator, unscrew the bolts securing the expansion valve and two short refrigerant supply and discharge pipes (see fig. Capacitor mounting bolts).
8. Clean the evaporator with a special comb and blow with compressed air.
9. If a new evaporator is being installed, then add about 40 g of fresh oil recommended for your air conditioner.
10. Further installation is carried out in the reverse order.
11. Replace O-ring and expansion valve gaskets.
12. Charge the air conditioner with refrigerant at the same workshop where the depressurization and removal of the refrigerant was performed.