



Note: Use high temperature grease to lubricate the bearings and gears when assembling the starter.
Remove the dust cover.
Remove the starter housing assembly with the starter winding and the anchor from the traction relay housing.
Unscrew the nut and disconnect the wire terminal from the traction relay terminal.
- Tightening torque - 6 Nm
b) Unscrew 2 tightening bolts. Pull the starter housing together with the stator winding and anchor out of the traction relay housing and remove the O-ring seal.
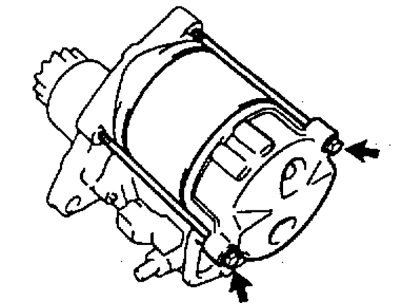
Note: When assembling, align the protrusion on the housing with the cutout on the traction relay housing.
(The material is reprinted from an online resource ToyotaMAN.ru)
3. Disconnect the starter cover from the drive side.
a) Unscrew 2 screws.
- Tightening torque - 6 Nm
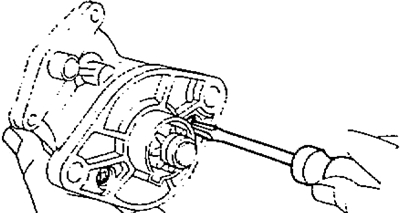
b) Disconnect the cover from the drive side of the traction relay housing, complete with the overrunning clutch (1), return spring (2), intermediate gear (3), and bearing (4).
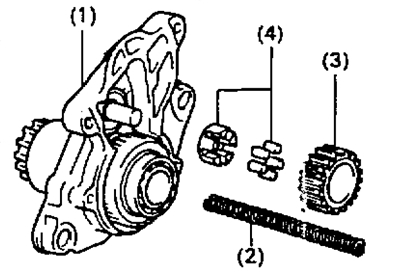
Except for the 2.2 kW starter
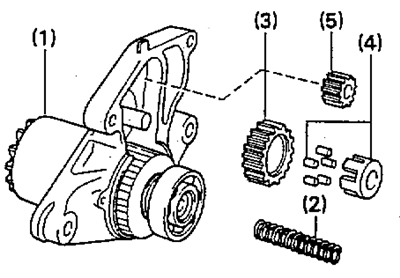
Starter 2.2 kW
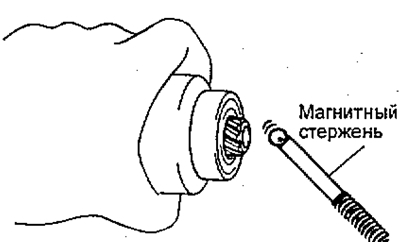
4. Using a magnetic rod, remove the steel ball from the hole in the overrunning clutch shaft as shown in the figure.
5. Remove the brush holder and brushes.
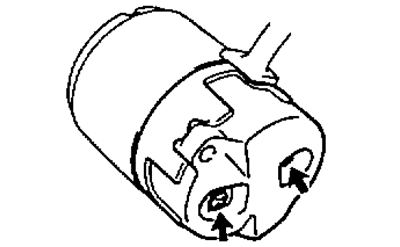
a) Unscrew the two screws and remove the starter cover from the housing side. Remove the O-rings.
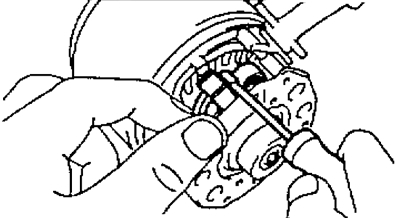
b) Using a screwdriver, press the brush spring and disconnect the brush from the brush holder. Disconnect the 4 brushes and remove the brush holder. Make sure that the positive (+) wire is not shorted to ground.
6. Remove the anchor from the starter housing.
Note: The starter is assembled in the reverse order of disassembly.