
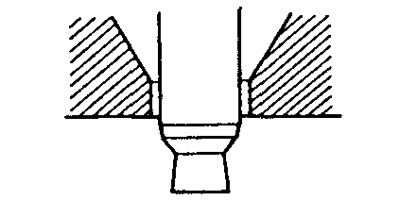
Removing nozzles
1. Remove the current bar of the glow plugs.
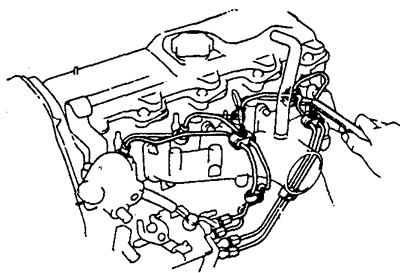
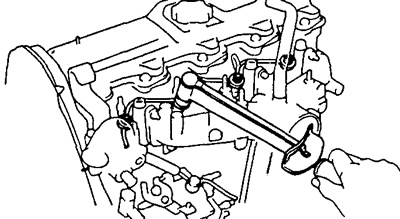
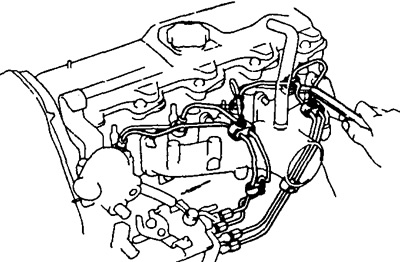
2. Removing the high pressure pipes.
A) Loosen the four tube nuts.
b) Remove the top two terminals, the four high pressure tubes and the two lower terminals.
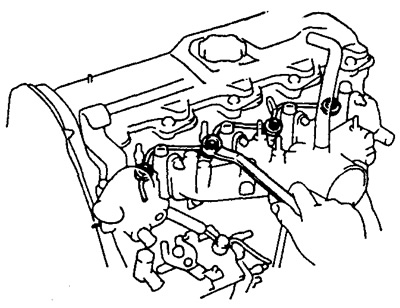
3. Removing the drain tube.
A) Disconnect the fuel hose from the drain tube.
b) Remove four nuts, drain tube and four sealing washers.
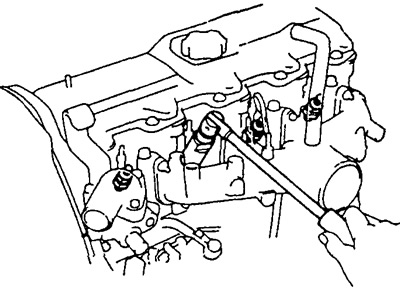
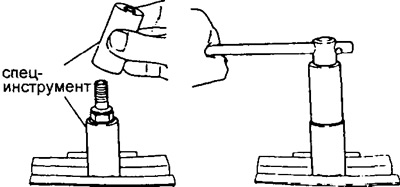
4. Removing the nozzle.
Turn out four nozzles with a deep head.
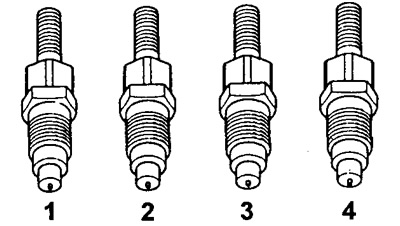
Reminder: Arrange the injectors in the order they were removed.
Checking the injectors
1. Checking the pressure of the beginning of the lifting of the needle of the atomizer.
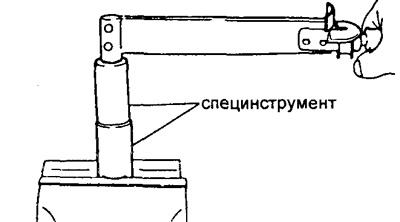
A) Fix the nozzle on the stand.
Warning: Do not put your fingers under the nozzle spray.
b) Pump the nozzle until a steady spray appears
V) Make several movements with the handle of the device as often as possible to knock off carbon deposits from the nozzle opening.
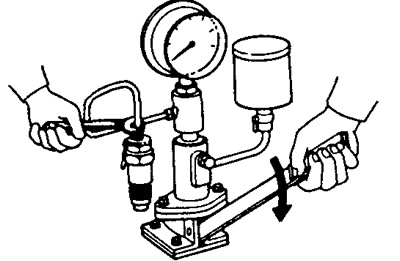
G) Lowering the stand handle at a speed of one stroke per second, count the pressure at the beginning of the needle lift.
Pressure:
- when adjusting - 151 - 159 bar
- when checking - 145-155 bar
If the pressure of the beginning of the lifting of the needle does not correspond to the specified value, disassemble the nozzle and replace the adjusting washer located under the spring. Washers are available in thicknesses from 0.9 to 1.95 mm in increments of 0.025 mm
Note: A change in the thickness of the shim by 0.025 mm results in a change in injection pressure of approximately 3.5 bar.
It is advisable to install one adjusting washer.
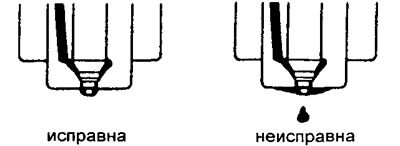
d) After the end of the injection, there should be no fuel leakage.
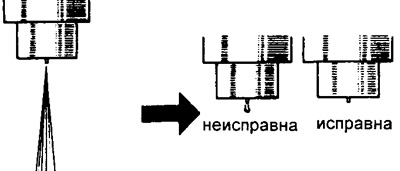
2. Checking the tightness of the needle. Maintain the pressure in front of the nozzle 10-20 bar below the pressure at which the needle begins to rise: no drops of fuel should appear from the nozzle and from under the nozzle coupling nut for 10 seconds.
If drops appear, replace the atomizer or sort out the nozzle.
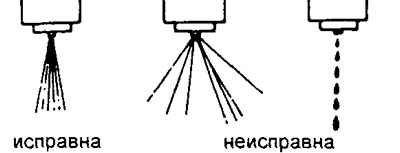
3. Checking the spray pattern.
A) Pump the stand handle at a frequency of one stroke per second.
b) The fuel jet must be symmetrical, not have pronounced drops and separate jets.
Disassembly of nozzles
A) Loosen the nozzle nut.
Warning: Care must be taken when disassembling an injector, never disassemble multiple injectors at the same time.
b) Remove the atomizer, spacer, spring and shim.
Checking the condition of the injectors
1. Cleaning the nozzle.
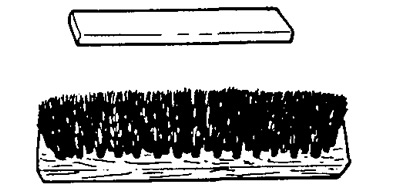
A) Use a wooden spatula and a brass brush to clean the nozzles. Wash parts in clean diesel fuel.
Reminder: Do not touch the surfaces of the precision pairs with your fingers.
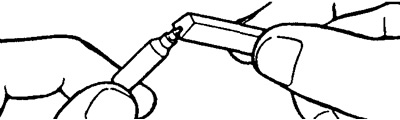
b) Using a wooden rod, remove the carbon deposits that have settled on the nozzle needle.
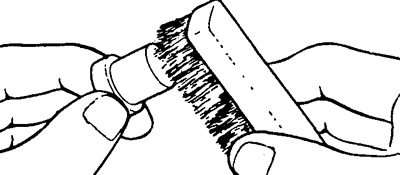
V) Using a brass brush, remove carbon deposits from the end of the atomizer.
G) Check the needle seat for carbon deposits or corrosion.
d) Check the atomizer needle for damage or corrosion. If any of the indicated defects are found, replace the atomizer.
2. Check the condition of the nozzle sprayer.
A) Flush the atomizer in clean diesel fuel.
Reminder: Do not touch the surfaces of the precision pairs with your fingers.
b) Tilt the nebulizer body approximately 60°to the vertical and extend the needle approximately one third of its length.
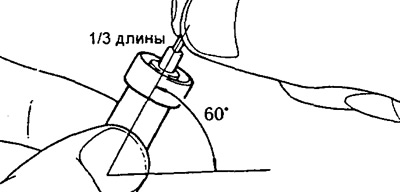
V) Release the needle: it should gently lower under its own weight.
G) Repeat the test several times, turning the needle slightly before each test. If the needle does not drop, replace the atomizer.
Assembly of nozzles
1. Install in the body: shim, spring, pushrod, spacer and atomizer. Tighten the nozzle nut to 37 Nm.
Warning: Over-tightening can cause nozzle distortion, needle sticking, and other problems.
2. Check the needle lift start pressure and spray quality.
Installation of nozzles
1. Place new washers and nozzle seats in the head. Tighten the nozzles.
- Tightening torque - 64 Nm

Warning: Over-tightening can cause nozzle distortion, needle sticking, and other problems.
2. Installation of the drain tube.
A) Install four new gaskets and tube. Tighten nuts.
- Tightening torque - 29 Nm
b) Connect the fuel return line.
3. Installation of high pressure pipes.
A) Attach the lower terminal block to the intake manifold.
b) Install the four high pressure pipes and tighten the nuts.
- Tightening torque - 25 Nm
V) Secure the tubes with clamps.
4. Install the glow plug current bar.
5. Start the engine and check for fuel leaks.