
Upper suspension arm installation details
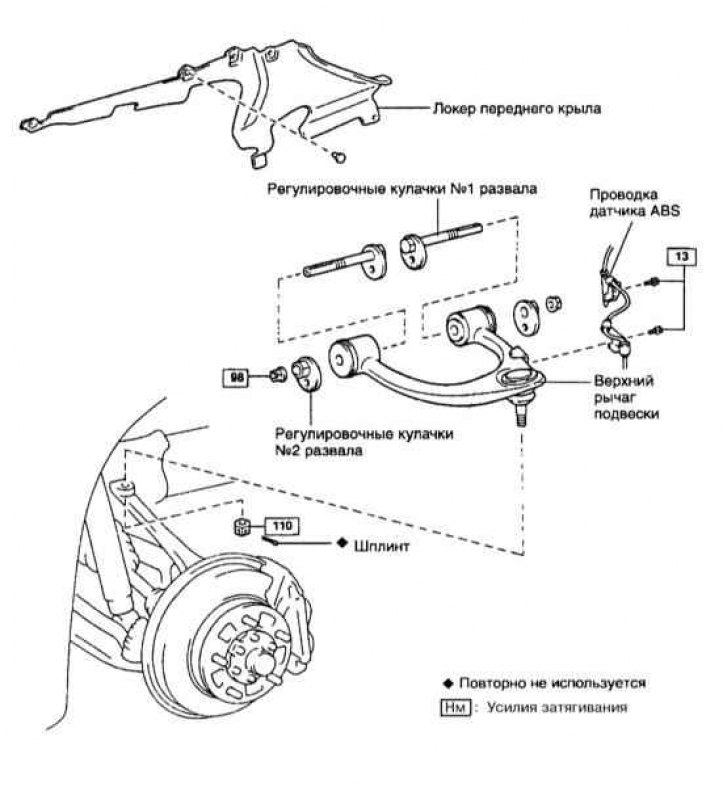
1. The installation details of the upper suspension arm are shown in the illustration above.
2. Apply the parking brake. Loosen the nuts on the corresponding front wheel. Jack up the front of the car and place it on jack stands. Remove the wheel and its locker.
3. Remove the brake caliper and tie it aside to the suspension element (see chapter Brake system).
4. Remove the brake hose support brackets from the upper suspension arm and, on models with ABS, from the wheel sensor harness.
5. Support the lower control arm with a trolley jack.
Attention! The lever must remain supported throughout the procedure.
6. Remove the torsion bar (see Section Removal and installation of torsion bars).
7. Disconnect the steering knuckle from the upper suspension arm (see Section Removal and installation of assembly of a rotary fist with a nave).
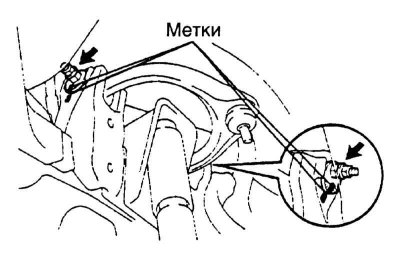
8. Mark the position of the camber adjustment cams on the body, loosen the nuts and remove the cams (refer to accompanying illustration).
9. Remove the upper suspension arm.
10. Assess the condition and degree of wear of the bushings. Replace defective components, replacement must be carried out in a car service workshop.
11. Installation is carried out in the reverse order. Make sure all fasteners are tightened to the correct torque. It would be wise to check and adjust the angles of the front wheels.