
Note: When reassembling the starter, use high temperature bearing grease.
1. Insert the armature into the stator, having previously applied a layer of grease to the armature bearings.
2. Install the brush holders on the anchor; use a screwdriver to push the brush holder spring back and install the brush. Do this with all four brushes.
(For 1.4 kW starter) Install a new o-ring on the stator, then tighten the manifold side cover with two screws.
3. Install the steel ball (pre-applied with a layer of lubricant) into the hole in the freewheel shaft.
4. Install freewheel assembly and pinion (or gears).
A) Apply a layer of lubricant to the return spring and insert it into the opening of the traction relay.
b) Install the parts in the sequence shown in the figure:
(For 1.0 kW starter) overrunning clutch assembly and idle gear with bearing;
(For 1.4 kW starter) freewheel assembly, idler gear with bearing, drive gear.
V) Connect the starter housing and the traction relay housing with two screws.
5. Install the armature and stator assembly.
A) (For 1.0 kW starter)
Install the felt seal on the armature shaft.
b) (For 1.4 kW starter)
Install a new O-ring on the stator.
V) Align the protrusion on the stator with the notch on the traction relay.
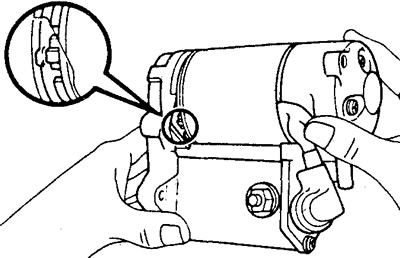
G) Install two tie bolts.
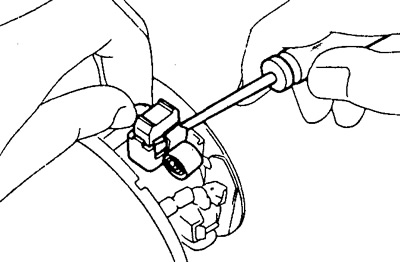
d) Connect the wire to the traction relay terminal and tighten the nut.