
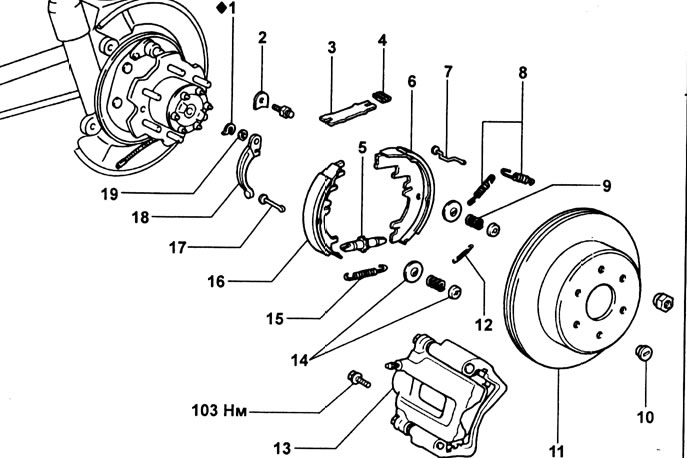
Parking brake (rear disc brakes). 1 - stopper, 2 - guide plate, 3 - shoe spacer plate, 4 - spring, 5 - adjusting device, 6 - rear shoe, 7 - retainer, 8 - shoe return springs, 9 - retainer spring, 10 - screw plug, 11 - brake disc, 12 - side tension spring, 13 - caliper assembly with mandrel, 14 - retainer cups, 15 - lower tension spring, 16 - front shoe, 17 - retainer, 18 - pad dilution lever, 19 - gasket.
Disassembly
1. Turn away fixing bolts and remove a support in gathering.
Note: Suspend the caliper so that the brake hose is not stretched or twisted.
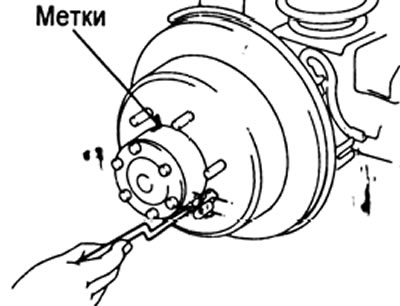
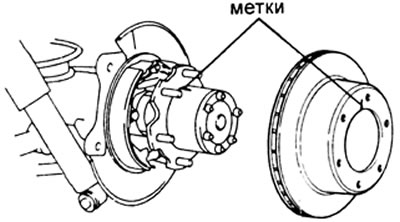
2. Mark the brake disc and rear axle shaft and remove the brake disc.
Note: If it is difficult to remove the brake disc, turn the adjuster until the wheel turns freely.
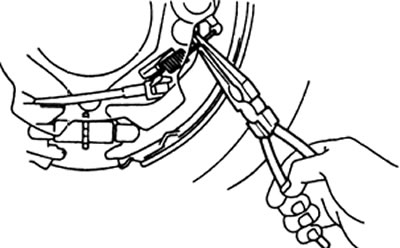
3. Using pliers, remove the side tension spring.
4. Remove the shoe return springs.
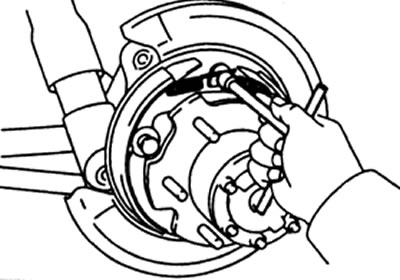
5. Remove the brake shoe spacer plate along with the spring.
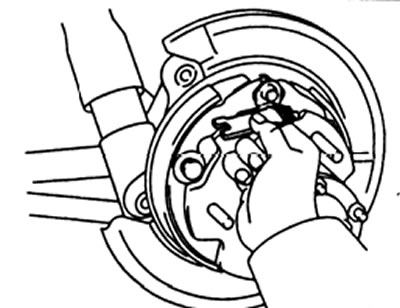
6. Pull back the rear shoe and disconnect the adjuster.
7. Remove retainer parts (cups and spring), remove the rear shoe and lower tension spring.
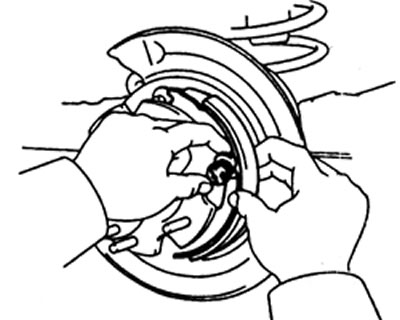
8. Pull back the front shoe and disconnect the parking brake inner cable from the brake shoe lever.
9. Remove retainer parts (cups and spring) and remove the front pad.
8. Remove and disassemble the parking brake crank (if necessary).
A) Remove the stopper with a screwdriver.
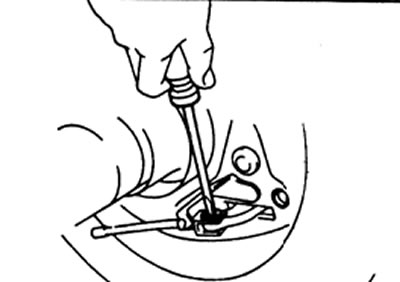
b) Remove the pin and disconnect the inner parking brake cable from the crank arm.
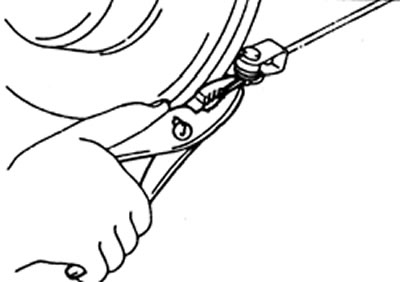
V) For further disassembly, see the relevant paragraph of the subsection "Withdrawal" In chapter "Rear drum brakes".
Check and repair
1. Check parts for wear, corrosion or defects.
2. Measure the thickness of the brake lining. Replace the pads if the thickness of the brake lining is less than the minimum allowable or the wear is uneven.
Minimum thickness 1.0 mm
Standard thickness 4.0mm
3. Measure the inside diameter of the brake disc. If the brake disc is scored or worn, it can be bored out to obtain the maximum inside diameter.
Inner diameter:
- Standard - 210 mm
- Maximum - 211 mm
4. Check up contact of a block with a brake disk. If the contact does not correspond to the norm, it is necessary to grind the lining or replace the block assembly.
5. Checking and adjusting the gap between the block and the parking brake lever.
A) Measure the gap with a thickness gauge.
Standard clearance less than - 0.35 mm
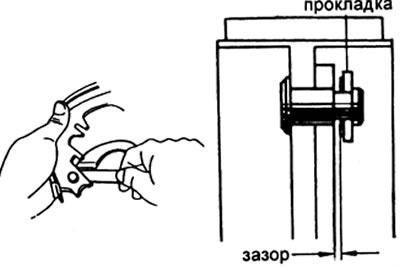
b) If the gap is not correct, adjust it by installing a new gasket.
Thickness of gaskets - 0.3; 0.6; 0.9 mm
V) Remove the brake pad lever and install the correct size shim.
G) Establish the lever of cultivation of pads and fix it with a stopper.
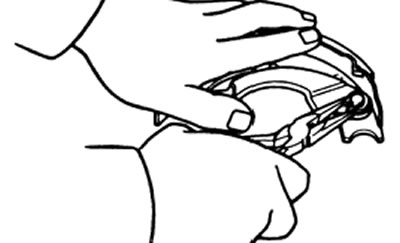
d) Re-measure the clearance.
Assembly
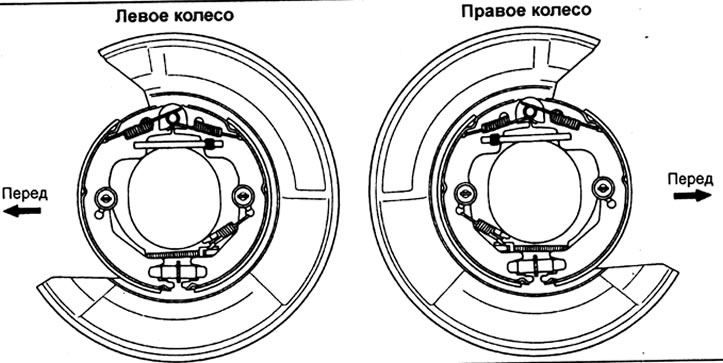
Note: Install the parking brake for each wheel as shown in the illustration at the bottom of the page.
1. If necessary, assemble and install the parking brake crank.
A) For assembly, see the corresponding paragraph of the subsection "Installation" In chapter "Rear drum brakes*.
b) Using pliers, connect the parking brake inner cable to the crank arm through the pin and new retainer.
2. Apply refractory grease to the contact surfaces of the brake pad and brake shield.
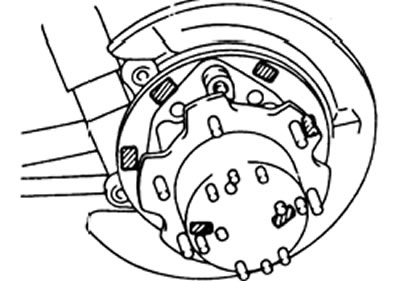
3. Apply refractory grease to the adjuster.
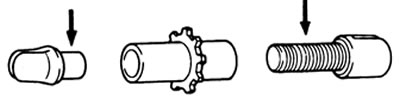
4. Connect the parking brake inner cable to the brake pad release lever located on the front brake shoe.
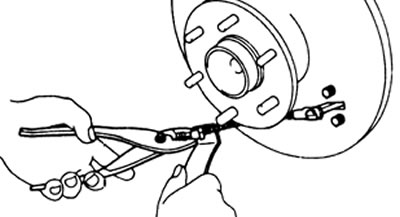
5. Installing the front pad.
A) Install the detent, cups and detent spring to the brake shield.
b) Move the block to check the security of the retainer.
Note: Do not allow oil or grease to come into contact with the friction lining surface.
6. Installation of the tension spring, rear shoe and adjusting device.
A) Install the lower tension spring to the front shoe.
b) Connect the rear shoe to the lower tension spring.
V) Install the adjuster between the front and rear shoes.
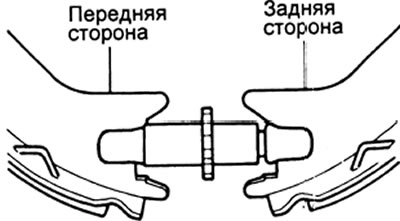
G) Install the detent, cups and detent spring to the brake shield.
d) Move the block to check the security of the retainer.
Note: Do not allow oil or grease to come into contact with the friction lining surface.
e) Using pliers, install the side tension spring.
7. Install the shoe spacer plate and spring with the spring facing backwards.
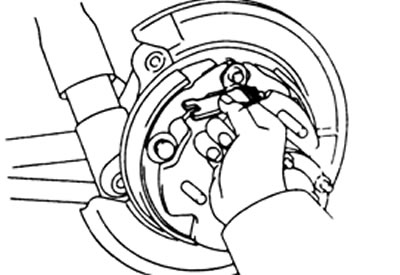
8. Install the front and then the rear return bungs first.
9. Align the marks on the rear axle shaft and the brake disc and reinstall the brake disc.
Note: If there are no marks, align the groove on the rear flange of the axle shaft with the mounting hole on the disc.
10. Connect the outer parking brake cable to the crank (complete). Install pin, spring washer, and secure with cotter pin using pliers.
11. Adjusting the clearance between the drum and brake shoes for the parking brake.
A) Temporarily install the hub nuts.
b) Remove the plug from the hole.
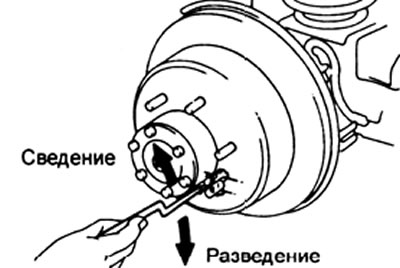
V) Turn the adjusting device and spread the brake pads until the brake disc brakes.
G) Turn the adjuster back 8 teeth.
d) Install a plug in the hole.
12. Adjusting the position of the crank arm (if necessary).
A) Pull down the crank to select the clearance in the inner linkage.
b) Tighten the crankshaft adjusting bolt until it contacts the dust seal.
V) Loosen the bolt 1 turn and secure it with the lock nut.
Tightening torque - 5.4 N.m

G) Install the two crank springs.
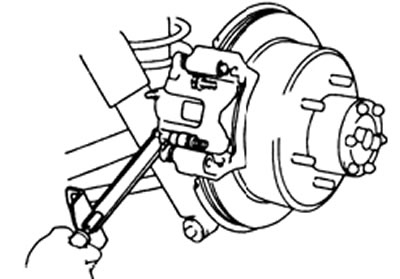
13. Install the caliper assembly and tighten the two mounting bolts.
Tightening torque - 103 N.m
14. Install the rear wheel.
15. Fitting pads and brake disc.
A) Accelerate the car to a speed of 50 km/h on a flat and dry road.
b) Press the parking brake lever button and pull the lever with a force of 88 N.
V) Under these conditions, the vehicle should slow down and stop after about 400 m.
G) Repeat this procedure two or three times.
16. Recheck and adjust the parking brake lever travel.