
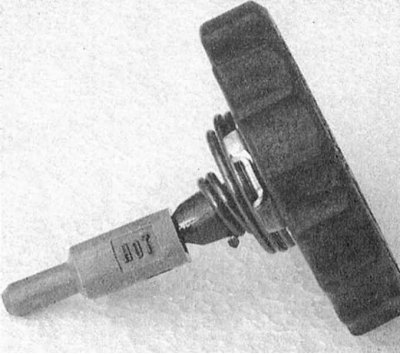
The location of the power steering fluid reservoir is shown in the accompanying illustrations in Vehicle settings and routine maintenance. The tank is equipped with a screw cap that unscrews counterclockwise.
1. Turn the steering wheel from lock to lock several times, then set the front wheels of the car to a straight position and turn off the engine.
2. To prevent dirt from entering the hydraulic system, wipe the cap and reservoir surface with a clean rag.
3. Turning counterclockwise, remove the cover equipped with a measuring probe from the tank. By touch, evaluate the temperature of the liquid wetting the probe blade.
4a. Wipe the dipstick blade thoroughly with a clean, lint-free rag, screw the cap back on, then remove it again and visually determine the liquid level from the dipstick, which should, depending on weather conditions, be within the appropriate range (refer to accompanying illustration).
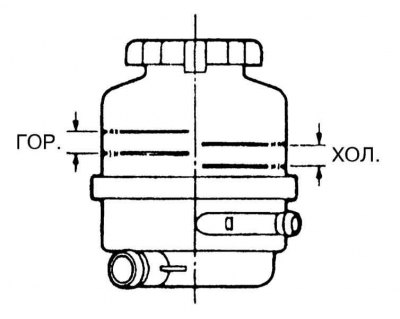
4b. On some models, the level of the working fluid can be assessed through the translucent walls of its reservoir (refer to accompanying illustration). Try not to allow the power steering fluid level to go beyond the lower limit of the permissible range.
5. If necessary, the liquid is added directly to the tank through the neck of the latter using a funnel. Use only the recommended grade of fluid.
6. If the need to adjust the fluid level occurs regularly and frequently, check for signs of leakage of the steering pump, rack and pinion housing, as well as all connecting lines of the hydraulic path of the power steering system and their fitting connections.
7. With the engine running at idle, remember the level of the working fluid in the tank.
8. Stop the engine and check the difference in power steering fluid levels with the engine running and stopped. If the fluid level has changed noticeably (more than 5 mm), then it is necessary to pump the power steering system.