
Check and replacement
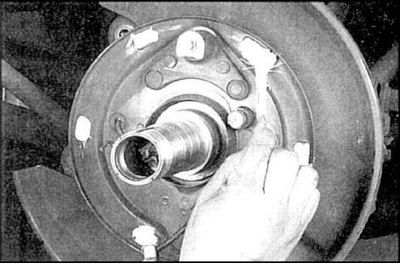
1. Remove the brake disc.
2. Clean the handbrake mechanism.
3. Check the remaining thickness of the friction linings. Replace pads if material thickness is less than 1.0 mm.
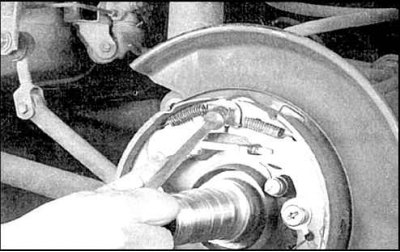
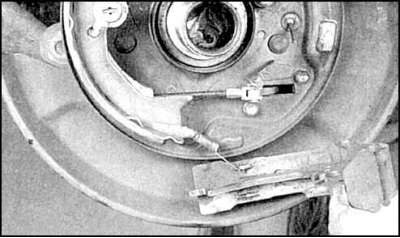
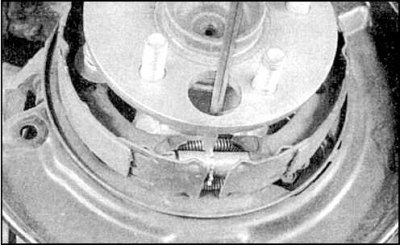
4. Remove the handbrake springs.
5. Remove the pad spacer.
6. Remove the rear pad retainer spring.
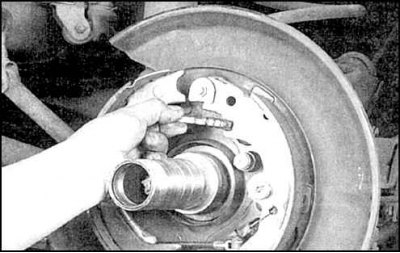
7. Remove the rear shoe and regulator.
8. Remove the front shoe pressure spring, disconnect the cable from the lever and remove the shoe.
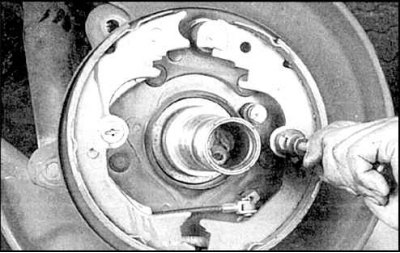
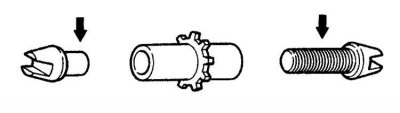
9. Use a screwdriver to remove the lock washer from the axle of the hand brake lever, remove the lever, gasket and axle.
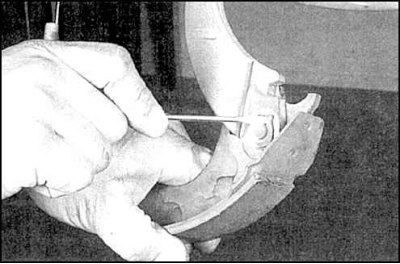
10. Move these parts to a new block and crimp the washer.
11. Lubricate the friction surface of the brake shield and the threads with a thin layer of refractory grease.
12. Lubricate the sliding surface of the regulator with a thin layer of refractory grease in the indicated places.
13. Attach the cable to the lever and install the front shoe.
14. Secure the block with a spring.
15. Put on the lower spring and install the regulator.
16. Install the rear pad.
17. Secure the block with a spring.
18. Slide the top spring onto the rear shoe.
19. Install the spacer with the spring facing forward.
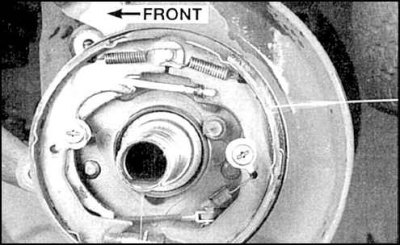
20. Install shoe return springs.
21. Install the brake disc and secure by screwing on the wheel nuts.
22. Remove the blank from the disk.
23. Adjust the pads, for which, by rotating the gear wheel of the regulator pin, spread the pads all the way into the drum (the drum must not rotate) and remove by unscrewing the pin by 8 teeth.
24. Install the caliper bracket, tighten the bolts to the specified torque.
25. Install the wheel.
26. Check the number of clicks of the handbrake lever before full braking, which should be 5. Otherwise, adjust (see subsection 8.13).
27. To break in the brake pads, proceed as follows.
28. Driving at a speed of 50 km/h on a flat, dry highway, apply the brake by applying a force of 8 kgf to the lever and drive for about 0.5 km, then release the lever.
29. Repeat this procedure 2-3 times, allowing the pads to cool beforehand.