
Attention! For serious damage (e.g. liquid leakage) the caliper is recommended to be replaced. Calipers change in pairs for one axle.
The procedure below applies to both 4-cylinder and 1-cylinder calipers (these operations are specifically) for front and rear brakes.
Removal, disassembly and installation
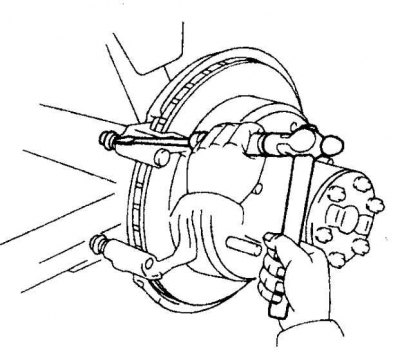
1. Turn away a bolt of the union and disconnect a hose of a brake.
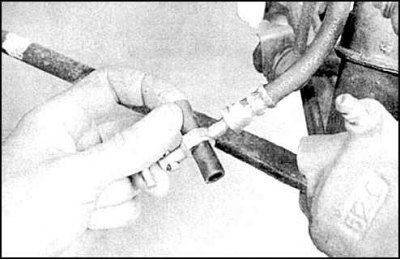
2. Plug the hose by covering the fitting holes with a piece of rubber hose.
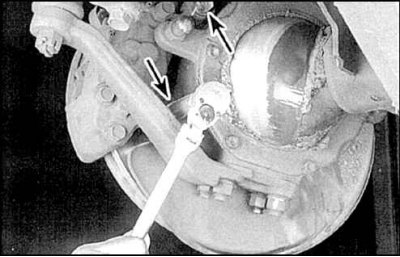
3. Slightly drown the pistons, unscrew the fastening bolts (indicated by arrows) and remove the caliper (see pp. 6–22 subsection 8.3).
4. Remove the boot ring and piston boot.
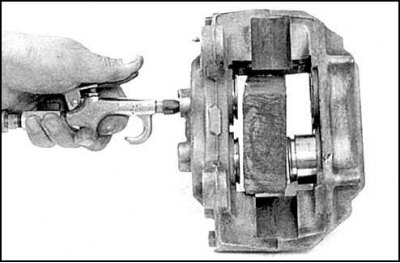
5. Carefully remove the pistons with compressed air.
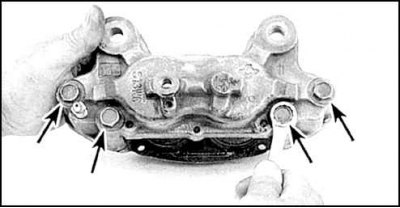
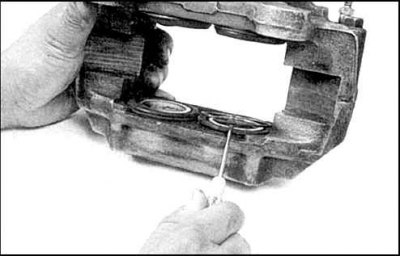
6. On 4-cylinder calipers, remove the pinch bolts (indicated by arrows).

7. Remove seals.
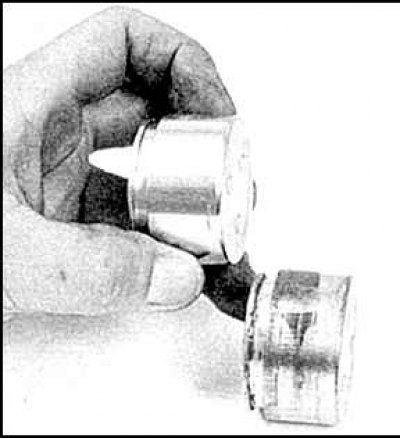
8. Inspect pistons and cylinder surfaces.
9. When surface damage is found (rust, dents, scratches, etc.) replace caliper and piston.

10. If the surface is in satisfactory condition, then remove the sealing ring with plastic tweezers.
11. On a single-cylinder caliper, knock out the bushings from the bracket and remove the dust covers.
12. Flush all parts with clean brake fluid.
13. Install the piston rubber rings and pistons into the caliper by dipping them in brake fluid. The piston should go in without warping under moderate force.
14. Install piston boots and ferrules.
15. On 4-cylinder calipers, insert oil seals into the holes by dipping them in brake fluid, tighten the pinch bolts of the caliper halves to the specified torque.
Attention! When assembling the halves, make sure that the seals do not fall out of the holes.
16. On a single-cylinder caliper, lubricate the pins, bushings, and holes in the bracket with silicone grease.
17. Install covers.
18. Install the caliper in reverse order.
19. Replace the copper gaskets on the brake hose fitting (supplied in repair kit).
20. Bleed the air from the hydraulic drive.
21. Before the first departure, check the operation of the brakes.