
2. Remove the wheels and screw the wheel nuts back in place to secure the disc to the hub (to ensure the application of force to the disk, washers can be put on).
3. Release the handbrake.
4. On the front disc brakes, remove the pads, remove the caliper, set aside and secure.
5. On the rear brakes, remove the caliper bracket by removing the bolts.
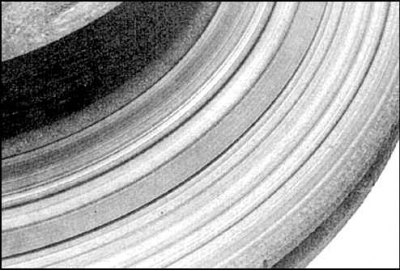
6. Check the condition of the disk on both sides. When traces of deep mining are found (depth over 1.0 mm) remove the disc and grind.
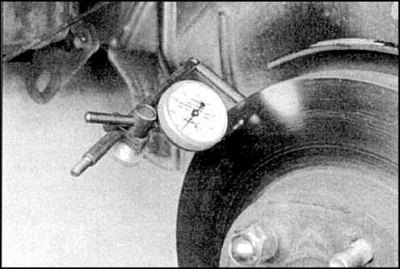
7. Check for runout by setting a dial indicator 13 mm from the edge of the disc.
8. If the beat on the indicator exceeds the norm, then remove the disc and grind.
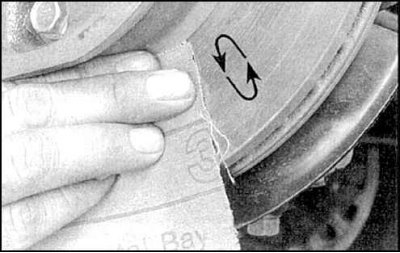
Attention! It is recommended to periodically remove and grind the disc, depending on the indicator readings. At least this can be done by hand with fine sandpaper to reduce roughness.
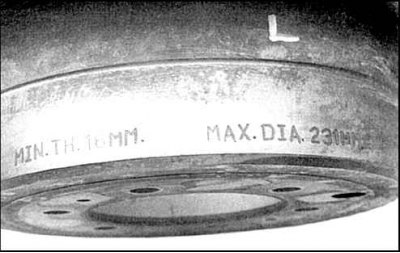
9. After grinding, the thickness of the disc should not be less than the maximum allowable, which is cast on the disc. The value of the limiting diameter of the brake drum of the hand brake is indicated on the right.
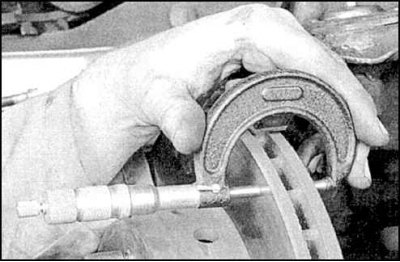
10. Check disc thickness. Measure the thickness in several places.
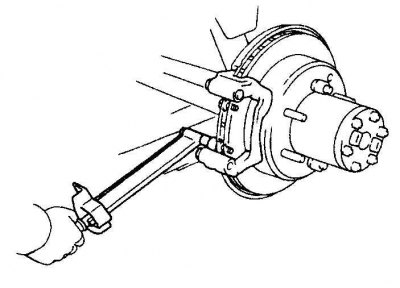
11. After checks remove a nave, turn away bolts and remove a disk.
12. When assembling, tighten the bolts to the specified torque and adjust the bearings.
Attention! On vehicles up to 1990, the hub studs must be pressed out.
13. Remove the rear disc by unscrewing the temporarily tightened nuts.
14. If the disc cannot be removed, loosen the handbrake adjusting screw and tap the disc with a rubber mallet.
15. When assembling the front brakes, apply grease and adjust the bearings (see subsection 2.39).
16. Install the rear disc on the studs, install the caliper bracket and tighten all fasteners to the specified torque.
17. Install pads and anti-noise plates.
18. Install the caliper and tighten the mounting bolts.
19. After assembly, press the brake pedal several times.
20. Check the operation of the brakes.