
Throttle Body Vacuum Test Table (1988-92)
Channel designation | At idle | Not at idle |
EGR | No vacuum | There is a vacuum |
R | No vacuum | There is a vacuum |
Throttle Body Vacuum Test Table (since 1993)
Channel designation | At idle | At 3500 rpm |
P | No vacuum | There is a vacuum |
E | No vacuum | There is a vacuum |
R | No vacuum | There is a vacuum |
Examination
1. Check for smooth throttle linkage.
 |  |
2. Start the engine, disconnect the vacuum hose, and use a vacuum gauge to check the vacuum at each of the housing ports according to the vacuum test charts.
Replacement
Attention! Work is carried out on a cold engine.
1. Disconnect the battery from the ground.
2. Loosen the clamps and remove the air duct.
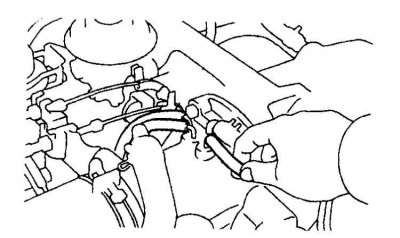
3. Disconnect the drive cable from the throttle control lever.
4. Remove cable bracket and set aside (no need to remove the cable from the bracket).
5. On vehicles with automatic transmission, disconnect the transmission throttle cable from the linkage (see subsection 7.2.8), disconnect the cable brackets from the engine and set aside.
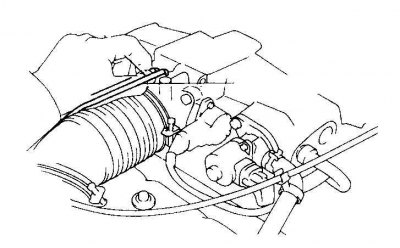
6. Label and disconnect all vacuum and cooling system hoses from the throttle body.
7. Disconnect the throttle angle sensor connector.
8. Remove the four bolts securing the throttle body.
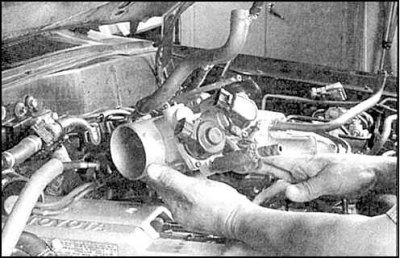 |  |
9. Remove the throttle body and gasket.
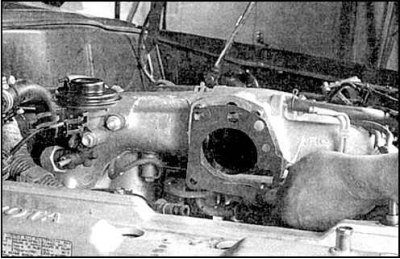
10. Using a soft brush and carburetor cleaner, carefully clean all cast surfaces of the body, then blow out all channels with compressed air.
Attention! Do not flush the throttle angle sensor with any agent. Wipe the sensor thoroughly with a clean, soft cloth.
11. Installation is carried out in the reverse order.
12. Torque tighten body bolts and nuts.