Contents: Disassembling the secondary shaft ↓ Checking the secondary shaft ↓ Secondary shaft assembly ↓
Disassembling the secondary shaft
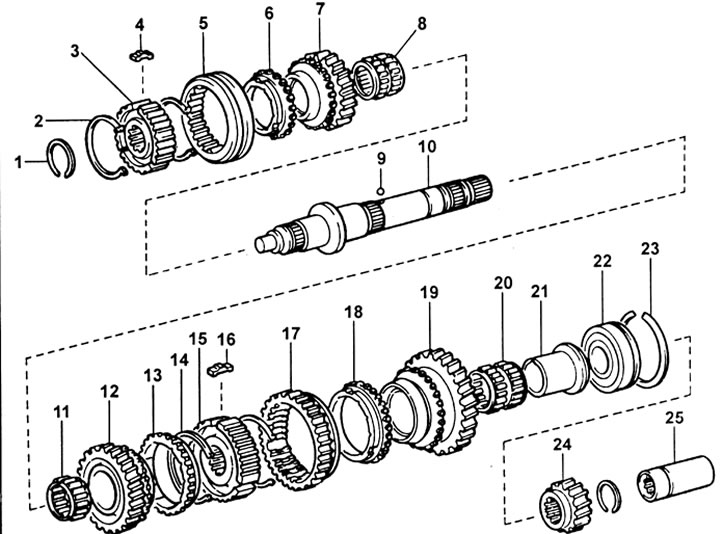
Secondary shaft of the G52 gearbox.1 - retaining ring, 2 - synchronizer spring, 3 - synchronizer hub #2, 4 - cracker, 5 - synchronizer clutch #2, 6 - synchronizer ring, 7 - third gear pinion, 8 - needle bearing, 9 - ball, 10 - secondary shaft, 11 - needle bearing, 12 - second gear pinion, 13 - synchronizer ring, 14 - synchronizer spring, 15 - synchronizer hub #1, 16 - cracker, 17 - synchronizer clutch #1 (reverse gear pinion), 18 - synchronizer ring, 19 - first gear pinion, 20 - needle bearing, 21 - bearing inner ring, 22 - bearing, 23 - retaining ring, 24 - fifth gear pinion, 25 - spacer sleeve.
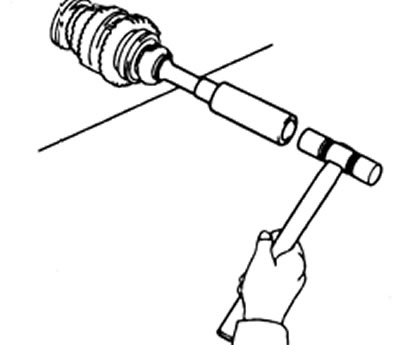
1. Using a special tool, remove the spacer sleeve from the secondary shaft.
2. Removing the fifth gear pinion, rear bearing, first gear pinion, inner ring and needle bearing.
a) Using two screwdrivers and a hammer, remove the retaining ring.
b) Using a press, press out the fifth gear pinion, rear bearing, first gear pinion and bearing inner race.
c) Remove the needle bearing.
5. Remove the synchronizer ring.
6. Using a magnetic rod, remove the locking ball.
7. Using a press, remove synchronizer No.1 complete with synchronizer ring, second gear pinion and needle bearing.
8. Using a screwdriver, remove three crackers and two springs from synchronizer hub No.1.
9. Removing synchronizer No.2 complete with synchronizer ring, third gear pinion and needle bearing.
a) Remove the retaining ring.
b) Using a press, remove synchronizer No.2, synchronizer ring and third gear.
c) Remove the needle bearing.
7. Using a screwdriver, remove three crackers and two springs from synchronizer hub No.2.
Checking the secondary shaft
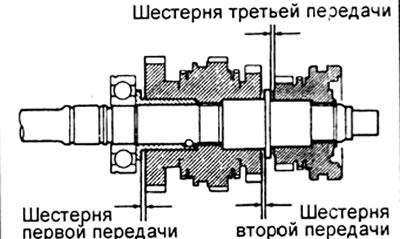
1. Measure the axial clearance of each gear.
Nominal clearance - 0.10 - 0.25 mm
Maximum gap - 0.25 mm
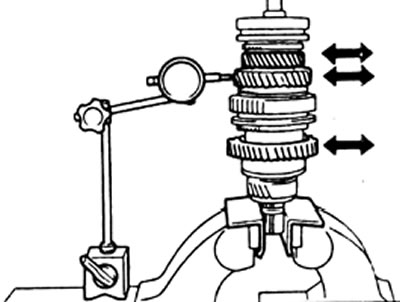
2. Using a digital indicator, measure the radial clearance for each gear.
Nominal clearance:
- 2nd and 3rd gears - 0.009 - 0.033 mm
- 1st gear - 0.009 - 0.032 mm
Maximum clearance:
- 2nd and 3rd gears - 0.033 mm
- 1st gear - 0.032 mm
3. Checking the secondary shaft and inner bearing ring.
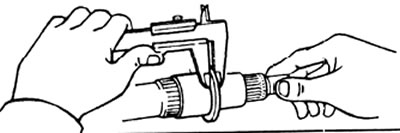
a) Using a caliper, measure the thickness of the secondary shaft edges.
Minimum thickness - 4.80 mm
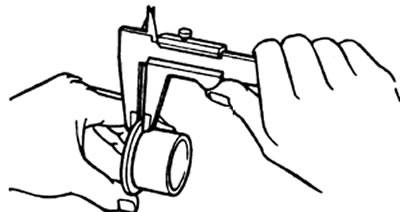
b) Using a caliper, measure the thickness of the edges of the inner bearing ring.
Minimum thickness - 3.99 mm
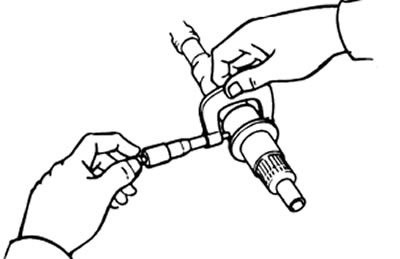
c) Using a micrometer, measure the outside diameter of the secondary shaft journals.
Minimum diameter:
- 2nd gear - 37.984 mm
- 3rd gear - 34.984 mm
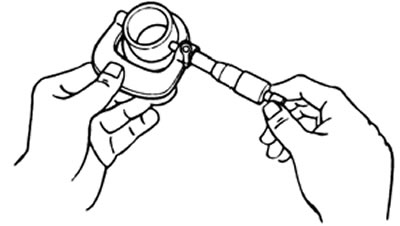
d) Using a micrometer, measure the outside diameter of the bearing inner ring.
Minimum diameter - 38.985 mm
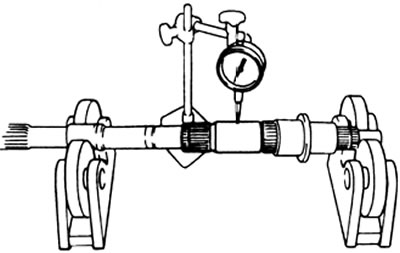
d) Using a digital indicator, check the runout of the secondary shaft.
Maximum runout - 0.05 mm
4. Checking the synchronizer rings.
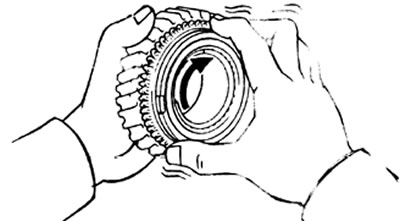
a) By turning the synchronizer ring, check its friction properties.
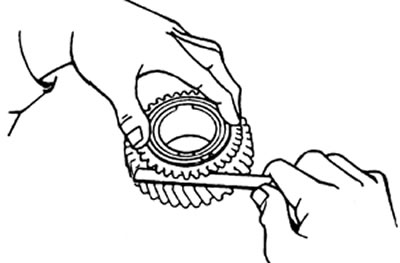
b) Measure the gap between the synchronizer ring and the gear.
Nominal clearance - 1.0-2.0 mm
Minimum gap - 0.8 mm
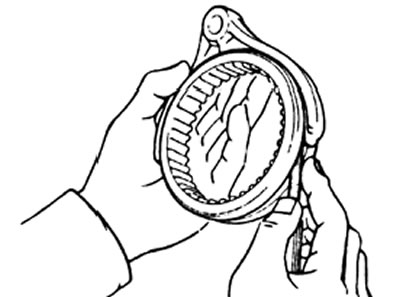
5. Using a feeler gauge, measure the gap between the gear shift forks and the synchronizer sleeves.
Maximum gap - 1.0 mm
Secondary shaft assembly
1. Assembly of synchronizers.
a) Assemble synchronizers No.1 and No.2 as shown in the figure.
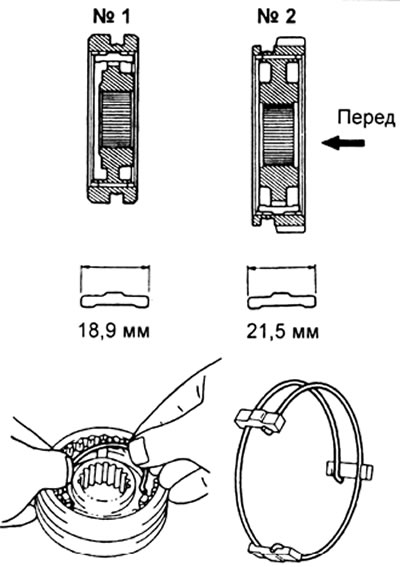
b) Install the synchronizer springs under the crackers.
Note: the springs must be installed under the crackers in such a way that the end of one spring does not coincide with the end of the other spring as shown in the figure.
2. Installing the third gear pinion and synchronizer No.2 on the secondary shaft.
a) Apply transmission oil to the shaft and needle bearing.
b) Place the synchronizer ring on the gear and align the grooves in the ring with the crackers.
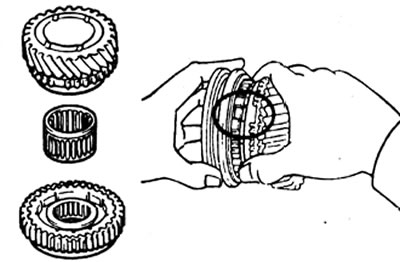
c) Insert the needle bearing into the third gear gear.
d) Using a press, install the third gear pinion and synchronizer No.2.
3. Select a retaining ring of such thickness as to ensure minimum axial clearance and install the ring on the shaft.
| Label | Thickness, mm |
| C-1 | 1,75-1,80 |
| D | 1,80-1,85 |
| D-1 | 1,85-1,90 |
| E | 1,90-1,95 |
| E-1 | 1,95-2,00 |
| F | 2,00-2,05 |
| F-1 | 2,05-2,10 |
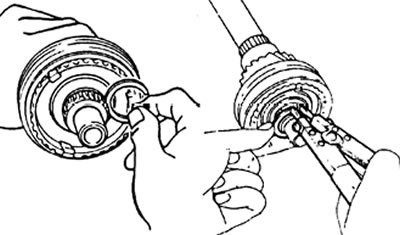
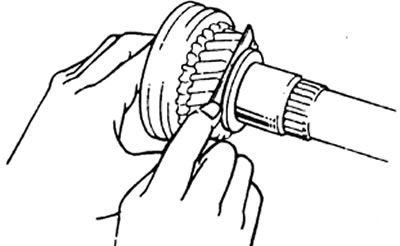
4. Using a feeler gauge, measure the axial clearance of the third gear gear.
Nominal clearance - 0.10 - 0.25 mm
Maximum gap - 0.25 mm
5. Installing the second gear and synchronizer No.1.
a) Apply transmission oil to the shaft and needle bearing.
b) Place the synchronizer ring on the gear and align the grooves in the ring with the crackers.
c) Insert the needle bearing into the second gear gear.
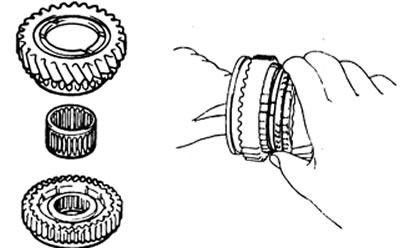
d) Using a press, install the second gear pinion and synchronizer No.1 on the shaft.
6. Using a feeler gauge, measure the axial clearance of the second gear.
Nominal clearance - 0.10-0.25 mm
Maximum gap - 0.25 mm
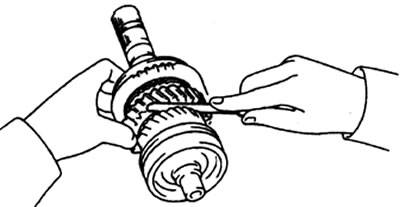
7. Installing the first gear assembly and the locking ball.
a) Insert the locking ball into the secondary shaft.
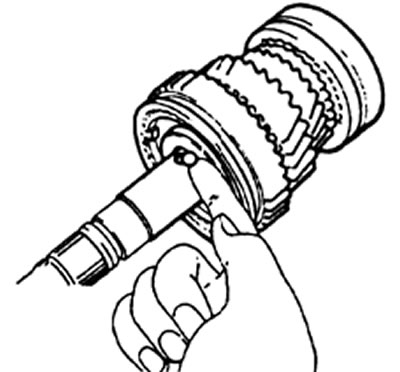
b) Apply transmission oil to the needle bearing.
c) Assemble the first gear pinion, synchronizer ring, needle bearing and inner bearing ring.
d) Place this assembly on the secondary shaft, aligning it with the crackers.
d) Turn the inner bearing ring to align the hole in it with the locking ball.
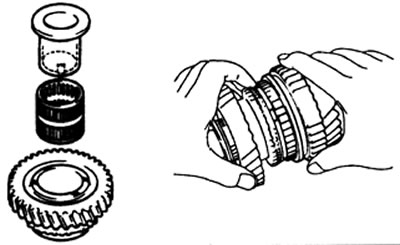
8. Using a mandrel and press, install the rear bearing onto the secondary shaft so that the groove for the retaining ring on the outer ring of the bearing is located as shown in the figure.
Note: Hold the inner race of the first gear bearing to prevent it from falling.
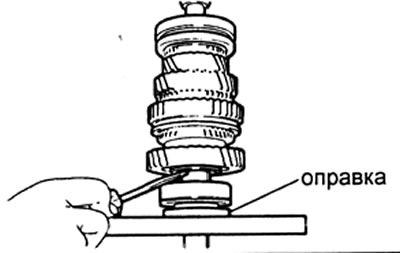
9. Using a mandrel and a press, install the fifth gear.
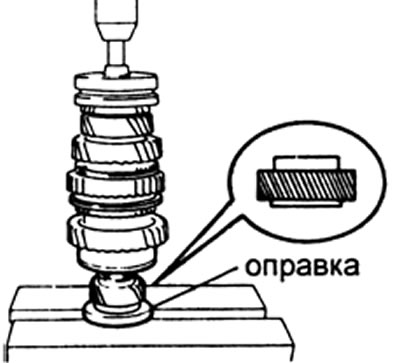
10. Installing the retaining ring.
a) Select a retaining ring of such thickness as to ensure minimum axial clearance.
| Label | Thickness, mm |
| A | 2,67 - 2,72 |
| IN | 2,73 - 2,78 |
| WITH | 2,79 - 2,84 |
| D | 2,85 - 2,90 |
| E | 2,91 - 2,96 |
| F | 2,97 - 3,02 |
| G | 3,03 - 3,08 |
| N | 3,09-3,14 |
| J | 3,15-3,20 |
| TO | 3,21 - 3,26 |
| L | 3,27 - 3,32 |
b) Using a screwdriver and a hammer, lightly tap the retaining ring onto the shaft.
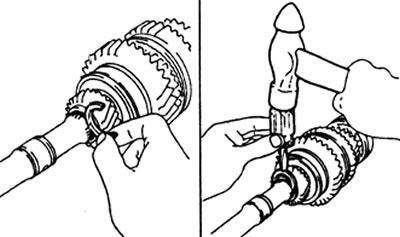
11. Using a feeler gauge, measure the axial clearance of the first gear pinion.
Nominal clearance - 0.10 - 0.25 mm
Maximum gap - 0.25 mm
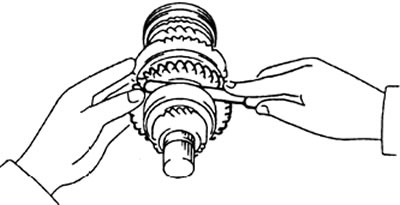
12. Using a plastic hammer, install the spacer sleeve onto the secondary shaft.