
Replacement
1. Raise the car to hang the wheels.
2. Drain the gearbox oil.
3. Disconnect the cardan shaft from the gearbox, move it aside and fix it.
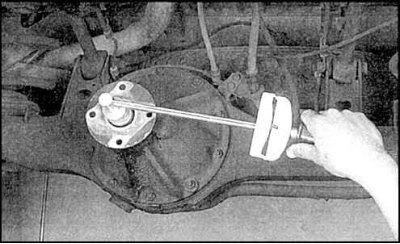
4. Check the moment of resistance to turning the wheel by turning the gearbox nut with a torque wrench with a scale of several Nm. This moment is equal to the preload in the gearbox input shaft bearings, which should be created during assembly.
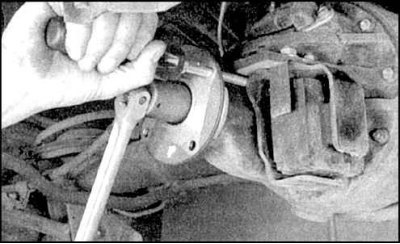
5. Fix the reducer flange and unscrew the pinion nut.
6. Mark the position of the nut and flange.
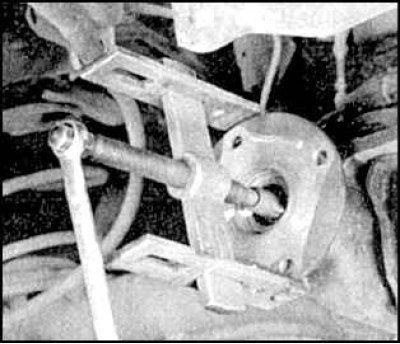
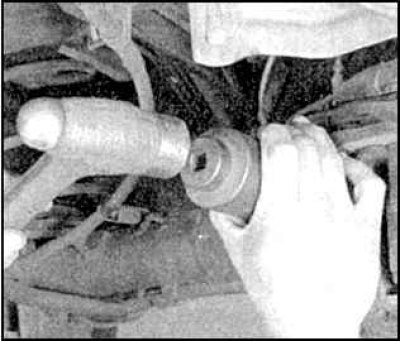
7. Using a puller, remove the gearbox drive gear flange.
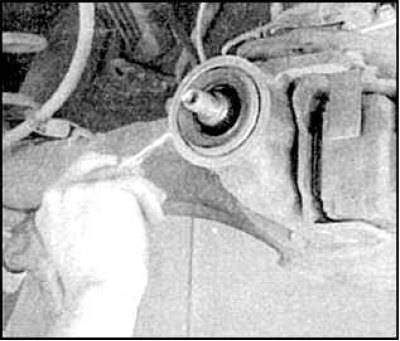
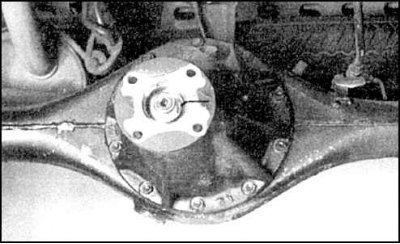
8. Use a hammer to dislodge the oil seal, then pry up and remove the oil seal.
9. Lubricate the lips of the oil seal with grease and carefully press in the new oil seal.
10. Lubricate the shaft and flange splines and install the reducer flange, matching the marks.
11. Screw in a new nut while holding the shaft from turning.
12. Tighten to the minimum specified torque specified in subsection 7.4.
13. Turn the gearbox shaft a few turns.
14. Measure the torque at which the drive gear begins to turn.
15. The required torque is equal to the preload measured before disassembly plus 0.5 Nm.
16. If the torque is less than required, slightly tighten the reducer nut until the desired torque is reached.
17. If the torque is greater than the limit, then it is necessary to disassemble the gearbox and replace the spacer sleeve of the bearings of the drive shaft of the gearbox (carried out in a car service).
Attention! It is forbidden to unscrew the nut to loosen the preload in the bearings.
18. Further assembly is carried out in the reverse order.
19. Attach the cardan shaft, orienting according to the marks, fill in the oil.