



Contents: Removal ↓ Installation ↓
Removal
1. Raise the front of the car and secure it on stands. Remove the front wheel.
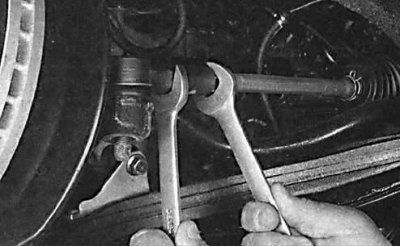
2. Lock the tie rod end and back off the tie rod lock nut a quarter turn. Do not move the lock nut from this position as it will serve as a reference when installing the new tie rod end.
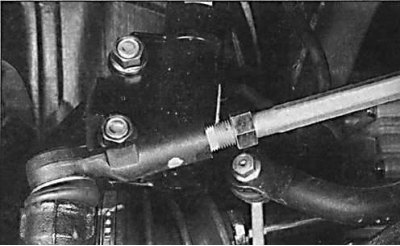
3. With the lock nut completely loosened, use paint to mark the position of the tie rod end on the tie rod thread.
The article was copied from the portal www.ToyotaMan.ru
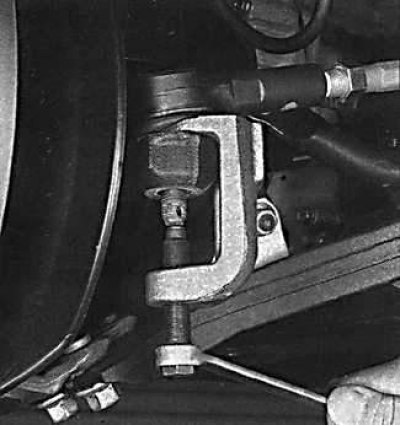
4. Remove the cotter pin and unscrew the nut securing the ball joint of the tie rod end to the steering knuckle. Using a puller, remove the ball joint of the tie rod end from the steering knuckle.
5. Unscrew the tie rod end from the tie rod, counting the exact number of turns of the tie rod end.
Installation
1. Screw the tie rod end into the tie rod the same number of turns as when removing it. The tie rod end lock nut should be installed a quarter of a turn from the tie rod.
2. Install the tie rod end ball joint into the steering knuckle and secure with a nut.
3. Tighten the tie rod end lock nut.
4. Install the wheel and lower the vehicle.
5. Check the front wheel alignment angles.