



Contents: Front bumper ↓ Rear bumper ↓
Front bumper
1. Raise the vehicle and place it on stands.
2. Disconnect the negative and then positive terminals from the battery and wait at least 2 minutes.
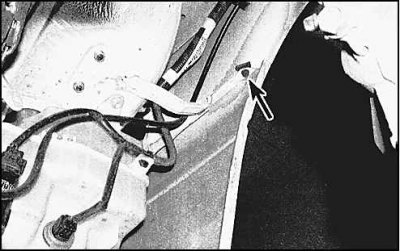 | 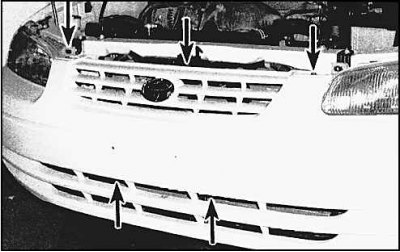 |
3. On Camry models, remove the bumper panel retaining bolt and plastic bumper panel retaining clips.
Attention! Use a small screwdriver to pry up the buttons of the central pistons; do not remove the buttons themselves, as they are pressed into steel bushings.
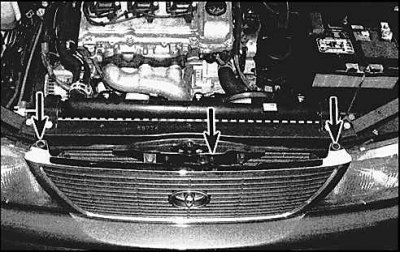
4. On Avalon models, remove the two screws and grille retaining pins (arrows).
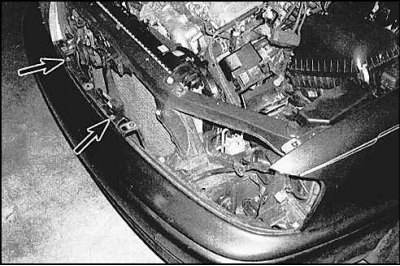
5. Then disconnect the fog light connectors (if provided) and unscrew the bolts (arrows) securing the front bumper panel.
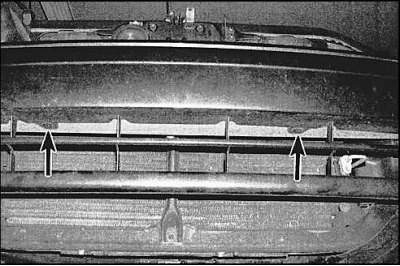
6. Remove the two lower pistons.
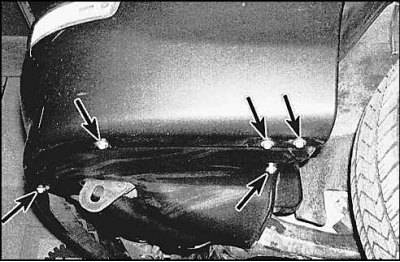
7. Then unscrew the screws (arrows) securing the mudguard panels to the bottom of the bumper, after which access is provided to the bolt securing the bumper panel to the bottom of the wing (avalon models).
[The material is reprinted from an online resource: toyotaman]
8. Installation is performed in the reverse order. When installing, first make sure that the latches on the back of the bumper are in the corresponding brackets on the body. It is advisable to install the bumper with two people.
Rear bumper
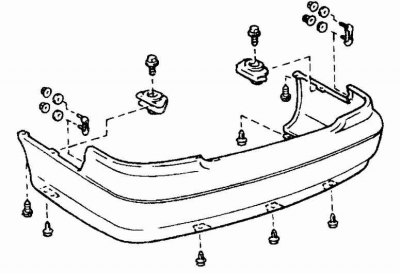
Rear bumper mounting parts (avalon models)
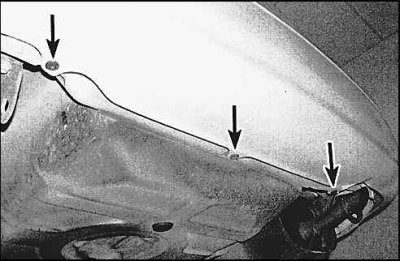
1. Remove the plastic pins (arrows) and unscrew the screws securing the lower edge of the bumper panel (camry models).
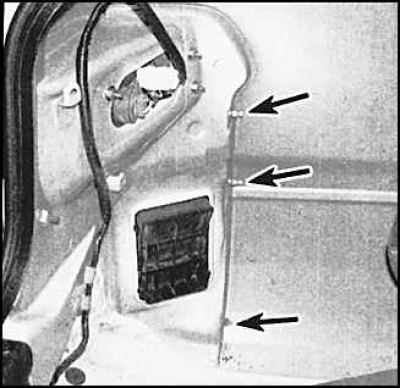
2. Unscrew the bumper mounting nuts at the corners inside the trunk. Remove the trim to access the nuts.
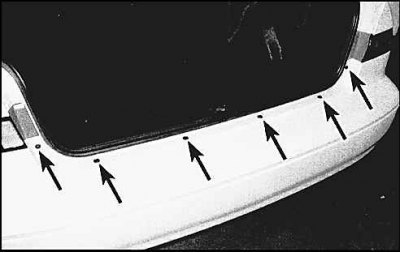
3. Open the trunk lid and remove the clips (arrows) or staples securing the top edge of the bumper panel. Remove the bumper panel.
Attention! Use a small screwdriver to pry up the buttons of the central pistons; do not remove the buttons themselves, as they are pressed into steel bushings. To remove bolts from the body holes when jammed, you can knock the bolt out with light blows of a plastic hammer.
4. Installation is carried out in reverse order.