
Removal and installation
1. Disconnect battery from ground
Instrument panel trim
2. On vehicles with an adjustable steering column, lower the column all the way down.
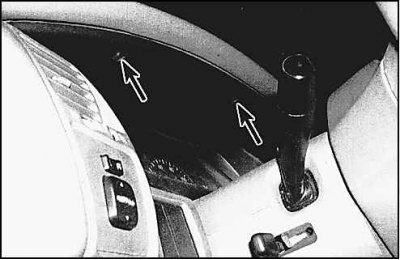
3. On Camry models, unscrew the two screws at the top of the instrument panel trim, push the trim towards you and disengage from the latches (Avalon models have 4 screws).
4. Using a screwdriver blade, carefully pry off the bottom of the trim and disengage from the latches.
5. Installation is carried out in the reverse order.
Knee buffer
2. Loosen the screws securing the hood lock lever to the knee buffer.
3. Press on the side of the storage box (if provided) and remove it from the knee buffer.
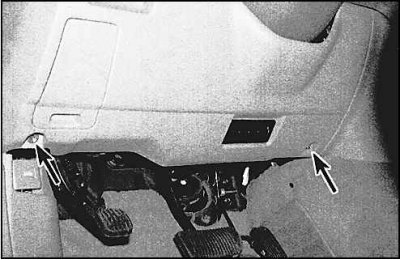
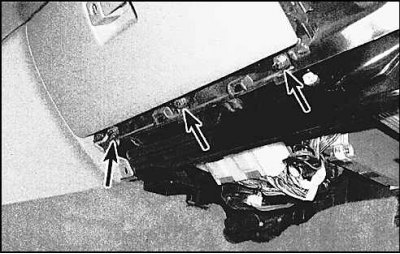
4. Unscrew the two bolts securing the knee buffer, move the buffer towards you and remove it from the latches. On Avalon models, first remove the cover of the fuse box mounted on the driver's side.
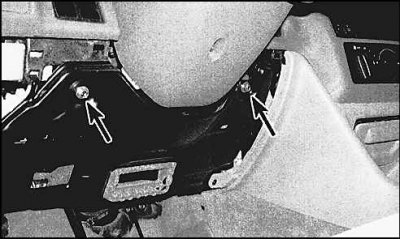
5. If you need access to the space under the front panel, then unscrew the bolts securing the popliteal buffer, which also attach the reinforcement plate. Pull the bottom edge of the buffer reinforcement plate towards you and remove.
6. Installation is carried out in the reverse order.
Central cladding panel
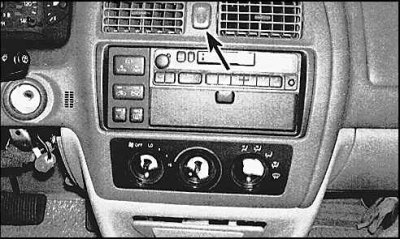
2. Pry up and remove from latches the central facing panel. On Avalon models, pull the panel towards you and disconnect the connector from the hazard switch (arrow).
3. Install the panel in reverse order.
Passenger Side Lower Trim Panel and Glove Box
1. The lower facing panel on the passenger side is fastened with latches. Pry up the panel and remove from the latches.
2. On Camry models, open the glove box and feed inside the sides of the box, then unscrew the fixing screws. On Solara models, remove the two bottom screws, open the glove box and remove the top screws. Remove the drawer together with the cladding panel.
3. On Avalon models, remove the three nuts under the drawer door and remove the door.