
Details of the instrument panel and panel mountings

1. Reinforcing section of the instrument panel; 2. Instrument panel bracket N2; 3. Instrument panel bracket N1; 4. Rack instrument panel N2; 5. Decorative trim front rack; 6. Side windshield blower nozzle; 7. Side pad of the windshield frame; 8. Overlay of a forward doorway; 9. Front door sill trim; 10. Bottom panel N2; 11. Glove box; 12. Decorative lining of the glove box door; 13. Facing panel of the instrument panel; 14. Bottom decorative overlay; 15. Alarm switch; 16. Rear-view mirror remote control unit; 17. The upper casing of the steering column; 18. Dashboard; 19. Facing the front pillar of the body; 20. Holder; 21. Instrument panel pillar N1
On the left, the panel is fastened with four bolts and screws, in the steering column - with five (four are concentrated at the top of the steering column space), three on the floor section and two inside the glove box cavity.
1. Disconnect the negative terminal from the battery, and then remove the positive terminal.
2. Remove decorative instrument panels and center floor section (see subsection 11.23. and subsection 11.22.).
3. Remove the instrument panel (see subsection 12.1.12.) and glove box.
4. On parts of cars, you need to disconnect and remove the airbag module on the passenger side (see subsection 12.1.26.).
5. Remove the audio unit from the central part of the instrument panel (see subsection 12.1.14).
6. Remove the air conditioning control panel (see subsection 5.2.).
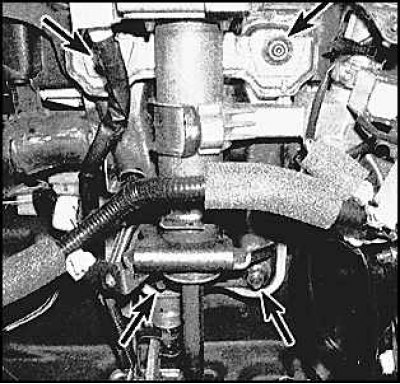
7. Remove the knee buffer and reinforcement plate. Turn away bolts of fastening of a steering column and lower a column.
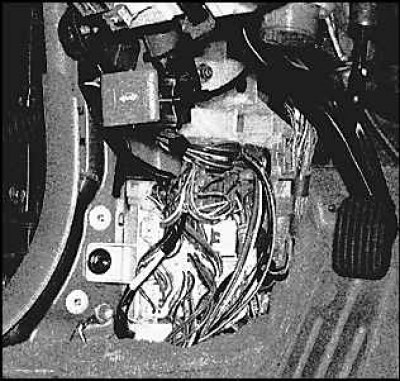 | 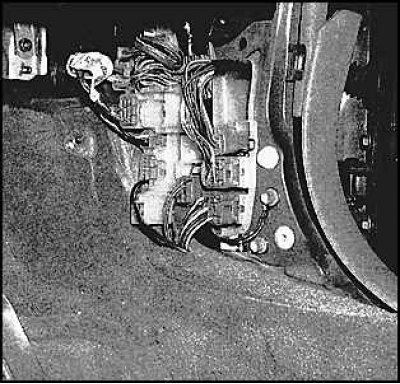 |
8. Disconnect the instrument panel wiring connectors. The mating parts of most panel connectors are non-interchangeable and cannot be interchanged, however, if in doubt, mark the connectors on the left and right under the instrument panel before disconnecting them.
9. Remove all instrument panel fasteners (bolts, nuts, screws). Lift and remove the panel through the doorway on the driver's side (the last procedure is performed together).
10. Installation is carried out in the reverse order.