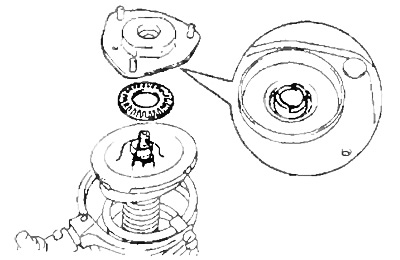
Removal
Note: Installation is performed in the reverse order of removal. After installation, check the front wheel alignment angles and the operation of the speed sensors (ABS).
1. Jack up the car, remove the front wheel.
- Tightening torque - 103 Nm
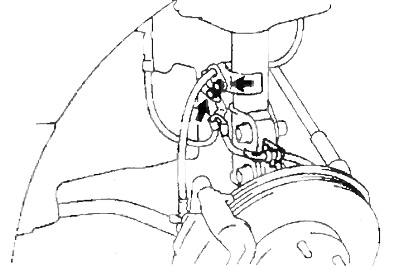
2. Remove the two bolts, remove the brake hose bracket and the speed sensor (ABS) wiring harness clamp from the rack.
Tightening torque:
- hose mounting bolt - 30 Nm
- wire fastening bolt - 5.5 Nm
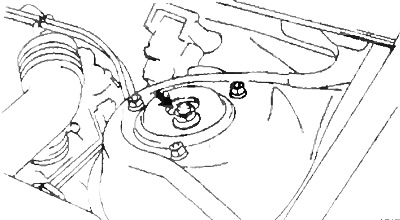
3. Loosen the nut located in the center of the upper strut support.
Note: Do not remove the nut.
- Tightening torque - 47.5 Nm
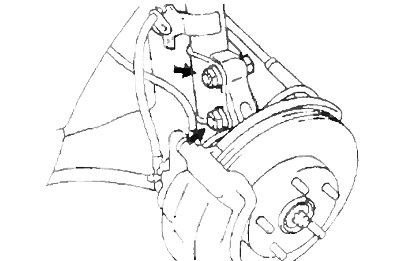
4. Loosen the nuts and remove the bolts, disconnecting the strut from the steering knuckle.
- Tightening torque - 215 Nm
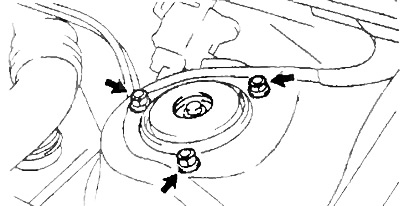
5. Unscrew the three nuts from the top of the rack and remove the rack assembly.
- Tightening torque - 65 Nm
Disassembly
1. Remove the spring.
a) Install a bolt and two nuts on the bracket at the bottom of the rack and secure it in a vice.
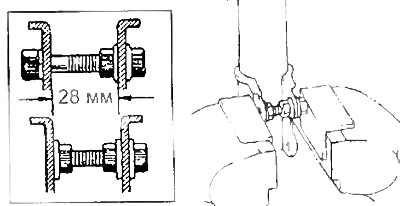
b) Using a special tool, compress the spring.
c) Unscrew the nut.
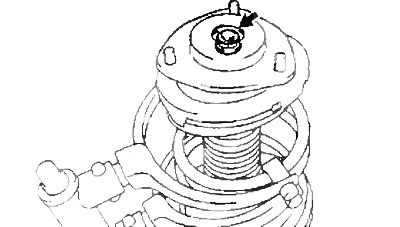
d) Remove: upper strut support, bearing, upper spring seat, upper vibration isolator, spring, compression stroke limiter, lower vibration isolator.
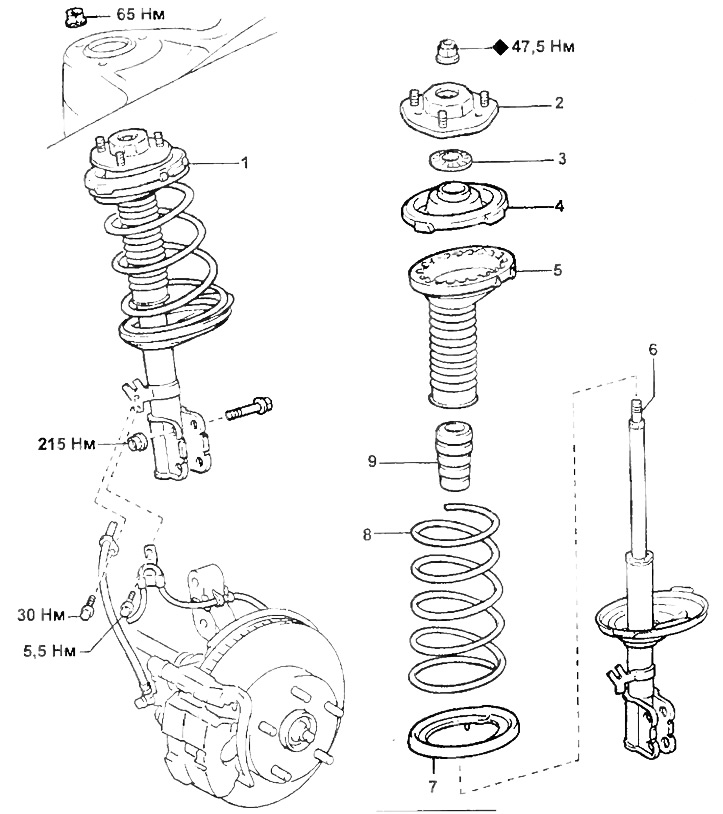
Front suspension strut.
1 - front suspension strut assembly,
2 - upper support of the rack,
3 - bearing,
4 - upper spring seat,
5 - upper vibration isolator,
6 - front suspension strut,
7 - lower vibration isolator,
8 - spring,
9 - compression stroke limiter,
10 - brake disc,
11 - lock nut cap,
12 - cotter pin,
13 - lower ball joint,
14 - lower suspension arm,
15 - bushing,
16 - sleeve holder,
17 - support,
18 - anther,
19 - steering rod end,
20 - spring,
21 - drive shaft,
22 - speed sensor wiring harness (ABS),
23 - front suspension strut with spring assembly,
24 - stabilizer strut.
Checking the shock absorber
By pulling and pressing the shock absorber rod, check that its movement is smooth and there is no extraneous resistance or noise. If faulty, replace the shock absorber.
Assembly
1. Install the lower vibration isolator on the stand.
Note: Install the lower vibration isolator so that the grooves match.
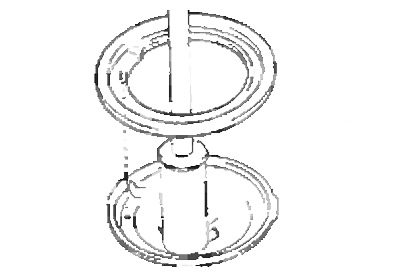
2. Install the spring compression stroke limiter onto the piston rod.
3. Install the spring.
a) Using the special tool, compress the spring.
b) Install the spring on the rack.
Note: Install the lower end of the spring into the groove of the lower strut seat.
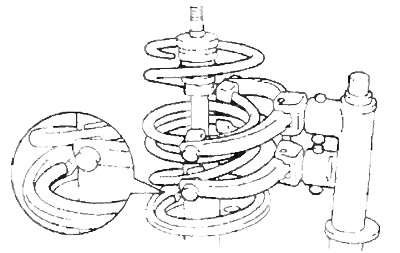
4. Install the upper vibration isolator and spring seat.
a) Align the "OUT" mark on the upper spring seat with the mark on the upper vibration isolator.
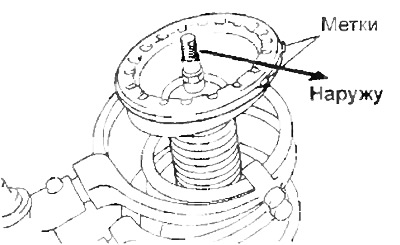
b) Install the upper spring seat with the upper vibration isolator with the mark facing the rear of the vehicle.
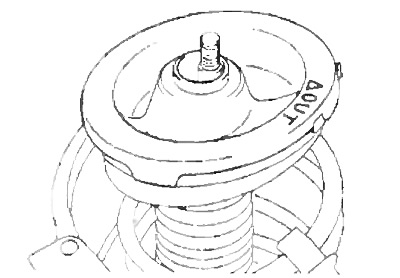
c) Install the bearing, upper strut support and new nut.
Note: Make sure the bearing is seated in the upper strut mount.