Removal and installation
Note: Installation is in reverse order of removal. After installation, check the alignment of the front wheels.
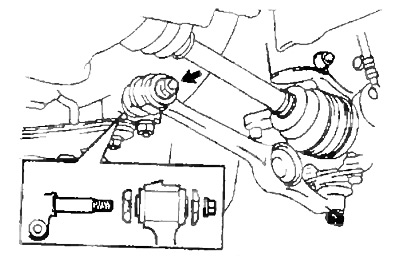
1. Disconnect the anti-roll bar from the lower arm (see relevant section).
Note: Make the final tightening of the nut after the suspension has stabilized.
- Tightening torque - 216 Nm
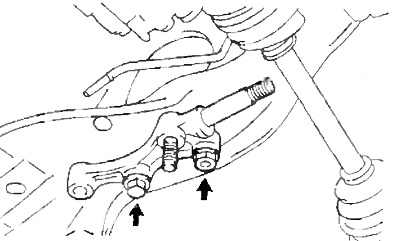
2. Remove the nut and, using the special tool, disconnect the lower ball joint from the lower arm.
- Tightening torque - 127.5 Nm
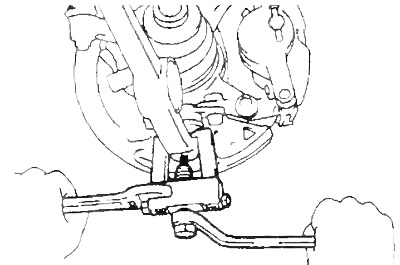
3. Remove the lower arm.
Loosen the nut and remove the lower arm from the axle.
Note: Make the final tightening of the nut after the suspension has stabilized.
- Tightening torque - 216 Nm
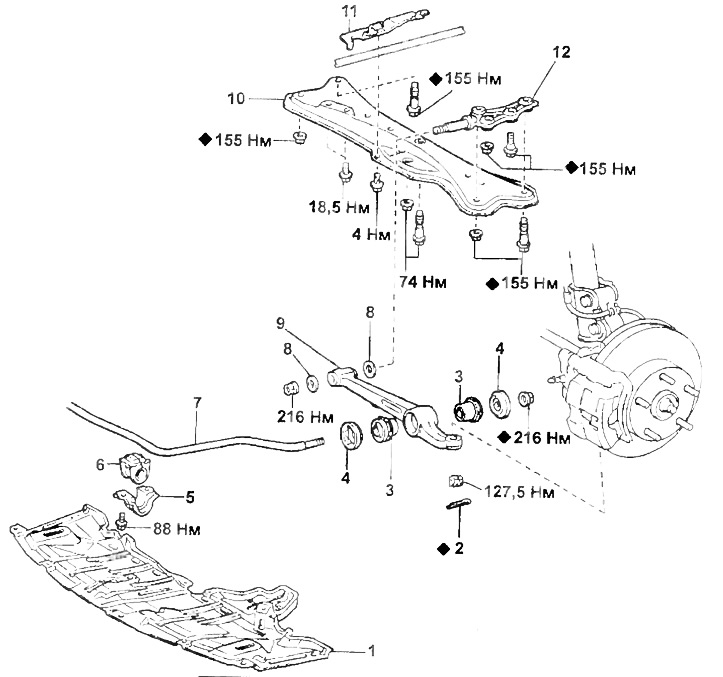
Lower arm front suspension.
1 - engine protection cover,
2 - cotter pin,
3 - bushing,
4 - washer,
5 - sleeve holder,
6 - bushing,
7 - anti-roll bar,
8 - washer,
9 - lower arm,
10 - cross beam,
11 - automatic transmission fluid cooler tube holder,
12 - the axis of the lower arm.
4. Remove the lower arm axle and) (Models with automatic transmission) Loosen the bolt securing the automatic transmission control cable holder.
- Tightening torque - 4 Nm
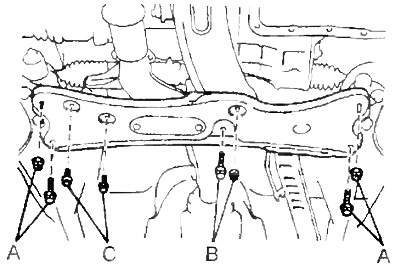
b) Turn away bolts and nuts, and remove a cross beam.
Torque:
- A - 155 Nm
- B - 74 Nm
- WITH (gasoline engines) - 18.5 Nm
V) Turn away a bolt and a nut and remove an axis of the bottom lever.
- Tightening torque - 155 Nm