



Note: Installation is carried out in the reverse order of removal.
1. Remove the cotter pin and unscrew the nut.
- Tightening torque - 127.5 Nm
2. Install the mount as shown in the figure and press the stabilizer.
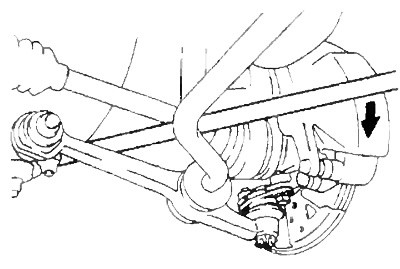
3. Using a puller, disconnect the lower ball joint from the lower control arm.
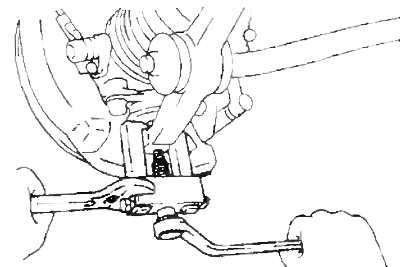
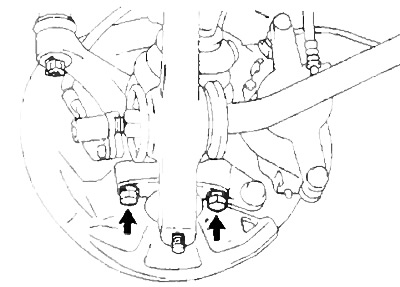
4. Loosen the bolts securing the ball joint to the knuckle and remove it by pressing on the crowbar.
- Tightening torque - 115 Nm
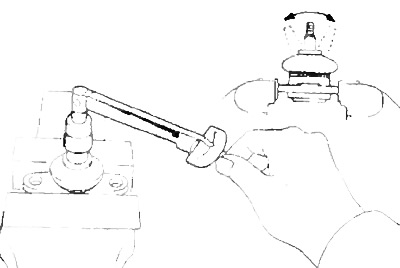
Checking the lower ball joint
Check the ball joint rotation moment.
a) Before installing the nut, rock the ball joint axle from side to side several times.
b) Using a torque wrench, rotate the nut continuously (one revolution in 2-4 seconds) and take a reading on the fifth revolution.
- Scrolling moment - 1.5-3.0 Nm
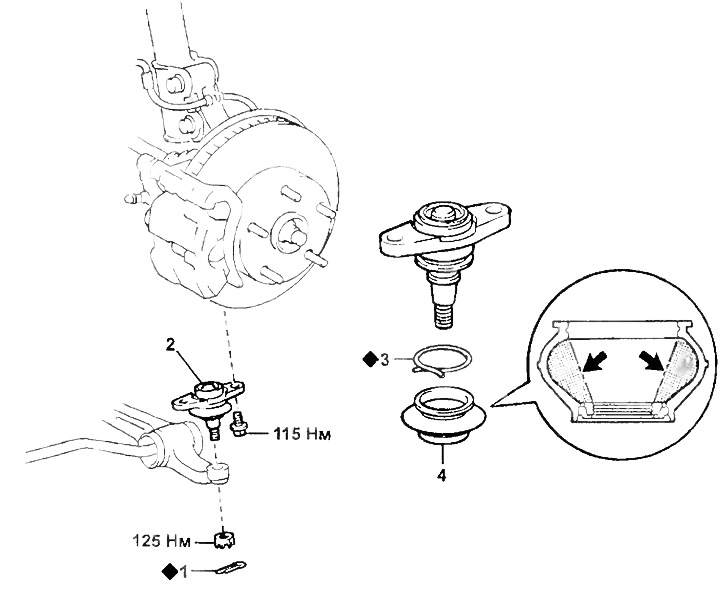
Lower ball joint.
1 - cotter pin,
2 - ball joint,
3 - retaining ring,
4 - case.