



Contents: Removal ↓ Installation ↓
Fuel pump - type A
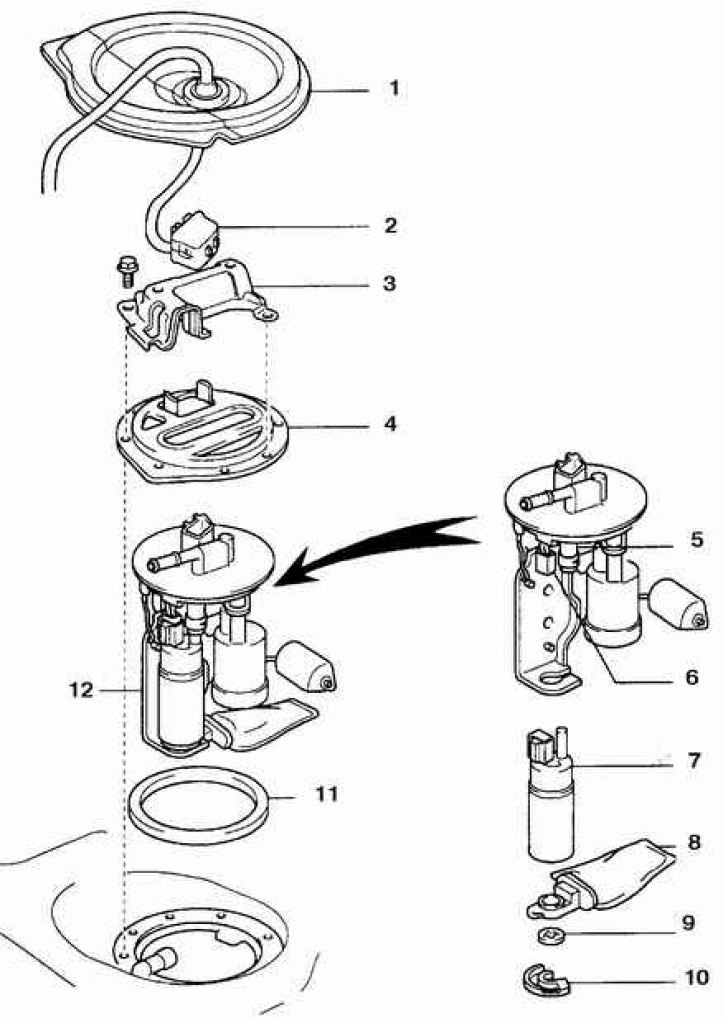
1. Lid; 2. Fuel pump and sensor wire; 3. Protective cover; 4. Plate; 5. Fuel hose; 6. Connector; 7. Fuel pump; 8. Fuel pump filter; 9. Clamp; 10. Rubber gasket; 11. Gasket; 12. Fuel pump assembly
Fuel pump - type B
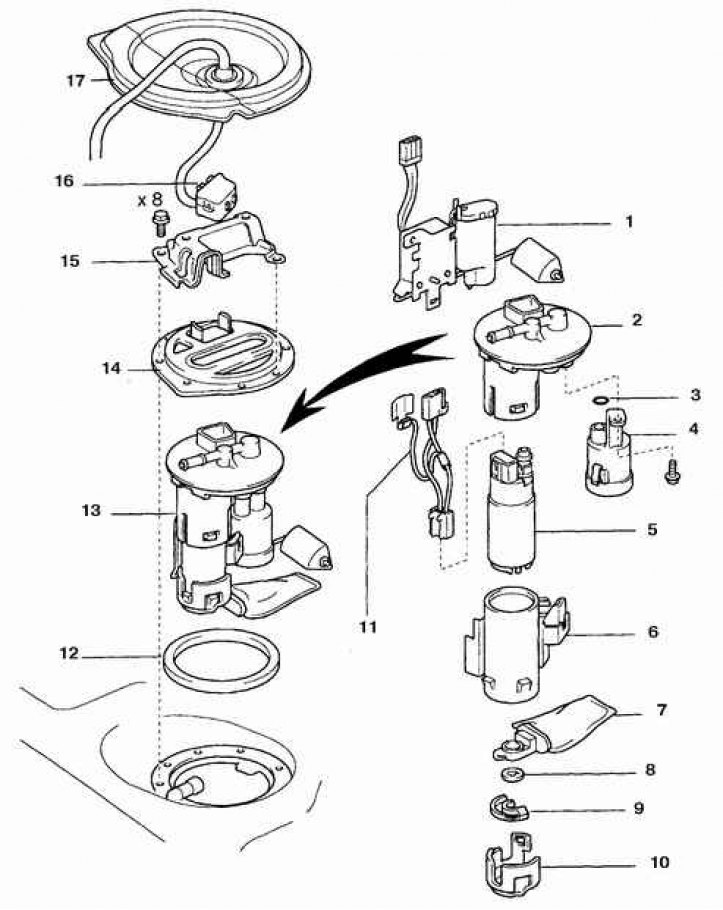
1. Fuel level sensor; 2. Fuel pump flange; 3. Sealing ring; 4. Fuel filter; 5. Fuel pump; 6. Pump casing; 7. Fuel pump filter; 8. Clamp; 9. Rubber gasket; 10. Bracket; 12. Gasket; 13. Fuel pump assembly; 14. Plate; 15. Protective cover; 16. Fuel pump and sensor wire; 17. Lid
Removal
1. Release the pressure in the fuel system and remove the fuel tank filler cap.
2. Disconnect the negative battery cable.
3. Remove the rear seat.
4. Remove the cover in the floor.
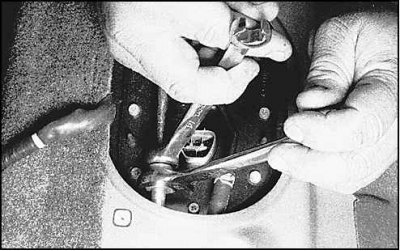 | 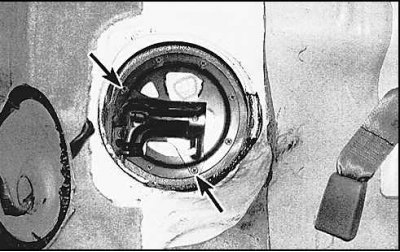 |
5. Disconnect the wire and fuel line. If a flared connection is used, disconnect the fuel line using wrenches. If a quick-release connection is used, remove the screws (indicated by arrows in the figure on the right) and remove the protective cover of the connection.
6. Remove the bolts from the fuel pump unit and fuel level sensor.
7. Remove the block from the fuel tank.
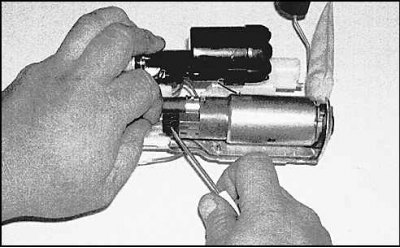
8. Disconnect the wire from the pump.
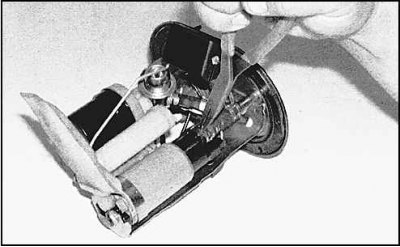
9. Squeeze the pump hose retainer and remove the retainer.
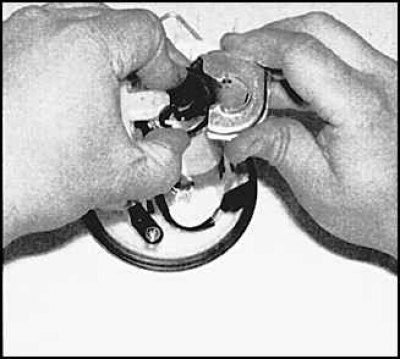
10. Release the bottom of the pump and disconnect the pump from the hose.
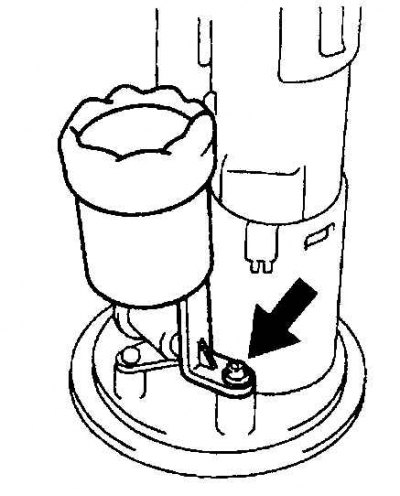
11. To remove the B-type pump, remove the screw (indicated by the arrow) fuel filter and remove the filter.
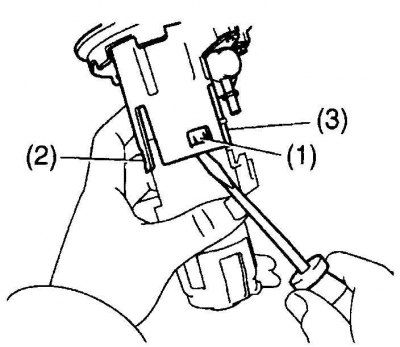
12. Pry up the latches on the pump flange one by one.
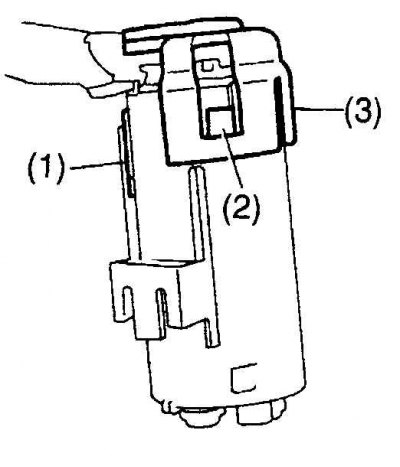
13. Pry up the latches and remove the lower pump bracket.
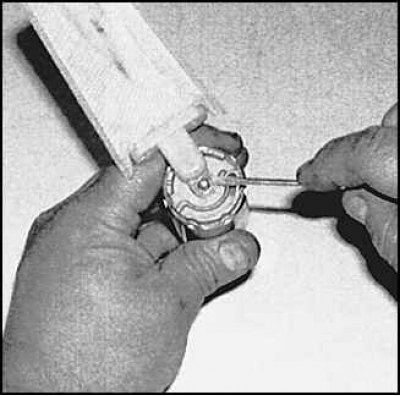
14. Remove the retainer and disconnect the filter from the pump. Replace the filter if necessary.
Installation
Installation is carried out in the reverse order of removal.