
Removal and installation
1. Disconnect the negative battery cable.
2. Remove the center trim panel and remove the radio.
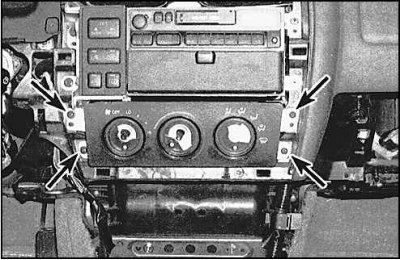
3. Remove the control knobs and unscrew the control panel screws (indicated by arrows).
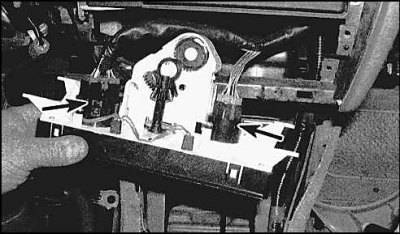
4. Disconnect the wires (indicated by arrows) from the control panel - the Avalon model.
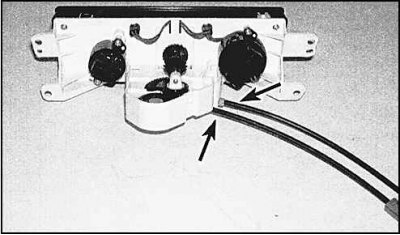
5. Disconnect two cables (indicated by arrows) from the back of the control panel - Avalon model. Remove the control panel.
6. Installation is carried out in the reverse order of removal.
Adjustment of control cables
1. To adjust the cable that controls the air intake damper, set the lever to the FRESH position, install and lock the cable.
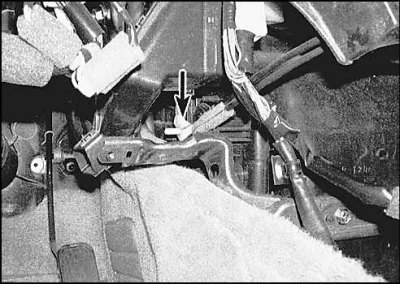
2. To adjust the air mixture control cable, set the air mixture lever to the COOL position, install and lock the cable (indicated by an arrow).
Checking the electrical circuit
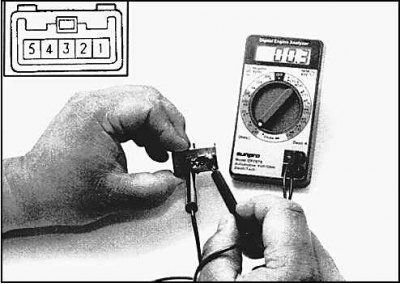
1. Test the A/C switch by connecting a tester to pins 2 and 5. When the switch is in the ON position, the circuit between pins 2-5 and 3-4 should be closed.
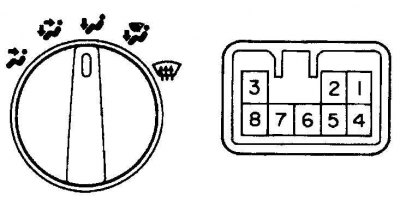
2. Test the mode switch (see table).
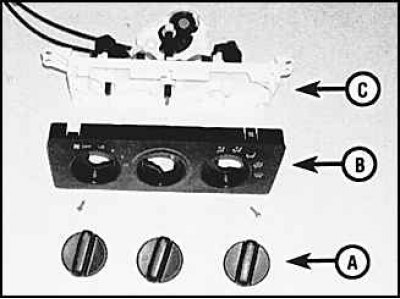
3. To replace any parts of the control panel, remove the handles (A), unscrew the cover screws (IN) and unscrew the switch screws (WITH).
| Switch knob position | Contacts | Necessary condition |
| FACE | 1 – 6 | Circuit closed |
| B/ L | 1 – 5 | Circuit closed |
| FOOT | 1 – 4 | Circuit closed |
| FOOT/ DEF. | 1 – 3 | Circuit closed |
| DEF. | 1 – 2, 7 – 8 | Circuit closed |