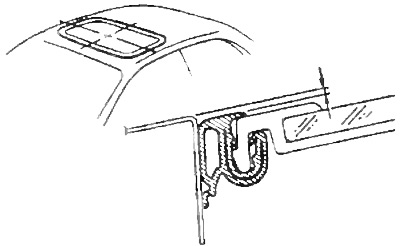
A) Loosen the sunroof mounting bolts.
b) Adjust gaps between roof panel and sunroof.
Remove the sunroof control panel and rotate the drive shaft with a suitable tool (e.g. with a bent screwdriver) adjust gaps.
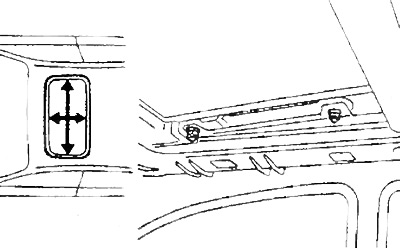
2. Sunroof adjustment in the vertical direction.
Make sure that the front and rear of the sunroof are positioned relative to the roof panel at this distance:
- Front 0±1.5 mm
- Back 0+1.5 mm; 0 - 1.0 mm
If necessary, adjust the height of the sunroof by changing the thickness of the shims.
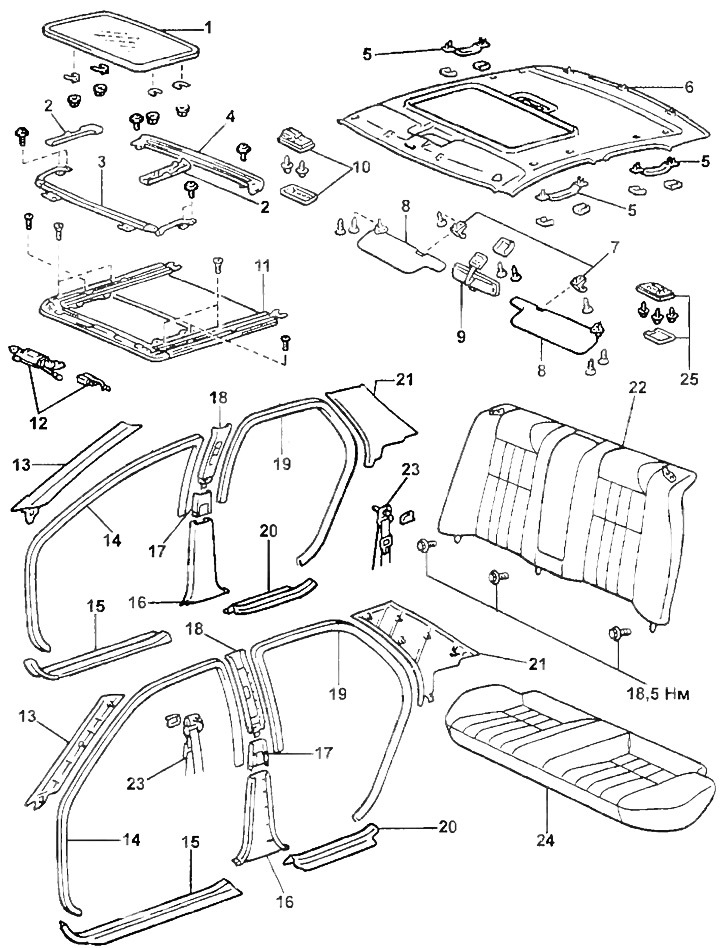
Luke.
1 - hatch,
2 - hatch guide,
3 - deflector panel,
4 - drain chute,
5 - handle,
6 - roof trim,
7 - holder,
8 - sun visor,
9 - interior mirror,
10 - hatch control panel,
11 - drive cable guide assembly,
12 - electric motor,
13 - upper trim of the front pillar,
14 - front door seal,
15 - trim front door sill,
16 - lower trim of the central pillar,
17 - middle trim of the central pillar,
18 - upper trim of the central pillar,
19 - rear door seal,
20 - rear door sill trim,
21 - rear pillar trim,
22 - rear seat back,
23 - seat belt,
24 - rear seat cushion,
25 - ceiling lamp for interior lighting.
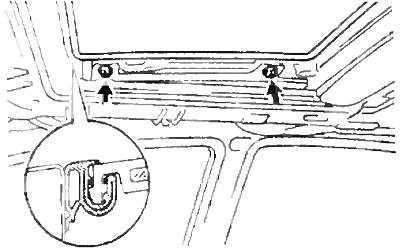
3. Adjusting the gap between the front corners of the sunroof and the roof panel.
A) Set sunroof to closed position.
b) Disconnect the motor drive from the cables.
V) Remove the sunroof.
G) Adjust the gap by moving the hatch guide forward and backward relative to the marks shown in the figure.
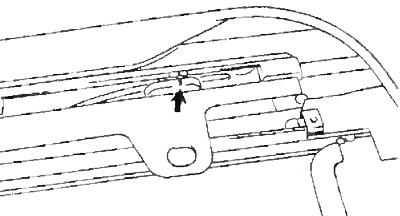
d) Install previously removed parts in reverse order of removal.
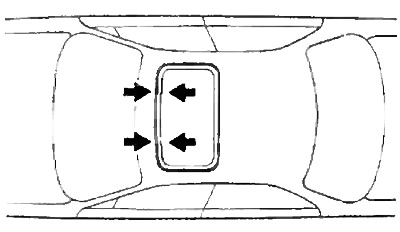
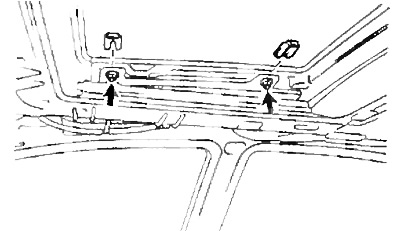
4. Adjustment of the hatch in the longitudinal and transverse directions.
To adjust, loosen the sunroof mounting bolts shown in the figure and adjust the position of the sunroof.