



Contents: Removal ↓ Installation ↓
Removal
1. Raise the vehicle and remove the transmission.
2. Mark the position of the clutch master assembly in relation to the flywheel using a marker or paint.
3. Loosen the clutch master assembly mounting bolts gradually in a diagonal sequence, turning each bolt half a turn until the spring force is released and the bolts can be removed by hand. Remove the clutch master assembly and clutch disc from the flywheel.
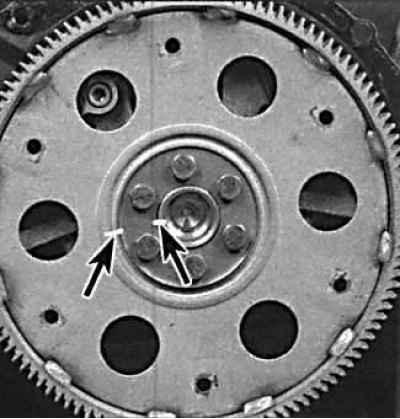
4. Secure the flywheel from turning by installing a locking pin on the flywheel ring gear. Apply alignment marks to the flywheel and crankshaft.
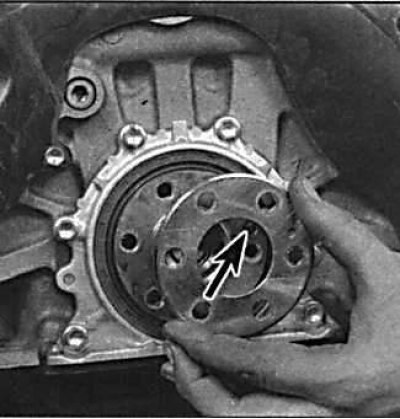
5. Remove the bolts and flywheel. When removing the drive plate on vehicles equipped with an automatic transmission, when removing the drive plate, also remove the two gaskets located on both sides of the drive plate.
(Publication Reprinted from a web portal www.toyotaman.ru)
Installation
1. On models with a manual transmission, check the flywheel for wear on the clutch side and the condition of the pinion teeth.
2. On models with automatic transmission, check the condition of the torque converter drive and ring gear.
3. Clean the mating surfaces of the flywheel and crankshaft. Install the flywheel in accordance with the previously applied marks and tighten the mounting bolts.
4. Secure the flywheel from turning and finally tighten the flywheel mounting bolts.
5. Further installation is carried out in the reverse order of removal.