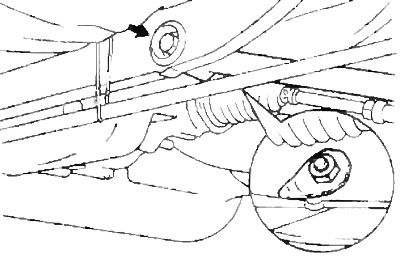
Removing
Note: Installation is in reverse order of removal.
Attention: after installation, push the body down and lift it up to stabilize the suspension.
1. Jack up the car and remove the rear wheel.
2. Remove the cover.
A) Using a drill (5 mm), drill out the rivet heads, then knock them out.
b) Remove the cover.
3. Remove the trailing arm.
A) Remove the cotter pin and unscrew the nut.
- Tightening torque - 93 Nm
b) Using the special tool, disconnect the trailing arm from the steering knuckle.
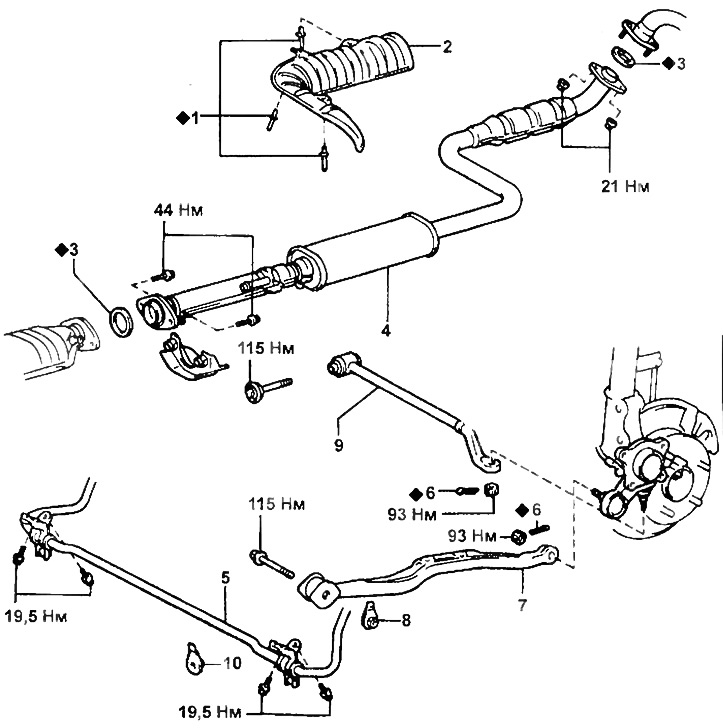
Lower and trailing arms (4WS models).
1 - rivet,
2 - casing,
3 - gasket,
4 - the central pipe of the muffler,
5 - anti-roll bar,
6 - cotter pin,
7 - trailing arm,
8, 10 - nut,
9 - lower arm.
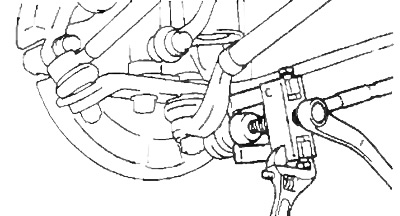
V) Loosen the bolt and remove the trailing arm.
Attention: make the final tightening after stabilization of the suspension.
- Tightening torque - 115 Nm
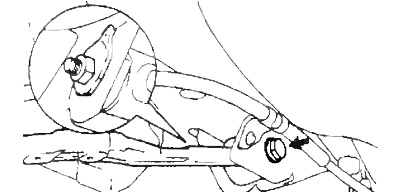
4. Turn away two bolts and disconnect the holder of the plug.
- Tightening torque - 19.5 Nm
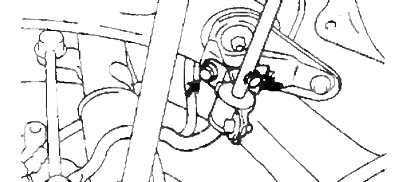
5. Remove the lower suspension arm.
A) Loosen the nut.
- Tightening torque - 93 Nm
b) Using the special tool, disconnect the lower arm from the knuckle arm.
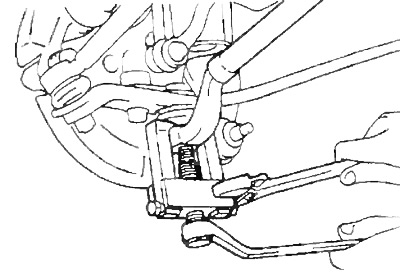
V) Loosen the bolt and remove the lower arm.
Attention: make the final tightening after stabilization of the suspension.
- Tightening torque - 115 Nm