
Removing
Note: Installation is in reverse order of removal.
1. Jack up the car and remove the rear wheels.
- Tightening torque - 105 Nm
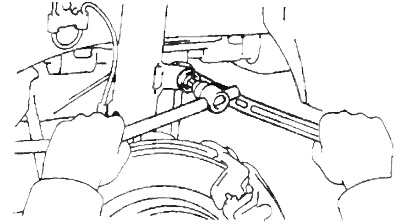
2. Remove stabilizer links.
Note: If the ball joint shaft rotates with the nut, use a socket wrench to hold the strut.
- Tightening torque - 65 Nm
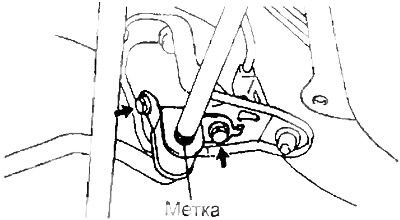
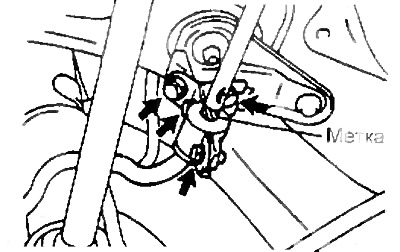
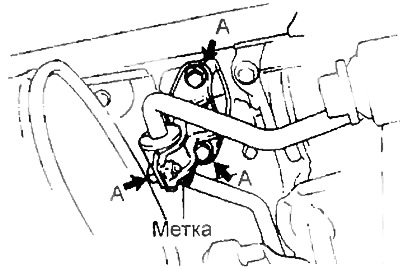
3. Turn away bolts, remove holders of plugs and plugs.
Torque:
2WD models (2WS, 4WS) - 19.5 Nm
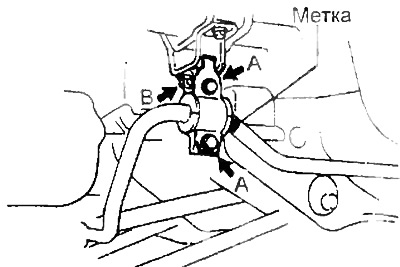
4WD models
- bolt A - 19.5 Nm
- bolt B - 55 Nm
2WD Models (2WS)
2WD Models (4WS)
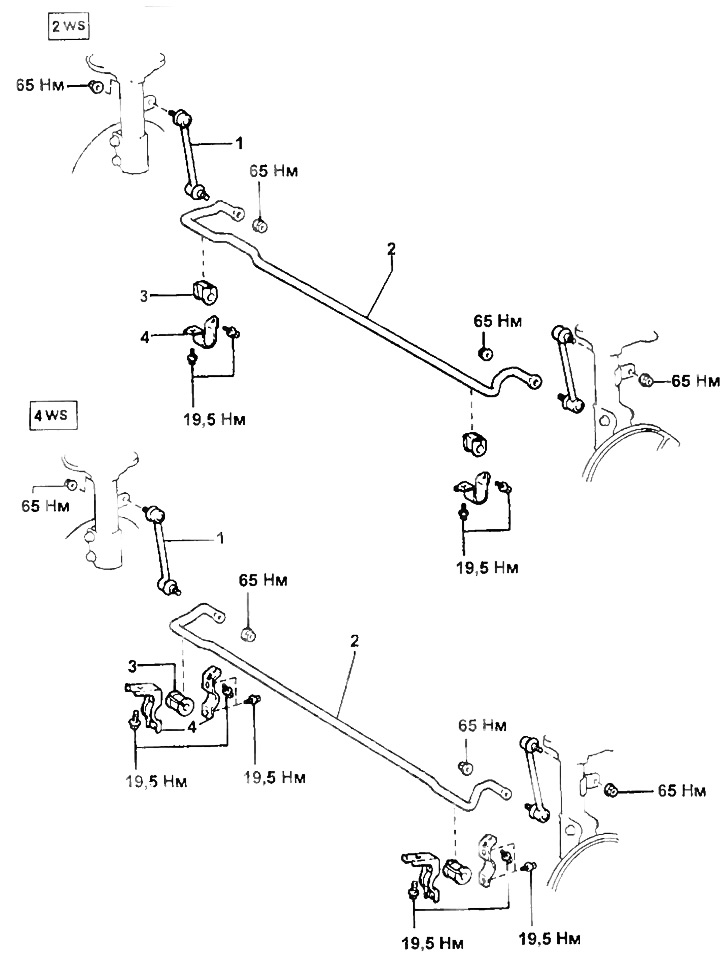
Roll Stabilizer (2WD).
1 - stabilizer bar,
2 - anti-roll bar,
3 - bushing,
4 - sleeve holder.
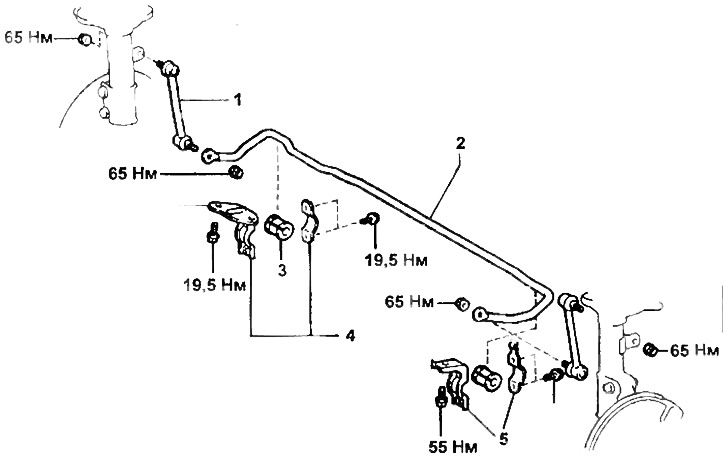
Roll Stabilizer (4WD).
1 - stabilizer bar,
2 - anti-roll bar,
3 - bushing,
4 - holder of the right sleeve,
5 - holder of the left sleeve.
4WD Models (Right side)
4WD Models (left-hand side)
5. Remove the stabilizer.
Checking the stabilizer bar
Check up the moment of scrolling of a spherical hinge of a rack of the stabilizer.
A) Before installing the nut, shake the ball joint shaft from side to side several times.
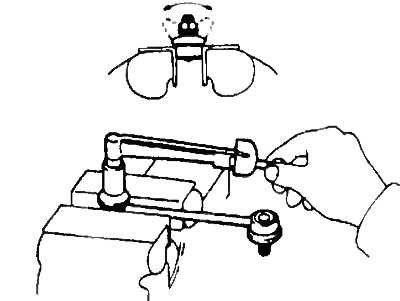
b) Using a torque wrench, turn the nut continuously (one revolution in 2-4 seconds) and take the reading at the fifth turn.
- Scroll torque - 0.05 -10 Nm
If the torque is not as specified, replace the stabilizer link.