
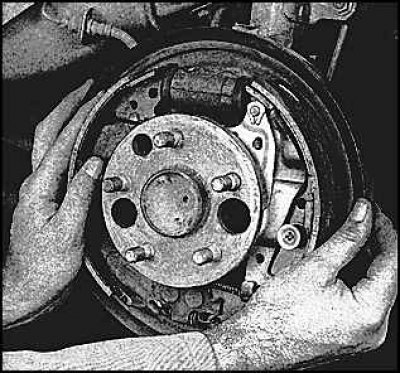
Rear drum brake parts
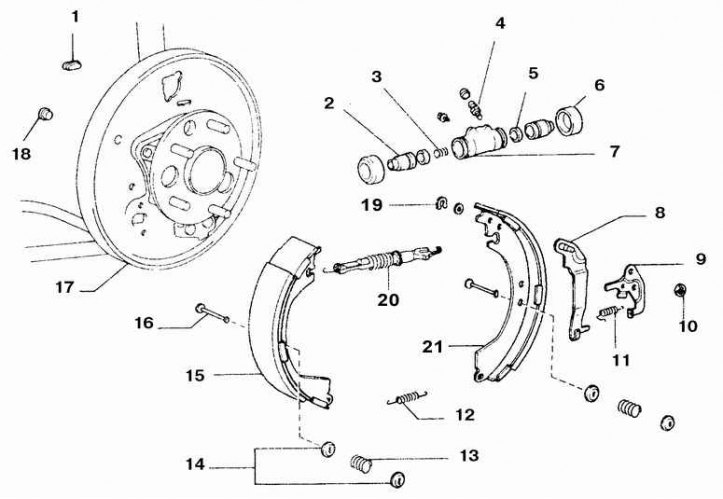
1. Plug; 2. Piston; 3. Spring; 4. The union for removal of air; 5. Piston seal; 6. Outer piston seal; 7. Wheel cylinder; 8. The lever of a drive of a block of a parking brake; 9. Automatic adjustment lever; gap between pads and drums; 10. Retaining ring; 11. Automatic adjustment lever spring; 12. Lower return spring; 13. Clamping spring pads; 14. Cups; 15. Front block; 16. Axis; 17. Brake shield; 18. Inspection hole plug; 19. Split washer; 20. Regulator; 21. Rear shoe
Replacement
Attention! Pads are changed only as a set for one axle.
Together with the pads, the coupling springs also change, which, being subjected to periodic thermal loads, gradually lose their elasticity and do not provide sufficient removal of the pad from the drum. As a result, the drum touches the pads, causing premature wear.
1. Loosen the wheel nuts, raise the rear of the car. Remove wheels.
2. Release the parking brake.
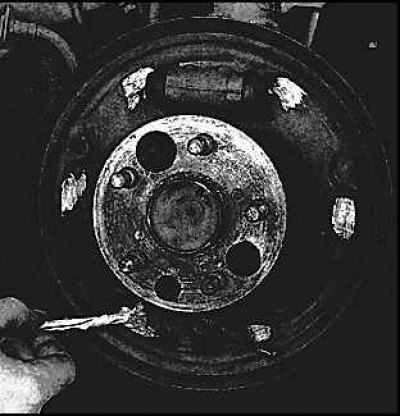
3. Remove the wheel. If the pads will not change, then mark them so that they can be installed in their original places during assembly.
4. Mark the position of the drum on the hub so that the balance is not disturbed during assembly.
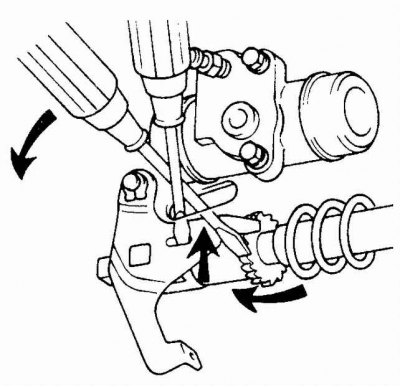
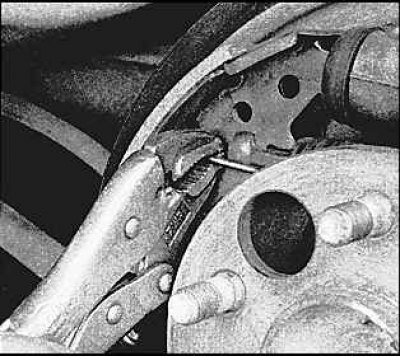
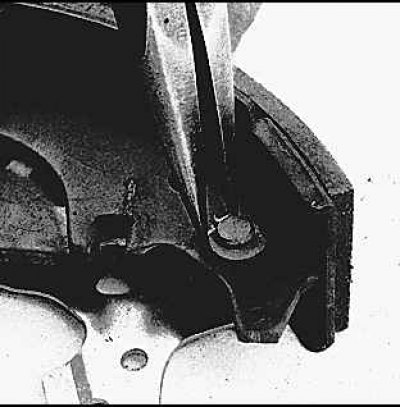
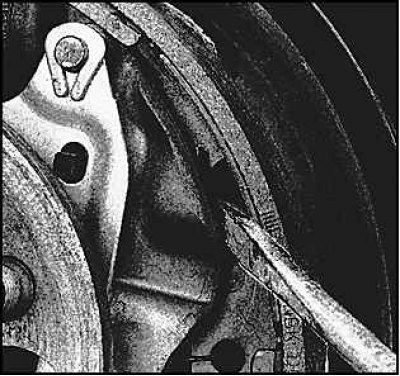
Attention! If the drum cannot be removed, then bring the pads together. To do this, remove the plug from the brake shield and rotate the geared flywheel of the regulator with a screwdriver, moving the lever away from the geared flywheel with another thin screwdriver.
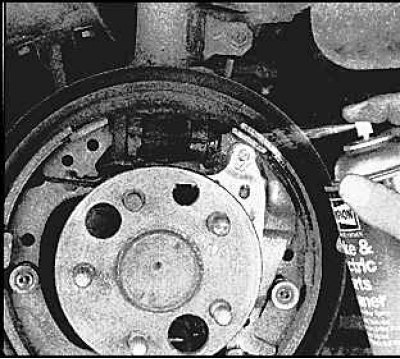
5. Clean brake parts.
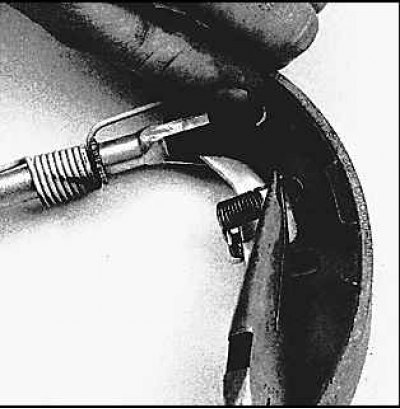
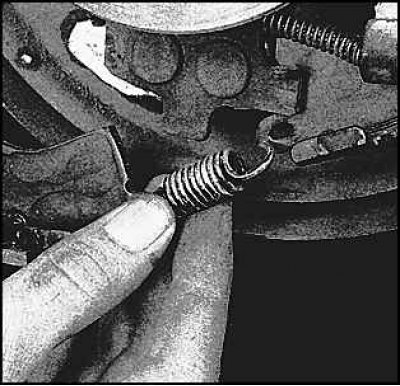
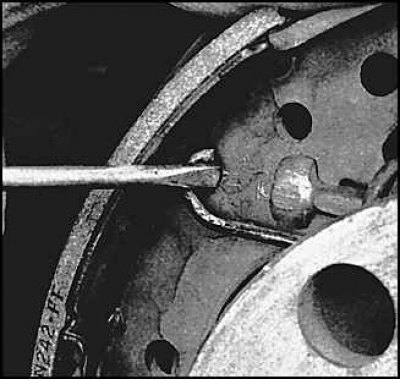
6. Remove the tension spring.

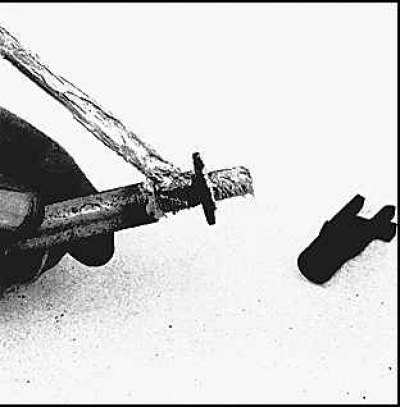
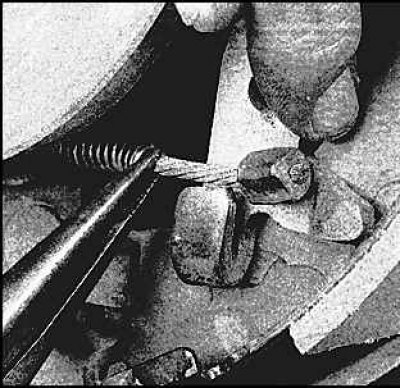
7. Remove the shoe pressure springs by pushing the cup and turning it 90°.
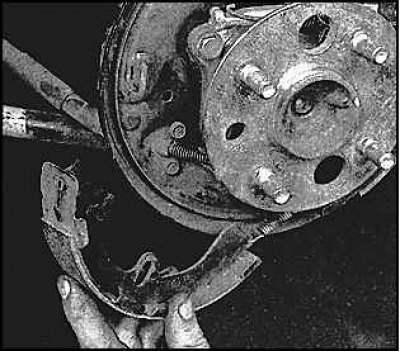
8. Remove the front shoe, unhook the lower spring.
9. Remove the rear pad retainer spring.
10. Remove the rear shoe and regulator from the brake shield.
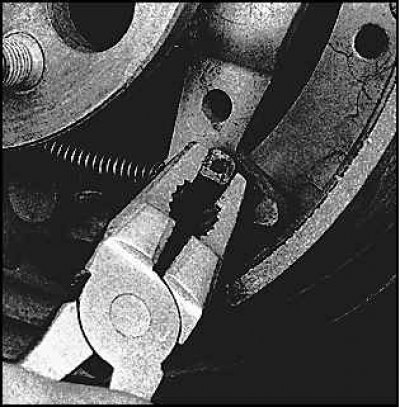
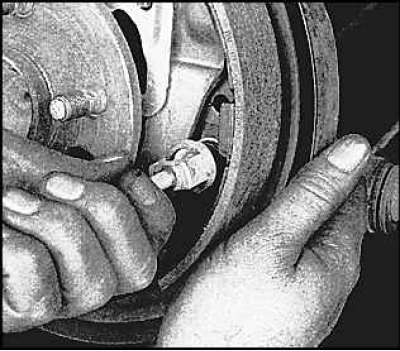
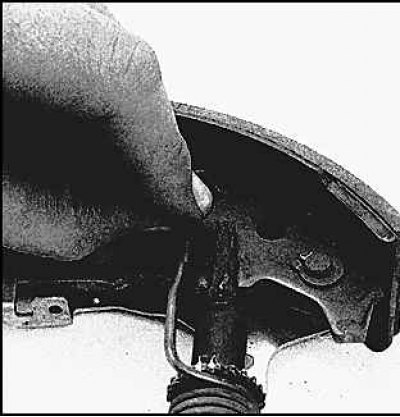
11. Remove the parking brake cable from the lever with pliers.
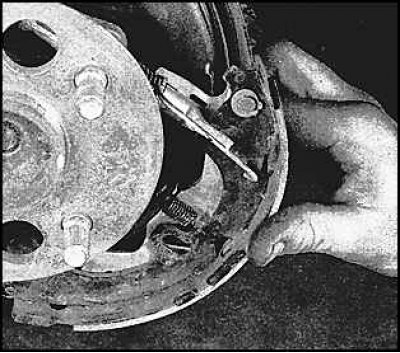
12. Remove the regulator lever spring.
13. Disconnect the return spring from the block and remove the regulator.
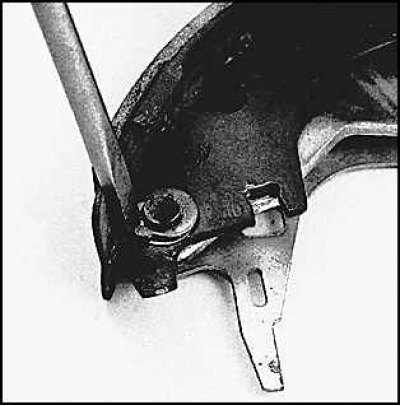
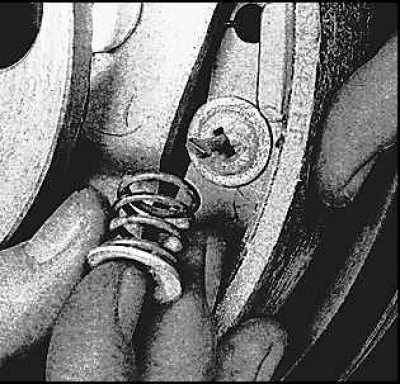
14. Remove the split washer and remove the parking brake and governor levers.
15. Install the parking brake and governor levers on the new shoe, install the split washer and compress it.
16. Lubricate the friction surfaces of the regulator with refractory grease. The regulator is screwed on after installing the drum on new pads.
17. Install the regulator on the rear shoe (the regulator fork should go into the groove on the block) and hook the spring over the hole in the block.
18. Put on the regulator spring.
19. Lubricate the contact points of the pads with refractory grease.
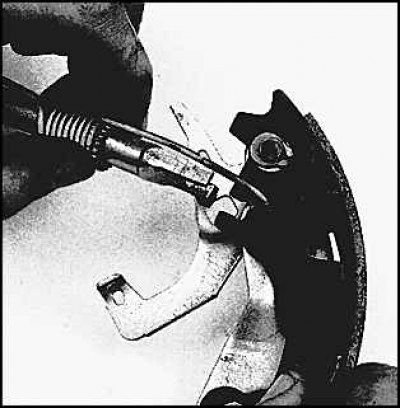
20. Start the parking brake cable spring, and, holding it with pliers, put the cable on the bent part of the shoe drive lever.
21. Install the rear shoe, put on the cup, clamping spring and secure with the outer cup by turning the cup on the axis at an angle of 90°.
22. Hook the bottom return spring into the shoe lugs, install the front shoe, compression spring and cups.
23. Push the shoe drive lever forward and make sure the adjuster spring does not disengage from the rear shoe.
24. Check that the rear brake pads are secure by rocking them from side to side and toward you.
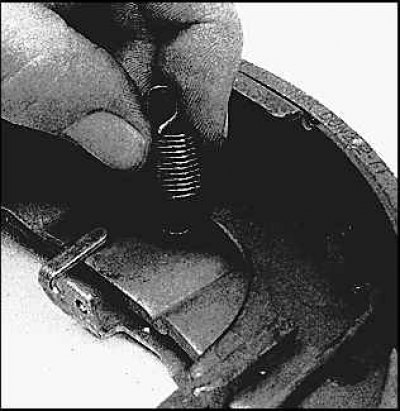
25. Using a screwdriver, tighten the upper return spring and hook it into the hole in the block.
26. Before installing, clean the drum and check the condition of the surface. Check the ovality of the drum, in case of severe damage, machine the drum, fine roughness is polished with sandpaper.
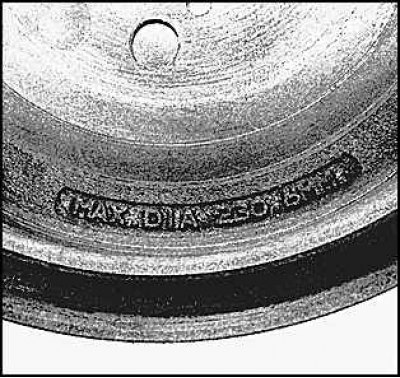
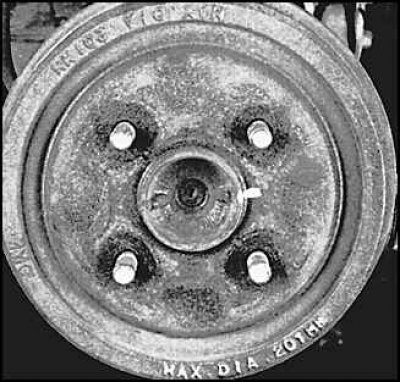
Attention! When replacing pads, it is recommended that the drum be sanded, regardless of its condition, to remove any possible ovality. If, after turning, the inner diameter of the drum is greater than the limit, replace the drum. The maximum diameter of the drum is molded on its inner surface.
27. Install the drum.
28. Install the wheel and lower the car, tighten the wheel nuts.
29. Make several brakings, moving forward and in reverse, working with the parking brake, set the gap between the shoes and drums.
30. Before leaving, check the operation of the brakes.