



Removal
1. Raise the front of the vehicle and remove the wheel on the side where the control arm will be removed.
2. Disconnect the stabilizer link from the lever (see subsection 9.1.3.).
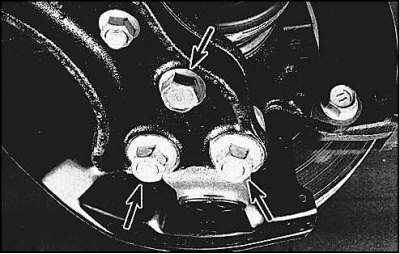
3. Unscrew the indicated bolt and nuts securing the ball joint to the lever.
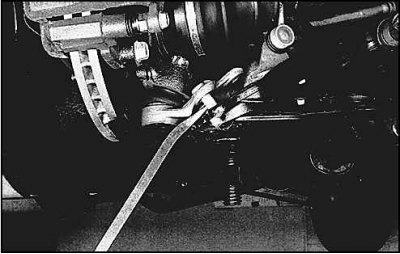
4. Using a crowbar, move the suspension arm away from the steering knuckle.
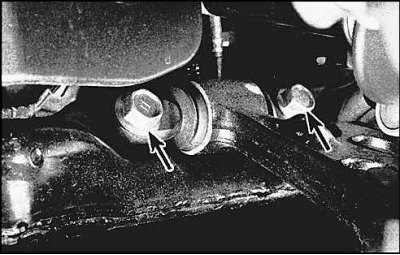
5. Remove the two bolts securing the front part of the suspension arm to the engine frame (arrows).
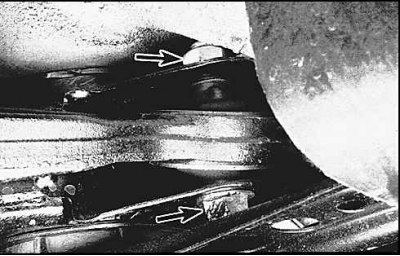
6. Remove the bolt and nut securing the rear part of the suspension arm to the engine frame (arrows).
7. Remove the lever.
Examination
1. Check the lever for deformations. If a bend is detected, replace the lever. Straightening the lever is prohibited.
2. Check the condition of the lever bushings. If cracks, tears or signs of severe wear are found on the bushings, replace the lever assembly.
Installation
1. Installation is performed in reverse order. Tighten all threaded connections to the specified torques.
2. Install the wheel and lower the vehicle.
3. Check and adjust wheel alignment if necessary.