
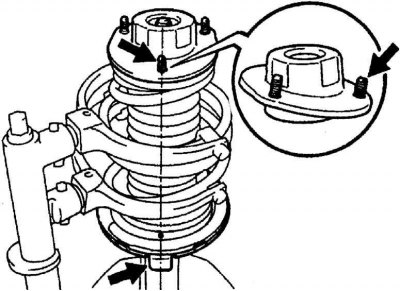
Details of the front suspension strut

1 - upper support; 2 - bearing (models since 1995); 3 - spring seat (models since 1995); 4 - protective cover; 5 – cylindrical spring; 6 - buffer; 7 - bottom gasket; 8 - shock absorber
1. Remove the A-pillar from the vehicle and secure in a soft jaw vise.
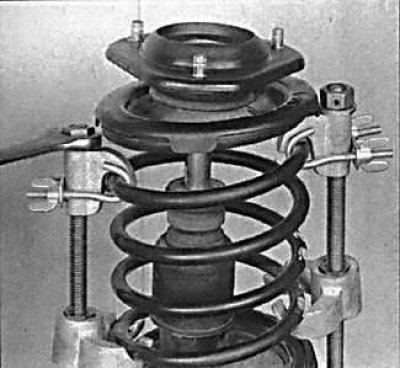
2. Using the special tool, compress the spring so that it moves away from the top. When using a special device for spring compression, make sure that the coils of the spring are securely gripped, and the spring is compressed from opposite sides. The spring has a very high compression force, so use only a very reliable tool. Never tie the spring with wire.
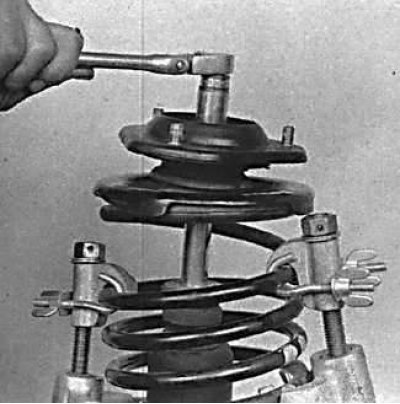
3. Unscrew the central nut securing the shock absorber rod.
 | 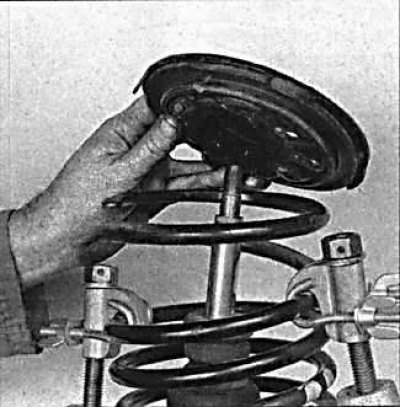 |
4. Remove the upper strut support and spring seat.
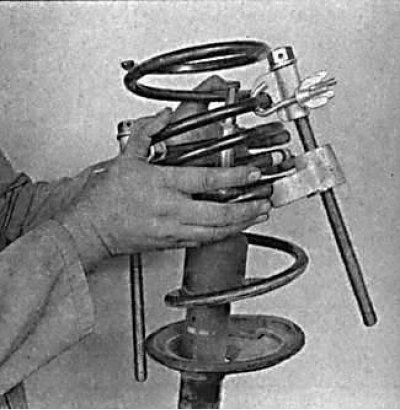
5. Remove the spring from the front strut.
6. Remove the buffer from the shock absorber rod.
7. Check all elements of the front strut for wear, damage or deformation. Check the smoothness of the shock absorber rod. Check the shock absorber for leaks, as well as its stem for pitting along the entire length.
8. Extend the shock absorber rod to its full length and install a rubber buffer on it.
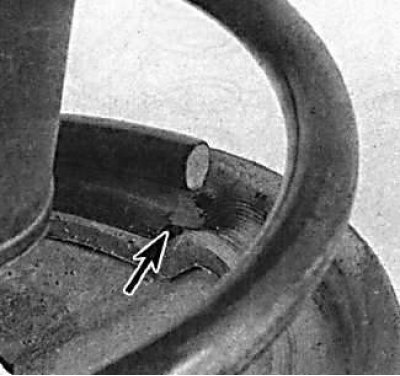
9. Install the coil spring so that its lower end is correctly seated in the lower spring seat.
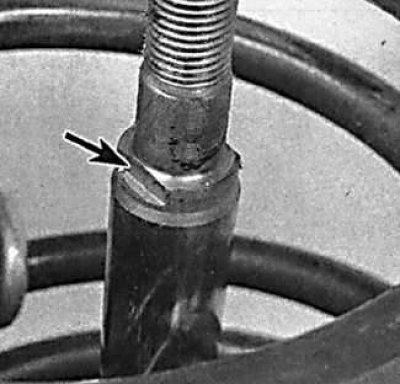
10. Install the protective boot and the upper spring seat so that it is clearly located on the flats of the shock absorber rod.
 | 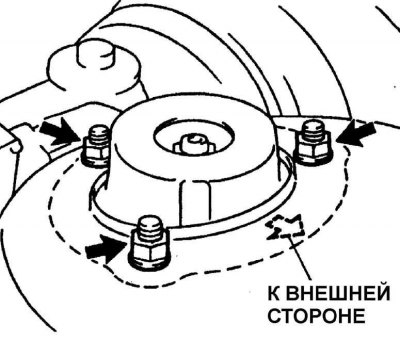 |
11. On 1992 to 1994 models, rotate the A-pillar upper mount so that the upper strut lower bolt is at the lower end of the spring. On models since 1995, turn the A-pillar upper mount so that the arrow on the mount points towards the steering knuckle.
12. Install the upper support on the shock absorber rod and secure with a nut, tightening it to the required torque.
13. Install the front strut on the car.