



Parking brake parts
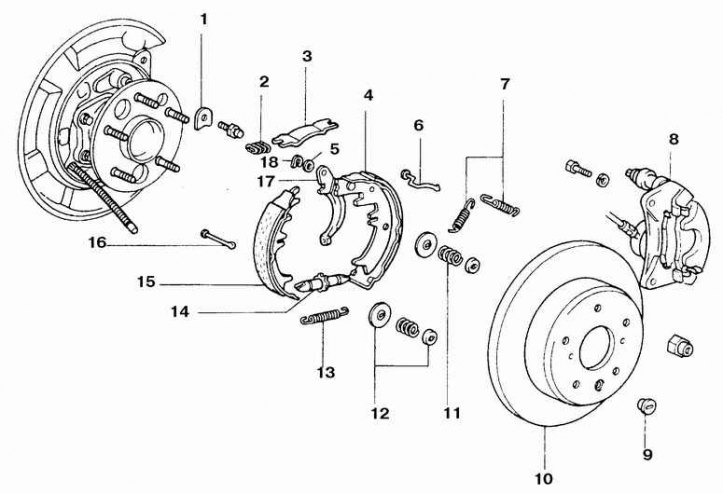
1. Guide bar; 2. Spring; 3. Spacer; 4. Rear shoe; 5. Remote laying; 6. Axis; 7. Brake shoe return springs; 8. Rear disc brake caliper; 9. Plug; 10. Disk; 11. Brake shoe pressure spring; 12. Cups of the pressure spring; 13. Brake shoe tension spring; 14. Regulator; 15. Front shoe; 16. Axis; 17. Brake shoe drive lever; 18. Split washer
Attention! Parking brake shoes are changed only in pairs per axle.
Check and replace
1. Remove the brake disc (see subsection 10.6.).
2. Check the residual thickness of the friction linings. The pads must be replaced if the material thickness is less than 0.8 mm.
3. Remove the hub with bearings (see section 9.1.14.).
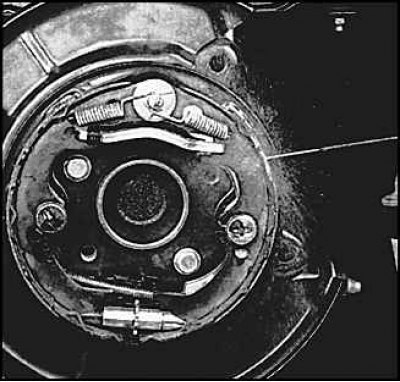
4. Clean the brake parts with a special compound.
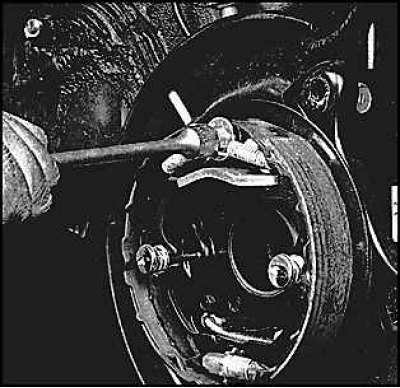 | 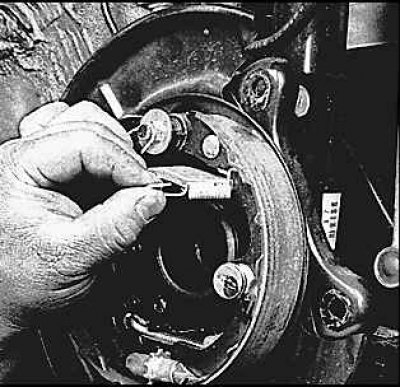 |
5. Remove the rear parking brake shoe tension spring from the axle and unhook the spring from the rear shoe.
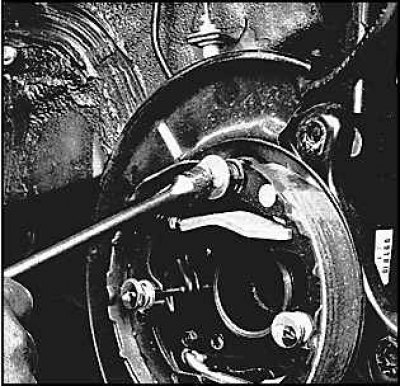 | 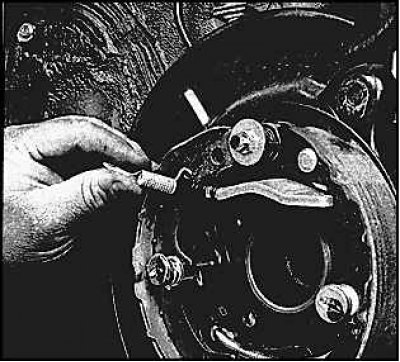 |
6. Remove the front parking brake shoe tension spring from the axle and unhook the spring from the front shoe.
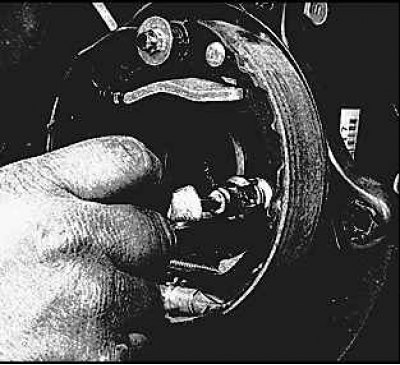
7. Remove the rear shoe pressure spring and take out the axle.
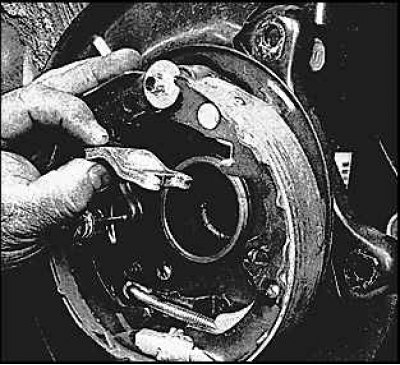
8. Remove the spacer.
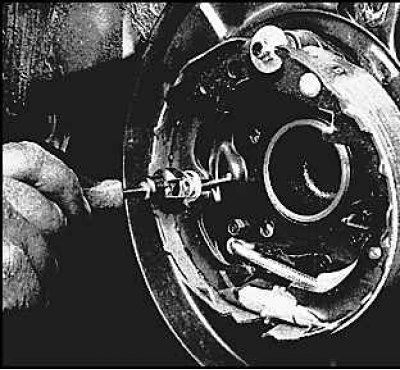
9. Remove the front shoe pressure spring and take out the axle.
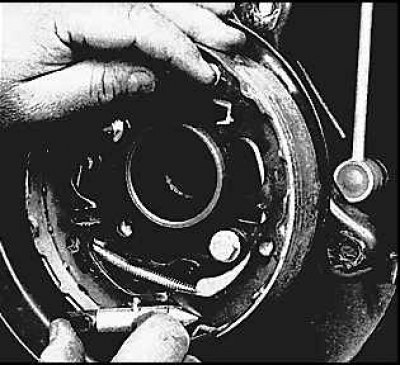
10. Remove the brake pad clearance adjuster (the tension spring is located behind the regulator and is not visible in the picture).
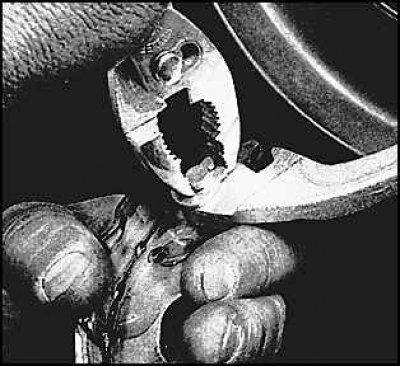 | 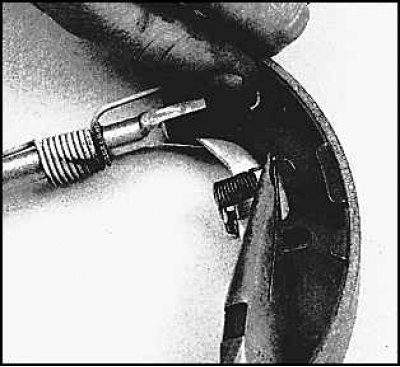 |
11. Remove the split spring washer from the parking brake shoe actuator lever shaft on the rear shoe and remove the lever.
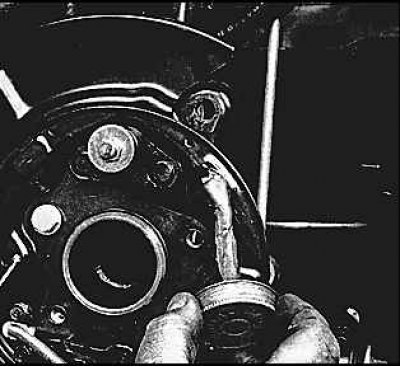
12. Lubricate the friction surface of the brake shield with a thin layer of high-melting grease.
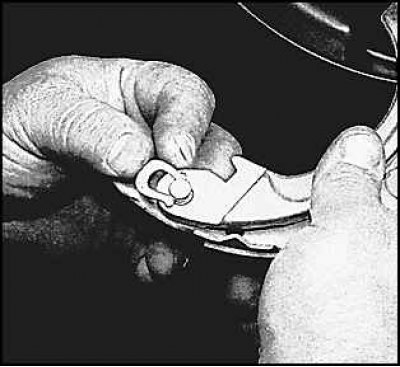
13. Place the cable on the lever and secure it with a spring split washer.
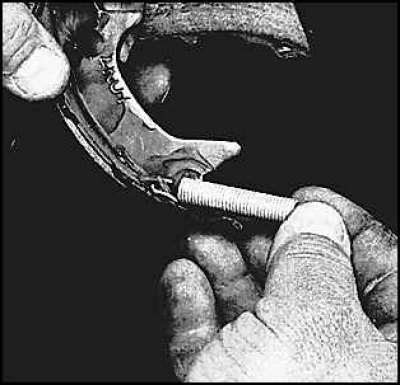 | 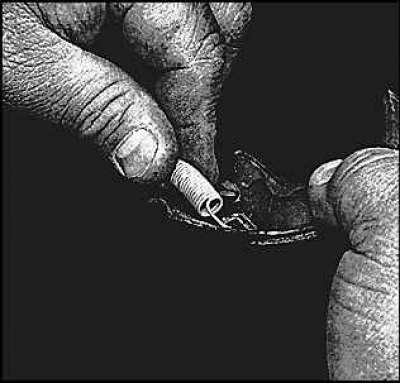 |
14. Place the tension spring on the back of the rear shoe and on the back of the front shoe.
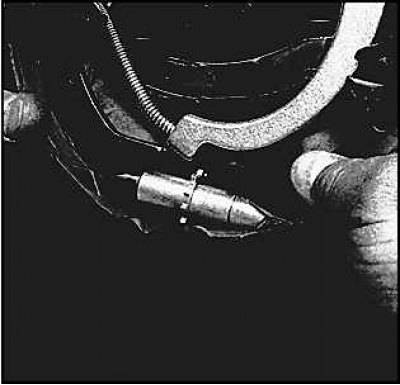
15. Install the regulator by bringing the pads towards each other. The ends of the regulator should engage with the pads.
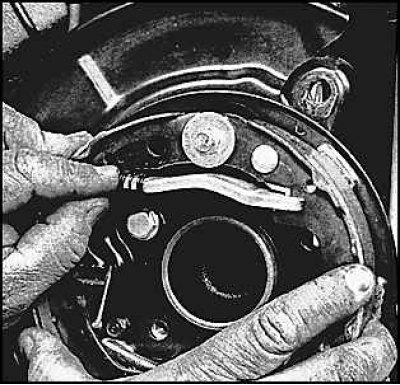
16. Install the pads, install the spacer and spring. The forked ends of the spacer should fit into the grooves of the pads.
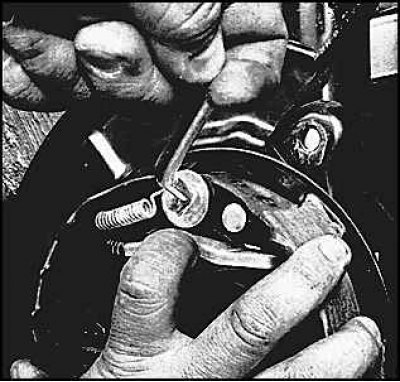 | 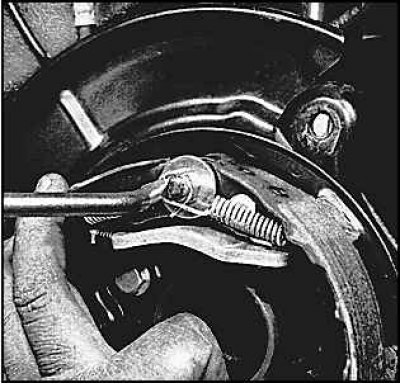 |
17. Install the front and rear shoe return spring.
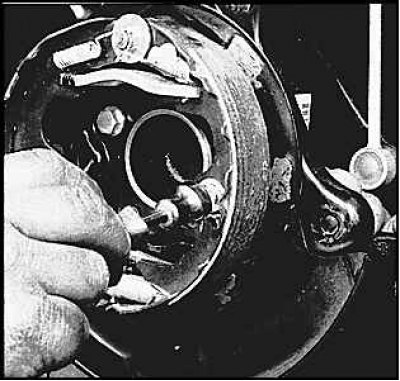 | 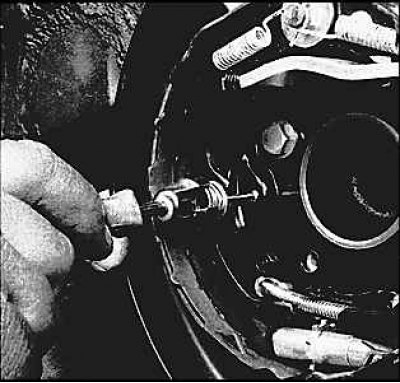 |
18. Install the rear and front shoe pressure spring
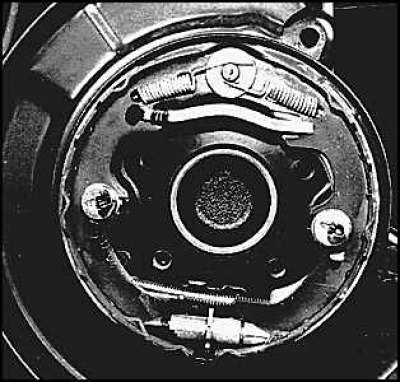
19. As a result of correct assembly, the parts are arranged as shown in the figure.
20. Install the brake disc and secure it by screwing on the 3 wheel nuts.
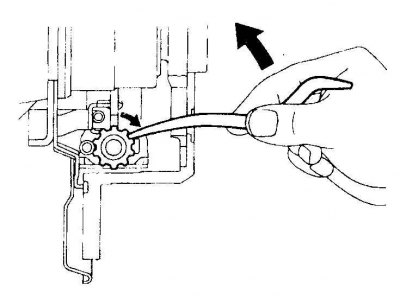
21. Unscrew the plug from the disk. Adjust the pads by rotating the flywheel of the regulator stud and spreading the pads until they stop in the drum (the drum should not rotate) and move it away by turning the regulator handwheel by 8 teeth.
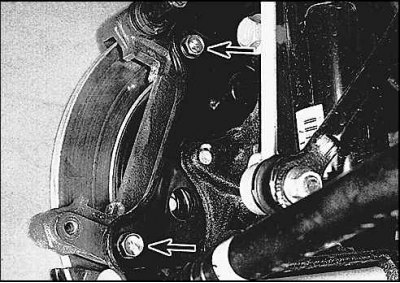
22. Install the caliper bracket and tighten the bolts to the specified torque.
23. Install the wheel.
24. On vehicles equipped with a parking brake lever, check the number of clicks of the lever until the brakes are fully applied, which should be between 5 and 8. If not, adjust.
25. To break in the parking brake shoes, do the following. On vehicles equipped with a parking brake lever, while driving at 50 km/h on a level, dry road, apply the brake by applying a force of 8 kgf to the lever. On vehicles with a parking brake pedal, apply the brake by applying a force of 13 kgf to the pedal. After driving approximately 0.5 km, release the pedal.
26. Repeat this procedure 2-3 times, allowing the pads to cool down first.