
Attention! Reassembling and inspecting the cylinder head requires special tools and parts that you may not have. Therefore, if you are an amateur, it will be much more economical to buy a new head than to spend time overhauling and repairing the old one.
Bulkhead
1. Remove the cylinder head, camshafts and valve lifters.
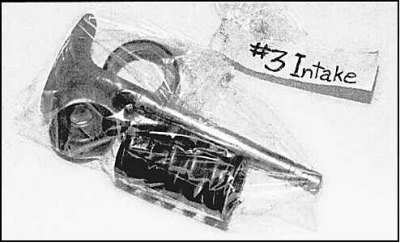
2. Before removing the valves, prepare individual numbered bags to hold the valves and their respective parts.
3. Compress the first valve spring and remove the retainers with a magnet. Remove the spring plate, spring and spring seat.
4. Remove the valve from the head. If the valve does not pass through the guide sleeve, sand the edges of the end of the valve stem with sandpaper. Remove the valve stem seal from the guide bushing.
5. Do the same for the rest of the valves.
6. After you have disassembled the head, it must be cleaned and checked.
Cleaning
1. Clean all traces of old gaskets from the surfaces of the head and wipe it with solvent.
2. Clean deposits formed in the internal channels and holes of the head. If rust deposits have blocked the water channels of the head, contact a specialist.
3. Using a suitable tap and compressed air, clean the threads in the head bolt holes.
4. Brush the threads of the dowel pins on the intake and exhaust manifolds.
5. Wash the head in solvent and dry it.
6. Wash the valves and their elements in solvent. Dry all parts.
Examination
Cylinder head
1. Inspect the head for cracks, coolant leaks, and other damage. If cracks are found, the head must be machined, if the damage is too severe, the head must be replaced.
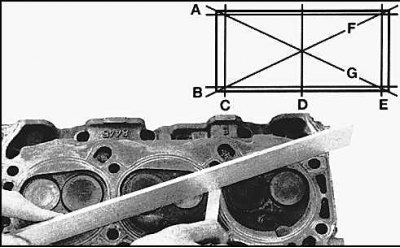
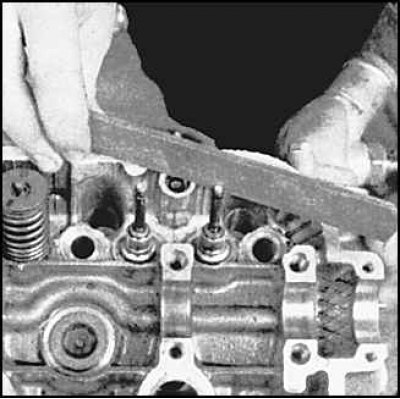
2. Using a ruler and a feeler gauge, check the deformation of the mating surfaces of the head. If the deformation exceeds the allowable limits, the head must be processed in a specialized workshop.
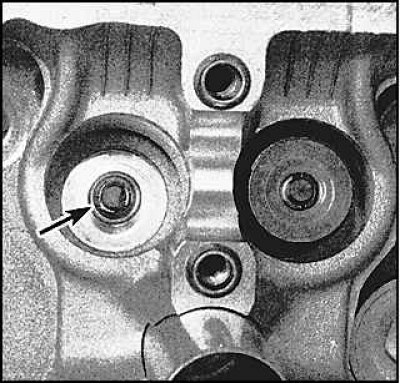
3. Inspect the valve seats, if they are damaged, contact a specialist.
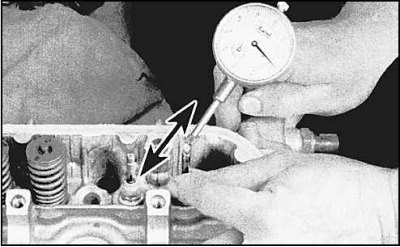
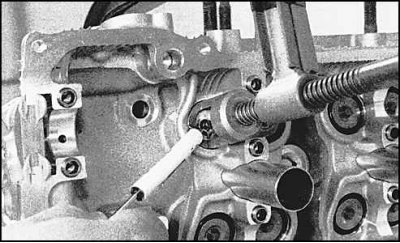
4. Measure the clearance between the valve stem and guide sleeve with a gauge. The readings of the device must be divided by two and you will get the gap value. If the clearance exceeds the allowable limits, the valve guide must be replaced.
Valves
Attention! All work related to the maintenance of valves requires special knowledge and special equipment, and therefore must be left to a specialist.
Checking valve wear
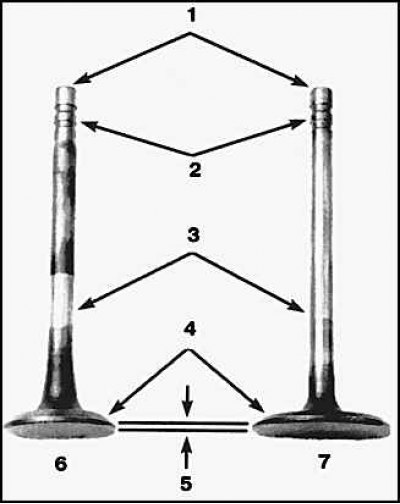
1. Valve stop; 2. Spring retainer grooves; 3. Valve stem; 4. Valve chamfer; 5. Valve edge; 6. Exhaust valve; 7. Inlet valve
1. Inspect the valve bevels for wear, distortion, cracks, burn marks, and other damage. Check valve stems for chafing and cracks. Check if the stems are bent. If any damage is found, the valves must be processed in a specialized workshop.
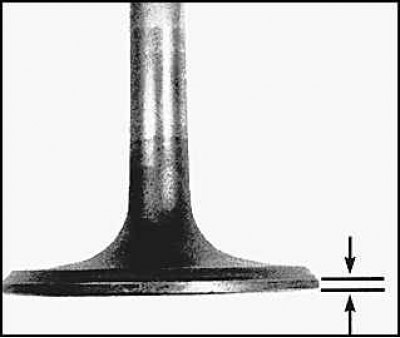
2. Measure the valve lip width. If the value obtained is less than acceptable limits, the valve must be replaced.
Valve elements
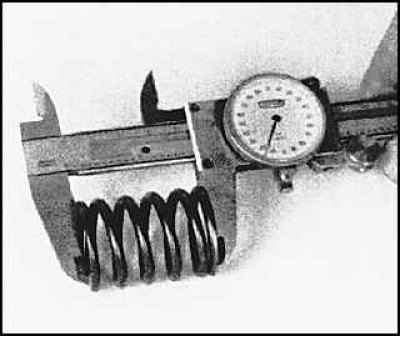
1. Inspect the valve springs for wear and damage. Measure the length of the springs. If any spring is less than the specification limit, replace it.
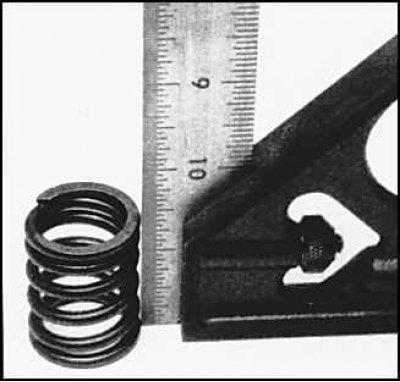
2. Check that the springs are straight. Replace deformed springs if necessary.
Assembly
1. Lubricate the valve guides and valve stems with engine oil and insert the valves into the cylinder head.
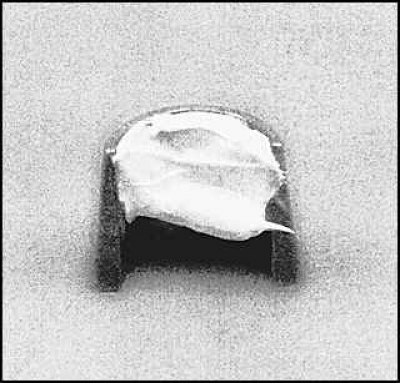
2. Lubricate the stem seals with oil and reinstall. The inlet and outlet valve stem seals are different. The exhaust valve seals have ridges at the top.
3. Install the spring seats, springs and spring plates.
4. Compress the springs and install the clips, apply sealant to the clips if necessary.