
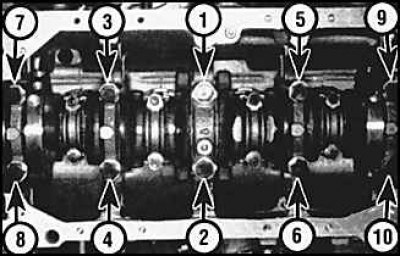
The sequence of tightening the bolts of the main bearing caps (6-cylinder engines)
The sequence of tightening the side bolts of the main bearing caps (6-cylinder engines)
Removing
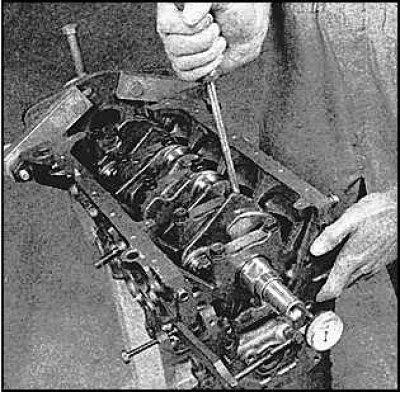 | 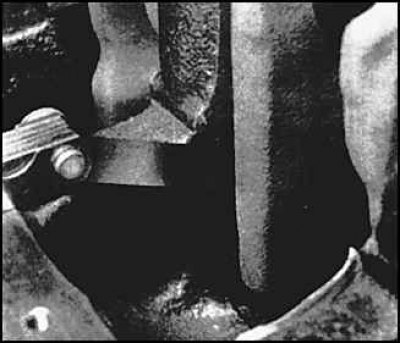 |
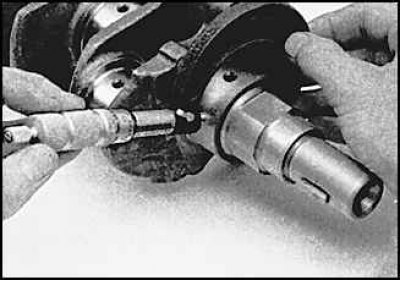
1. Before removing the crankshaft, measure its free play with a special tool (drawing on the left) or with a feeler gauge near the thrust bearing (drawing on the right). If the clearance is greater than required, inspect the thrust bearing half rings for wear; if the half rings are not worn, new ones must be installed in order to adjust the clearance.
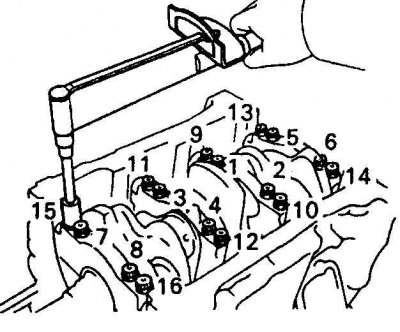
2. The main bearing caps should be numbered in ascending order, from the front cover to the back, if this is not the case, number them. The covers usually have an arrow pointing towards the front of the engine. Loosen the cover bolts in 1/4 turn increments at a time.
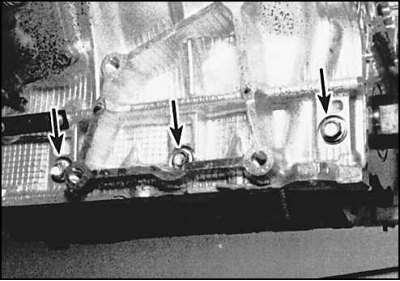
3. On six-cylinder engines, the cover bolts (arrows) located on the sides of the cylinder block. Remove these bolts first in the reverse order to that shown in the figure (see fig. The sequence of tightening the bolts of the main bearing caps (6-cylinder engines)).
4. Then unscrew the remaining cover bolts in reverse tightening sequence (see fig. The sequence of tightening the side bolts of the main bearing caps (6-cylinder engines)).
5. Remove covers and take out loose leaves of bearings.
6. Remove the crankshaft.
Examination
1. Clean the crankshaft with solvent and dry it with compressed air.
2. Inspect the crankshaft bearings for signs of wear, scratches, corrosion, or cracks.
3. Remove nicks around oil holes and clean holes with solvent.
4. Inspect the crankshaft for cracks or other damage.
5. Measure the diameters of the main and connecting rod bearings. To identify taper and ovality, measure the diameter of each of the bearings at several points. If necessary, the crankshaft must be processed in a specialized workshop.
6. Check the crankshaft seal journals for signs of wear or damage. If the seals have worn out the grooves on the journals, then the new seals will leak oil.