
Attention! Be sure to replace all the pads on one axle of the car, even if one pad has reached the wear limit. If the pads are to be reinstalled, they must be marked before removal.
Warning! Brake pads generate brake dust, which contains asbestos, which is harmful to health. Therefore, when cleaning brake pads, do not use compressed air or inhale dust.
Rear brake with brake drum
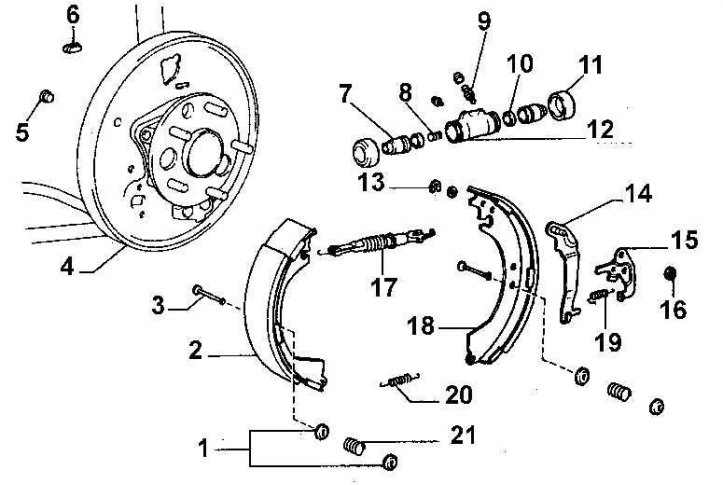
1 - elements of fixing the brake shoe; 2 - front brake shoe; 3 - pin; 4 - brake shield; 5 - plug of the inspection hole; 6 - plug; 7 - piston; 8 - spring; 9 - bleed valve; 10 - nest; 11 - dust cover; 12 – working brake cylinder; 13 - fastening bracket; 14 – hand brake lever; 15 - adjusting lever; 16 - ring; 17 - adjusting bar; 18 - rear brake shoe; 19 - spring; 20 - coupling spring; 21 - spring fixing pads
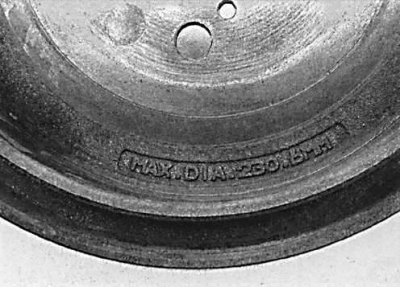
The maximum inner diameter of the brake drum is stamped on the outer surface of the brake drum.
1. Raise the rear of the car and secure it on stands. Remove the corresponding rear wheel.
2. Release the handbrake.
 |  |
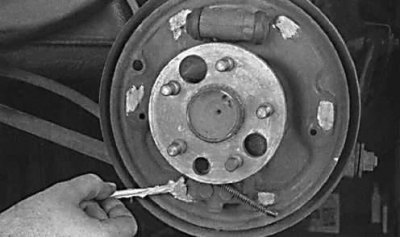
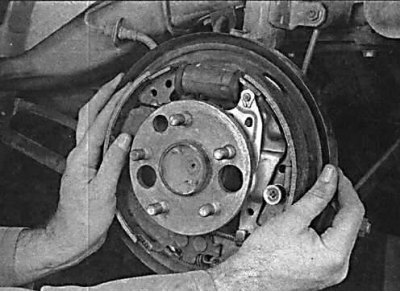
3. Mark the relative position of the brake drum and hub so that the balance is not disturbed when installing the brake drum.
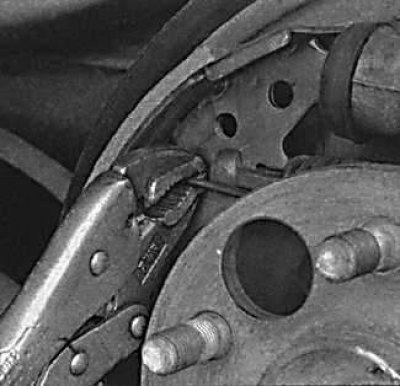
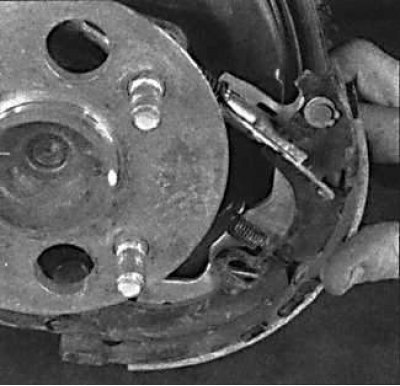
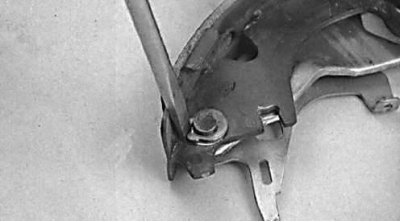
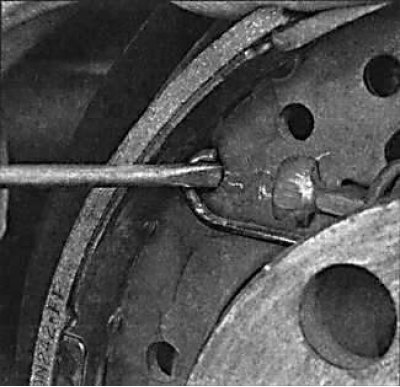
4. Use two screwdrivers inserted through the hole in the brake shield to pry the brake pads away from the brake drum.
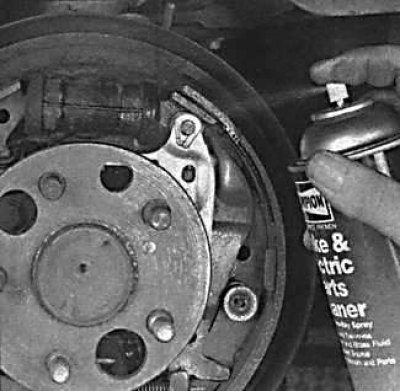
5. Using a special fluid for cleaning the rear brake.
 | 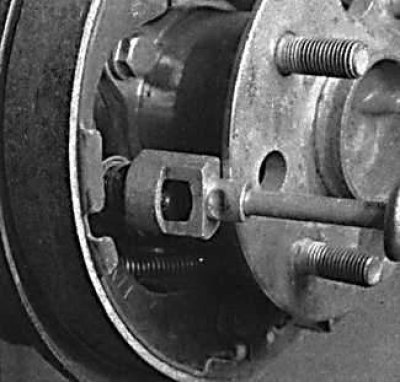 |
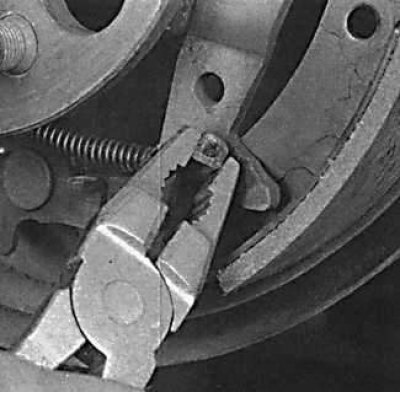
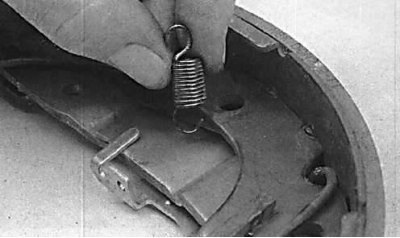
6. Remove the return spring from the top of the front brake shoe.
7. Remove the brake pad fixing spring plate by pushing the plate and turning it 90°.
8. Remove the front brake shoe and disconnect the lower return spring from it.
 |  |
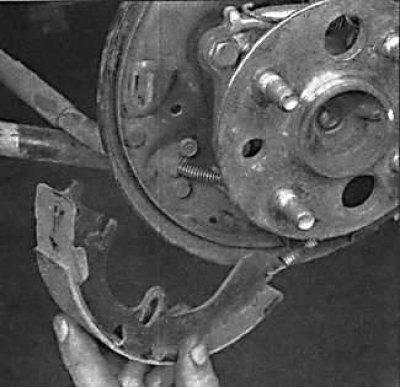
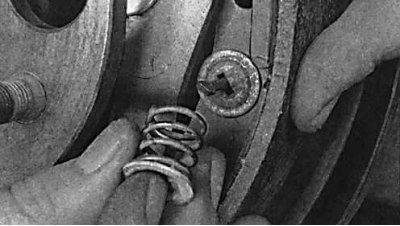
9. Remove the rear brake pad fixing spring plate by pushing the plate and turning it 90°.
10. Remove the rear brake shoe along with the adjusting bar.
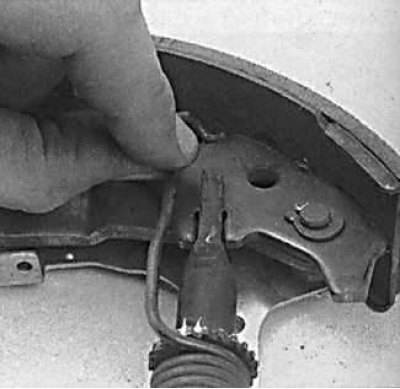
11. Disconnect the handbrake cable from the lever on the rear brake shoe.
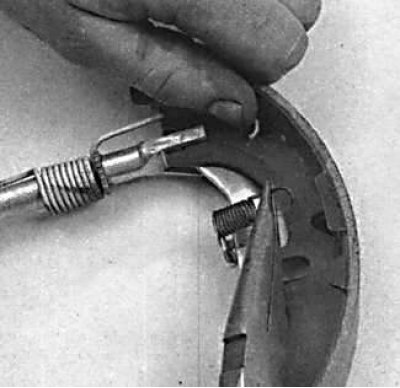 |  |
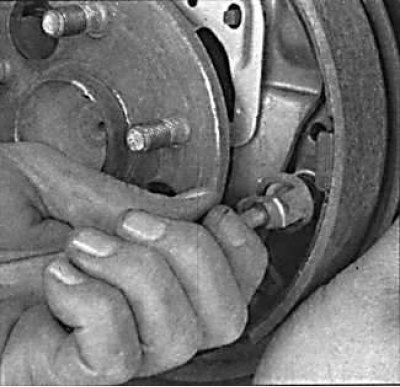
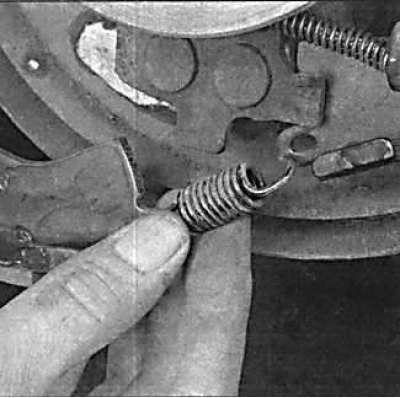
12. Remove the shim spring from the rear brake shoe.
13. Disconnect the return spring and remove the adjusting bar from the rear brake shoe.
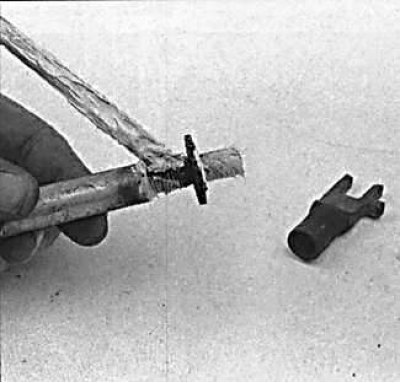
14. Remove the fixing bracket and remove the adjusting lever and the handbrake lever from the rear brake shoe.
 |  |
15. Install the adjusting lever and the handbrake lever on the brake shoe and secure with the bracket.
16. Apply a thin layer of high temperature grease to the threads of the shim.
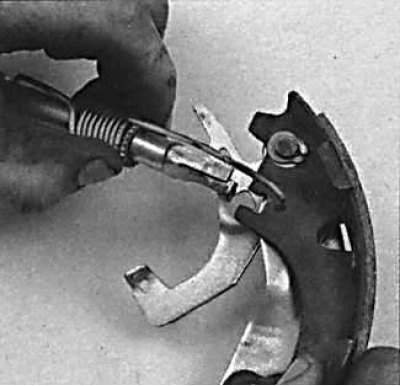
17. Install the adjusting bar on the rear brake shoe and secure with a spring.
 |  |

18. Install the adjusting lever spring.
19. Apply a coat of high temperature grease to the brake shield where it contacts the pads.
20. Install the handbrake cable to the handbrake lever.
 |  |
21. Install the rear brake shoe in place, thread the pin through the shoe, install the spring and secure the spring with the disc by pushing the disc and turning it 90°.
22. Install the lower return spring on the shoes, then install the front shoe on the brake shield and secure it.
23. Attach the upper return spring to the front brake shoe.
 |  |
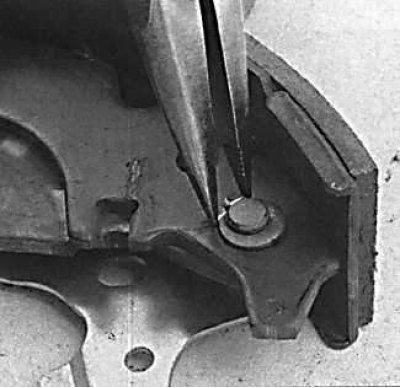
24. While moving the handbrake lever with a screwdriver, check that the upper return spring has not disengaged from the rear brake shoe.
25. When moving the brake pads, check the reliability of their fastening.
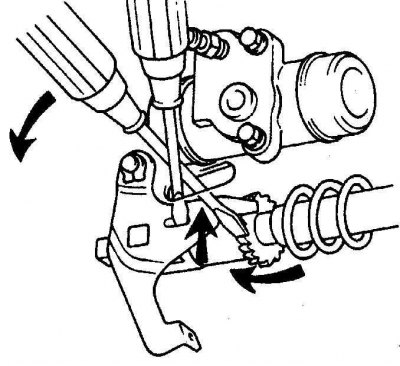
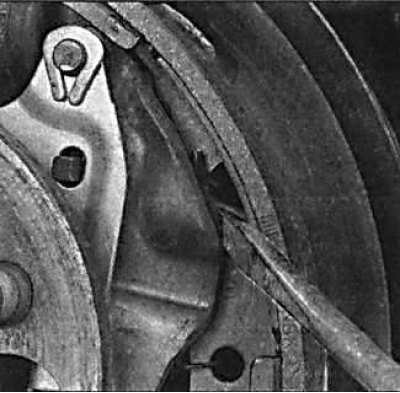
26. If the brake drum cannot be removed from the hub, check that the parking brake is fully released. If the brake drum is still not removed from the hub, the brake pads must be moved away from it. This can be done after removing the plug from the brake shield. Using a narrow screwdriver through the hole in the brake shield, move the lever away from the gear wheel of the adjusting bar and with a second screwdriver, rotating the gear wheel, move the brake shoes away from the brake drum.
27. Be careful to clean the inside of the brake drum of brake dust and dirt. Clean the outer surface of the brake drum and check for obvious signs of wear or damage, cracks around the wheel bolt holes. Replace drum if necessary. Measure the inner diameter of the brake drum.
28. Install the brake drum.
29. Install the wheel and lower the car.
Repeatedly tighten the handbrake lever in order to adjust the position of the rear brake shoes.